In this game report, I am playing a scenario based on the First Battle of Newbury from C.F. Wesencraft's book "With Pike and Musket". Both armies are being directed by the solo decision cards (see here for details on the decision cards).
 |
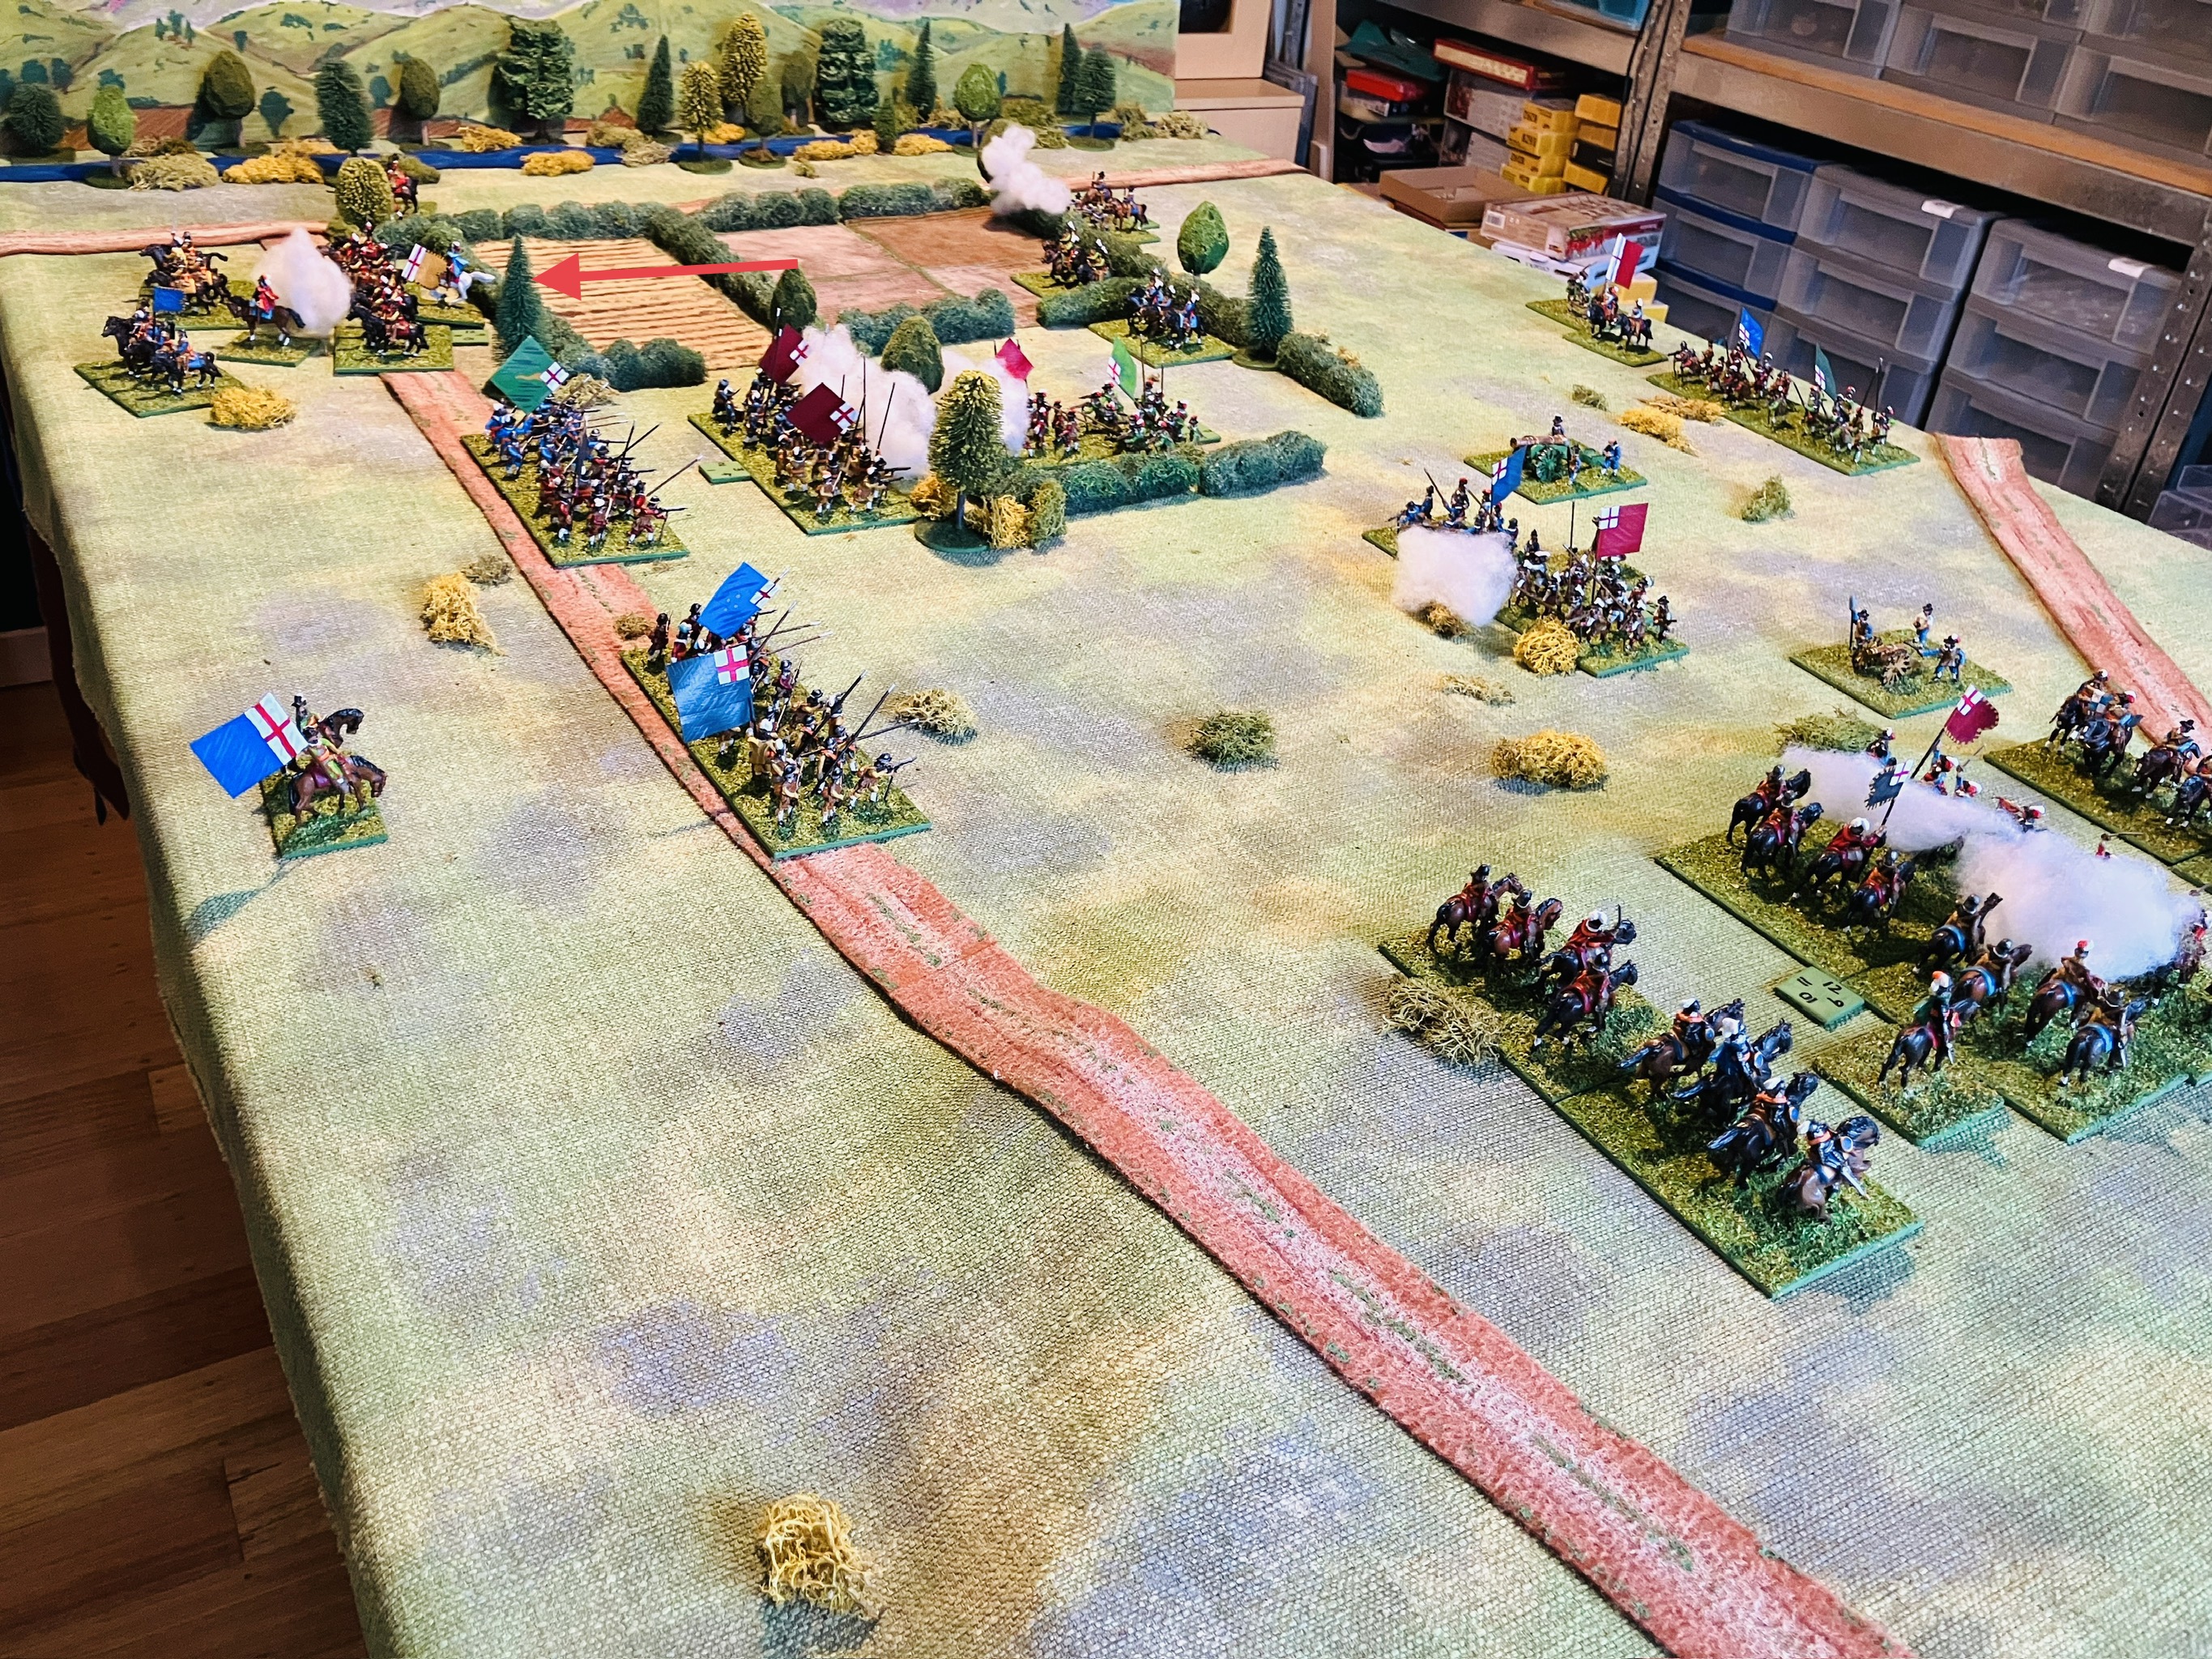
| The game in progress. |
The order of battle and deployment…
Royalist Army
Right Wing
- 1 detachment of dragoons
- 1 cavalry in the first line (veteran unit)
- 1 cavalry in reserve
Centre
- 2 artillery
- 2 infantry in the first line (1 is a veteran unit)
- 1 infantry in reserve
Left Wing
- 1 cavalry in the first line
- 1 cavalry in reserve
Parliamentarian Army
Right Wing
- 1 cavalry in the first line (veteran unit)
Centre
- 2 artillery
- 2 infantry in first line
- 2 infantry in reserve
Left Wing
- 1 cavalry in the first line (veteran unit)
- 1 cavalry in reserve
 |
| Parliament deployment on the left and Royalist deployment on the right. |
A note on the rules. I am using my D3 ECW rules but have changed the sequence of play and include simultaneous combat for shooting and melee. At the start of a game turn each player rolls a D6. The highest scoring player will move first as Player A, re-rolling any ties.
- Movement for player A.
- Movement for player B.
- Both player’s units shooting simultaneously.
- Both players' units melee simultaneously.
- Remove eliminated units and check for impetuous cavalry.
I will be updating the rules and posting over the next week, once I type up my notes.
On to the game…
 |
| Opening artillery salvos. |
 |
| Cavalry advance on both flanks. |
 |
| As the cavalry engage on each flank the Royalist centre advances. |
As the Royalist centre pressed forward, the Parliamentarian commander responded, advancing his own centre in a bid to counter the enemy's progress. Both commanders deployed their reserves to reinforce their flank cavalry and provide crucial support. While In the centre, infantry units from both armies began exchanging musket fire. A breakthrough occurred on the Royalist right flank with their cavalry breaking through the Parliamentarian cavalry, sending them into a panicked retreat. The impetuous Royalist cavalry pursued the routed enemy, driving them off the field and also taking themselves out of the battle.
 |
| The centres advance and engage in musket fire. |
 |
| The game is at a critical point with no losses by either side yet. |
 |
| The Royalist right flank finally breaks Parliament’s left flank and pursues them off the tabletop. |
The Royalist dragoons seize the opportunity to position themselves on the exposed left flank of the Parliamentarians. With a clear line of sight, they readied their carbines to unleash a volley of fire. Seeing the imminent threat, Parliamentarian forces reacted and position their reserve infantry to block the danger.
Meanwhile, in the centre of the battlefield, the Royalist infantry first line were sustaining damage from the Parliamentarian musketry. Despite the mounting losses, the Royalists are yet to deploy their centre reserve.
On the other flank cavalry reserves from both forces continue the cavalry engagement.
 |
| The action is on both flanks with dragoons flanking the centre and the cavalry battle continues on teh near flank. |
 |
| Parliament’s centre is starting to put pressure on the Royalist infantry. |
The Royalist first line of infantry in the centre had resisted the larger Parliamentarian infantry force. However, the weight of numbers eventually took its toll, and the Royalists were routed. A late charge by the Royalist right flank cavalry reserve sought to turn the tide of the battle, but the hedges limited their effectiveness and they could not halt the advance of the Parliamentarian infantry centre.
On the opposite flank, the cavalry forces of both sides had engaged in fierce combat. Exhausted and depleted, both cavalry forces found themselves at a stalemate, unable to continue.
The Royalist commander observed the advance of the Parliamentarian infantry, choosing not to commit the final reserve of infantry and retired from the battlefield.
 |
| A final Royalist cavalry attack by their reserve through the hedges. |
 |
| The Royalists retire. |
Summary
The battle proved to be a closely contested affair, with victory hanging in the balance until the final turns. Had the Royalist cavalry performed better, the outcome may have been different and favoured them. However, similar to the actual historical battle upon which the scenarios is based, the presence of hedges posed significant challenges for the Royalist cavalry on their right flank. Allowing the Parliamentarian forces to leverage their numerical advantage in the centre, and eventually gaining control of the battlefield.
 |
| A commander’s view midway through the battle. |
I am planning to post the solo decision cards, current version, and also the updated D3 ECW rules which have been modified over the past month or so to accommodate the decision card approach.
Good to see these armies back out onto the table, Peter! Solid Battle Report that I enjoyed very much. You've found a style and format that suits you.
ReplyDeleteI am using ChatGPT to help reword some of my notes from the game. I alway have to cut back the text and reword to suit my style, but it does help speed up the writing process.
DeleteThat worked well, I particularly like the way the cards decide when enough is enough.
ReplyDeleteThe cards have three army “stances”, hold, attack, and retire. I Armies can move between attack and hold when the setbacks occur, then the hold and retire stances later in the game as losses mount.
DeleteA lovely looking battle with the right side coming out on top in the end, what more could we ask for Peter?! The Royalist cavalry pursuing off the table seemed particularly accurate.....
ReplyDeleteI was pleased the way the game unfolded with both sides being directed by the solo decision cards. The restrictive tactics of the period do help by limiting the options the cards have to consider.
DeleteGreat looking game and report Peter. Your rules and solo mechanics really seem to provide good games
ReplyDeleteThanks. Both cards and rules have got to a point where a mini-campaign could be run.
DeleteOne of my favourite books in my first wargaming period using g Minifigs....but I found Charles unit sizes confusing he gives numbers of figures but not battalia
ReplyDeleteCan please refight Marston Moor and The Dunes I'd like to see how your created your orbats
By the way this is the best wargaming blog on the web!
Now where are those glossy Minifigs?
Pete
It is interesting how figure numbers are used in the book, while the scenario diagrams do have an indication of unit numbers used. I am sure I can give Marston Moor a go and also describe any logic behind the order of battle used in the game.
DeleteI tried to work out unit sizes by his use of standard bearers Seems to work for the infantry but not the cavalry
ReplyDeleteIn his other book Practical Wargaming Royalist units are 8 figures ...
The scenarios are wonderful though
Pete