Wednesday, 12 February 2020

ECW campaign game report

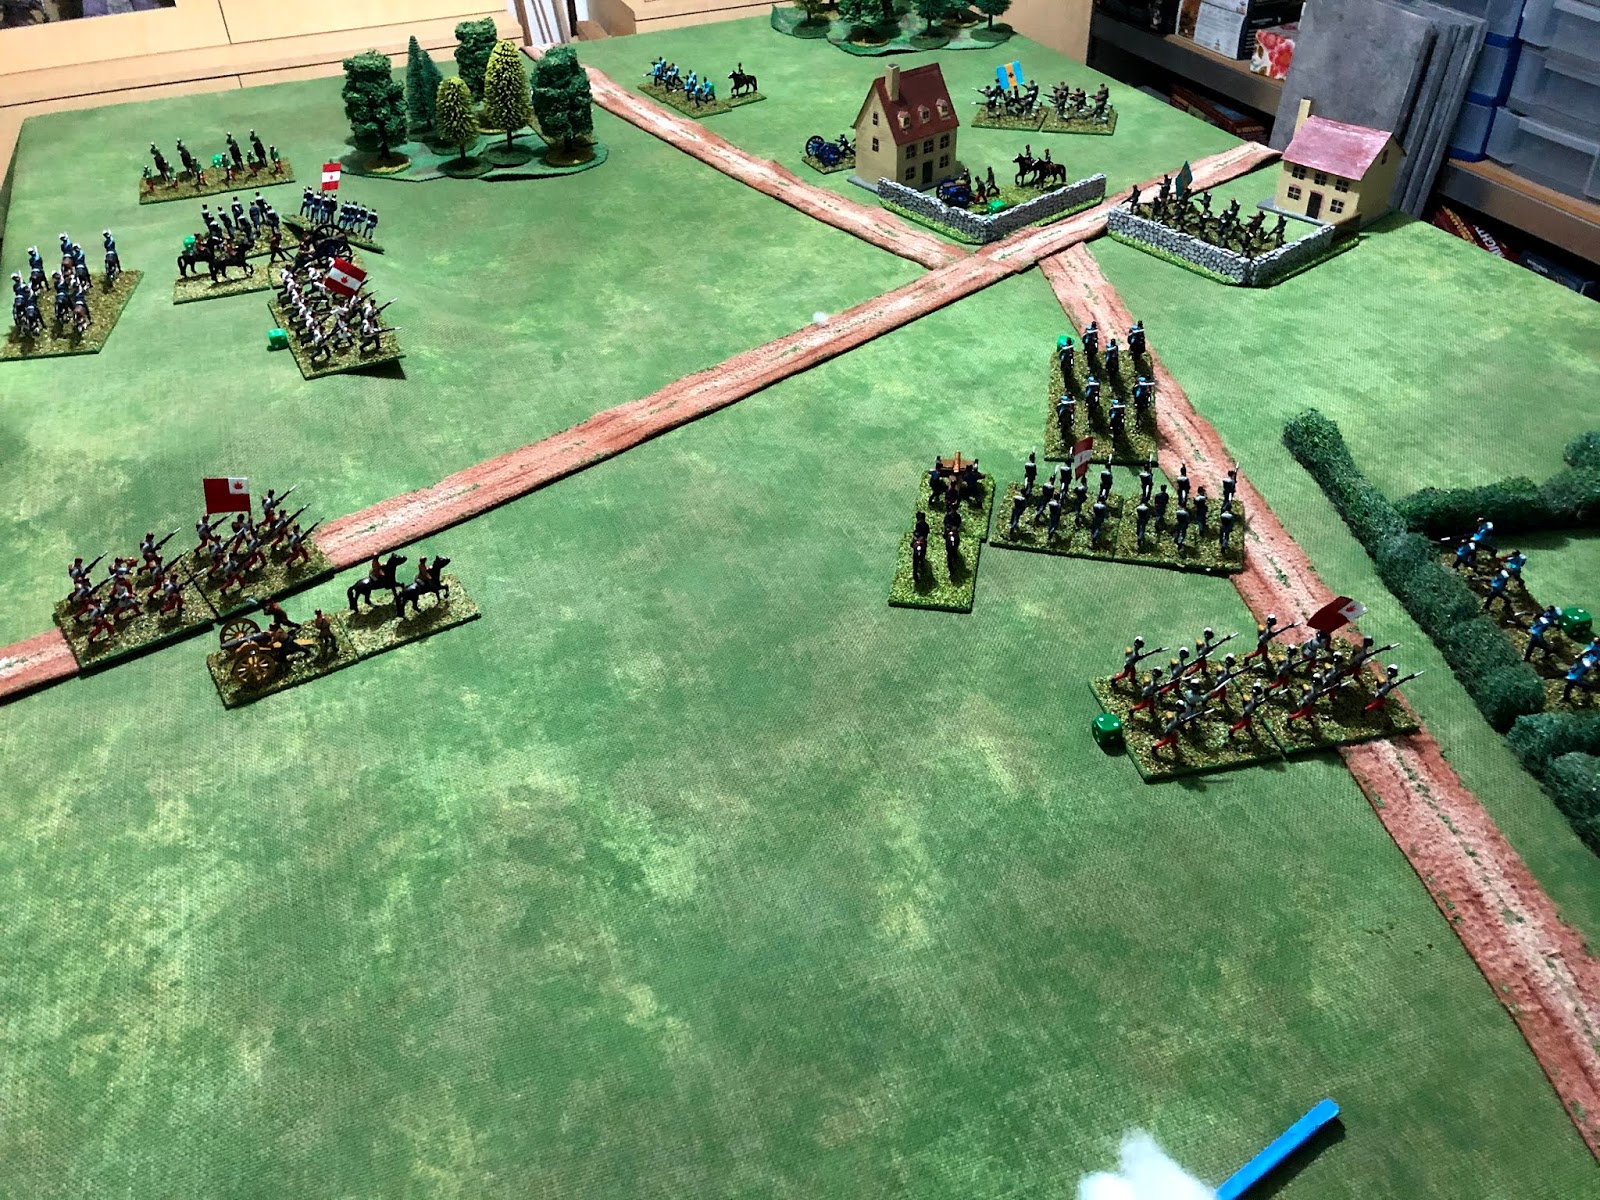
The battle of Bishop's Waltham, September 1646, has a small Royalist force facing a larger Parliamentarian force. With limited options the Royalists have taken up a defensive position in the buildings and nearby fields.

Initial deployments
Tabletop layout
The Parliamentarian commander opened the battle by pushing forward part of his centre foot units to engage the Royalist units defending the buildings, and on the left flank commanded shot and dragoons circled around to flank the defenders.

The opening moves of the battle
Note - Recently I added a couple of powder carts to my forces. In this game I introduced them and a rule which allows foot units to be resupplied when out of ammunition. The powder cart has to move into contact with the unit and roll a 3 on a D3 to successfully resupply. If a 2 was rolled nothing happens and a 1 means the removal of the cart and no further resupplying can occur.

Powder cart attempts (and fails with a 1) to resupply a Royalist foot unit out of ammunition.
The combination of artillery fire, advancing foot and flanking dragoons soon had the Royalists defending the buildings under pressure. Forcing their commander to reposition forces to bolster the defences. The Parliamentarian commander pushed forward his right flank to threaten and hopefully pin as many units as possible without launching an attack.

The Royalist right flank under pressure.
Royalist units try and reposition to defend the buildings.
The situation was looking grim for the Royalists. With the buildings looking set to fall and in a desperate attempt to stave off defeat, a unit of cavalry charged the attacking foot units. This gave a brief reprieve, but Parliament's attack continued and the Royalist army resolve failed soon after.

Royalist cavalry charge in a desperate attempt to hold the buildings.
Out flanked and out numbered the Royalist army resolve fails.
A major victory to Parliament in the latter part of 1646.

Unit movements

Saturday, 8 February 2020

19th Century game sneaks in before the ECW game

The tabletop was pretty much laid out for my next English Civil War campaign game. I was having a break browsing through my usual list of wargaming blogs when I spotted some straightforward rules which looked very interesting. They are called "Model Major General Wargame Rules" and can be found here on Battle Game of the Month.  I decided to get out my imaginations 19th Century armies on to the tabletop to have a quick game.

I used the scenario setup from "Wargaming Nineteen Century" by Neil Thomas. Both sides diced the same and fielded 7 units with a further 3 units arriving later in the game. The old Spencer-Smith figures were quickly deployed and I was off and gaming with a printed copy of the rules (which fitted on one page using two columns for text).

What follows are a few photos of the game which turned out to be a close run thing and how the rules played.

Initial deployments
Early engagements with a Dragoon unit swinging around the woods
On the other flank orders finally arrive to push forward.
Reserves arrive
The final turn
My thoughts on the rules, baring in mind they are the first draft, are that overall I really enjoyed them. So much so, this weekend I am making two hospital wagons so I can include them in my next game using these rules.

Turn Sequence
As the game progressed with more units in combat there was a definite advantage to losing the initiative and being player B. Early on winning the turn initiative and being player A allowed your units to get a better field position.

Orders
One D6 for orders worked most for my 10 units per side, and stops the all out assault you can get if all units can move. However, I was not sure of dice ratio to units. I would be tempted in future games to use an average dice or roll 2D6 and select the highest score, as a one is very frustrating (especially with a killed commander).

Moves
I decided my infantry begin the game in column until they were involved in shooting or a charge. After which they were in line for the remainder of the game and move at the lower move rate of 9" and not be able to charge.

In future games I will probably only allow sharpshooters in woods.

Charges
Worked fine and I liked how a charge pinned a unit in place until the charge resolution was done.

Shooting
These I felt worked well with artillery being quite influential as you would expect of this era. I also go to use my Mitrailleuse units possible for the first time.

Charge Resolution
I made a few assumptions on this section as I had some cavalry charge a unit of sharpshooters and a Mitrailleuse unit. I took the view that only infantry could hold their fire and use the 4D6 option and also only allowed cavalry to be shock troops and benefit with +1.

Morale
I had all units eliminated after taking more than 4 hits.

Commander Rally
Really liked this rule. I did give my commander a 12" free move and extended the range to 6" to join a unit. In the next game I would allow hits to be cancelled on a 4+ to improve the risk/reward (the loss of a commander also impacts the number of orders given).

Hospital
I did not use this rule, but will once my wagons are made.

Army Morale
In the game I played both sides lost 50% of their units during the same turn. One side had lost a commander so they lost marginally.

Anyway, thanks to Ross for making his rules available, and I am looking forward to what he delivers in the next iteration of these rules.

Sunday, 2 February 2020

Preparing the next ECW campaign game

The English Civil War campaign is gradually coming to a close with 1646. The last battle fought was at Dunnington, June 1646, which turned out to be a minor victory to the Royalist cause. Three months later in September a small Royalist force was hastily recruited and marched along the South coast. Their progress was blocked by a stronger Parliamentarian near the market town of Bishop's Waltham.

Royalist force march on the South Coast
The campaign cards were drawn. Parliament already hold one card for the whole year and will gain a rousing sermon in the coming battle. Whilst the Royalists army is poorly supplied.

Campaign cards (Parliament left and Royalist right)
Following the campaign cards the terrain cards were drawn to determine the tabletop layout.


The orders of battle were decided by dice and are as follows.

Royalist forces:

  • 4 Foot Units
  • 3 Horse Units
  • 1 Dragoon Unit
Parliament forces:
  • 5 Foot Units
  • 5 Horse Units
  • 2 Dragoon Units
  • 1 Commanded Shot Unit
  • 1 Artillery Unit
Parliament look to be well placed for this battle, which may well be the last or penultimate game of the campaign. 

However before starting the game, the current the tabletop setup is for some 1/300 WW2 North Africa games. I have been adding to the terrain features, and this weekend I had another go at some desert scrub having bought some stick-on grass tufts during the week. They were applied to some painted felt around the edges so not to interfere with the model's placement. In addition I made some improved positions and fortified positions using triangular shaped wooded dowel.


A couple of improved position and scrub nearby.
A fortified position uses two improved position features back to back, saving the need to create another terrain piece.

Fortified position.


Wednesday, 29 January 2020

Landing craft production in full swing

Having recently completed a commando raid game of St. Nazaire. It got me thinking about a D-Day style game and this idea was soon reenforced after re-reading Chapter 28 "Landing in Force" from War Game Campaigns (Donald Featherstone) and Chapter 8 "Disaster at D-Day - and other big games" from Operation Warboard (Gavin Lyall). However, I lacked any landing craft to undertake a game of this sort, and decided to take a similar approach to the St. Nazaire game by using bits of wood and MDF board to create some very basic landing craft.

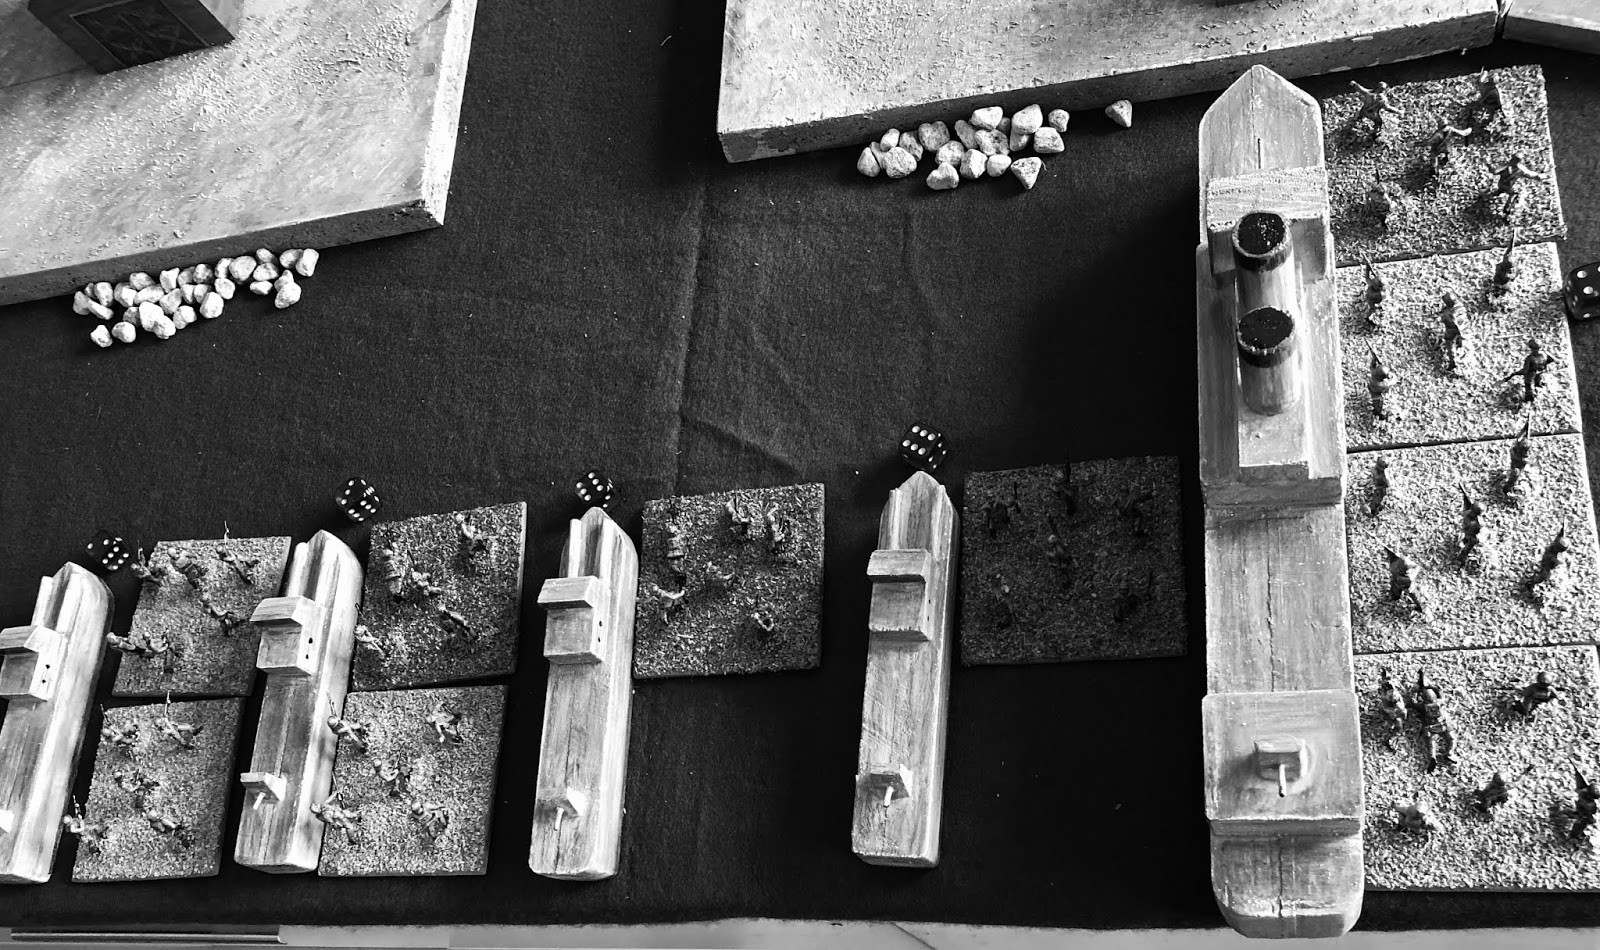
The landing craft themselves are constructed by cutting a 42mm x 30mm wood to shape with one end angled, adding MDF board on top and for the ramp, and finally adding a pilot house made from some 10mm x 20mm wooden dowel.

The models are painted grey and receive a light sanding to remove any obvious rough areas of wood grain.
Once all the bits were cut out (and I included a gun emplacement) they were such together using PVC wood glue. The wooded models were given a coat of grey and lightly sanded once dry. Then the major details were painted. As you can see from the photos the cargo bays are painted black to give the impression of a cargo area when the models have none to simplify their construction.

Rather than building models with a cargo bay. The bay area is represented by painting them black.
Using the same chalk pastel approach I did with the St. Nazaire models. A light shading of black and blue was drawn over the grey paint before using a light grey pastel to blur and blend in some of the blues and blacks. A white pastel was used to highlight the landing craft edges and corners. Finally, a light shading of dark brown and dark green was used to soften the black representing the cargo bay.

A coat of PVA glue is applied to seal the pastel colours
The finished product made from 4 bits (2 bits of MDF board and 2 bits of wood)
I now need to plan a series of games with some paratroopers capturing a bridge to delay reinforcements, a beach landing, a counter attack, and maybe a final breakout game assuming the landings are successful.

Here are a few photos of the landing craft on the tabletop to show off the models and how the beach landing game may look.


Monday, 27 January 2020

Some desert scrub terrain

During the week I played a couple of WW2 North Africa games. I have terrain to represent hills, broken rocky terrain, and wadis, but lack any terrain for desert scrub. So this weekend I cut some sand coloured felt to fit the home made gridded hex tabletop cover. Then set about adding paint and glued some cut lichen around the edges so not to interfere with the placement of units in the hex.

Desert scrub terrain features for my grid based North Africa WW2 games
A close up view of the features.
I also tried another version to place pieces around the hex edges. Out of the version I preferred full hex of scrub version.

An alternative attempt to have the scrub around the hex edges.
Desert scrub in use during a game
The finished desert scrub was soon put into action on the wargame tabletop.

Thursday, 23 January 2020

St. Nazaire Raid Game report

I finally managed to write up a game report of a commando raid game based upon a British commando attack on the St. Nazaire dock in the early hours of 28th March 1942.


Commandos start their assault.
The objective of the raid was to put out of action a dry dock which could be used to repair German warships. An old destroyer, HMS Campbeltown, was converted to resemble a German destroyer and with 18 smaller motor launches left Falmouth for the raid. The plan was to ram the dock and with the Campbeltown which had been packed with delayed-action explosives. Additionally, a force of commandos was landed with the objective of destroying machinery and other structures.

This game is focused on the commandos and their actions in destroying their targets, and starts with the successful ramming of the dock and landing of the commandos.


Dock layout on a 6x4 foot tabletop
The raiding commandos are organised into:

  • 3 demolition parties with no limit on the number of attempts at demolition.
  • 9 assault parties used to form a bridgehead and put out of action: searchlights, gun emplacements, and pillboxes.

During a number of test games I have reduced the number of demolition parties to just three. trying to get the balance right between forming a protective parameter and running around blowing things up.


Targets for demolition
German defenders arrive at one of three entry points during the game based upon a dice throw. For the most part they are infantry units, but there are a maximum of two armoured car units which can arrive instead if a second dice roll scores a 6.


A series of pillboxes, gun emplacements, and searchlights which can be put out of action by any commando unit.
The reduction in the number of demolition parties, change in arrival of armoured cars, and determining the casualties from coastal gun batteries, where the only changes to the test rules posted previously (here).

The game assumes the naval component follows history. Where the attacking force is able to move down the estuary unobserved and passed the main gun batteries before the final run in lasting few minutes under fire from lighter gun batteries. 

The game preparation begins with determining casualties to the commando landing forces from those lighter gun batteries. One dice is rolled for each motor launch and HMS Campbeltown. On a score of 6 one of the commando parties is lost (players choice).


Commando units and ships lined up.
Two hits causing the loss of two assault units.
On the first turn 3 German units are placed at their entry points and move towards the closest commando units. On all other turns 1 German unit arrives at one of the three entry points determined by a dice roll.


German troops arrive
HMS Campbeltown rams the dock gates and commandos quickly disembark from the destroyer and  motor launches, heading for their targets and to setup a bridgehead.


Commandos attack a pillbox as they attempt to secure the Old Mole.
Landed commando parties fan out through the docks.

The commandos were able to quickly blow up their initial targets: the pump house, outer winding house and caisson. All close to the dock entrance. Progress was slow against the pillboxes defending the oil tanks and Old Mole. Meanwhile German units were starting to appear in greater numbers at the top of the dock.
Initial successes with the inner gate winding house and pump house destroyed.
Defenders start to arrive and head towards the commando parties
Assault parties move into the warehouses to set up a beach head.
For a few turns after their initial successes the commando's progress appeared to stymied by the pillboxes, and defending forces arriving in the dock area. In the centre dock area assault parties were able to move with reasonable freedom with fewer defenders around.

At the main target area the outer set of caisson and dock gates are demolished. With time against them, demolition parties dashed down the length of the dock towards the second set of caisson and dock gates. Nearby assault parties are engaged in combat with defending units in and amongst the warehouses.
The outer Caisson and lock gate is blown up.
Demolition parties scurry past the fighting amongst the warehouses as they head towards the far end of the dock. In the foreground the pillbox is proving to be a real impediment.
Having successfully demolished the outer gates the next major target for the demolition parties was the inner gates, before finally heading towards the Old Mole to re-embark on waiting boats and escape. Any re-embarking could take place if the assault parties had to put out of action the gun emplacements and searchlights, and these efforts were being hampered by the pillboxes.


The Old Mole pillbox is finally put out of action.
Demolition parties start preparing to demolish the inner gates and winding house, and in the background the other pillbox is put out of action. The arrival of an armoured car may make things a bit sticky for the commando parties.
Another armoured car arrives. The continual arrival of defending units is starting to take its toll.
Once the pillboxes were put out of action the commandos quickly set about dealing with the gun emplacements and searchlights. While demolition parties placed their explosives at the inner dock gates and nearby oil tanks. Assault parties held off the defenders, destroying the armoured car and charging into close combat to buy time.


Searchlights are put out of action.
Commandos in close combat as the explosives go off destroying the inner caisson and gates.
With key targets demolished the commandos attempt to make their escape, but the commandos around the Old Mole were getting pushed back by the defenders and the route for them was closed. The final gun emplacement was put out of action and a couple of commando parties were able to re-embark and escape.


Defenders pressure the defenders around the Old Mole.
A few commando parties are able to re-embark and make their escape.
So this was the end of the St. Nazaire Raid project. A fun game to play wth a few tense moments trying to overcome pillboxes and setting explosives at the inner dock gates. All bar one of two of targets were successfully destroyed. It is assumed history is repeated and HMS Campbeltown explodes putting out of action the dry dock for the remainder of the war.

Overall the game played well with simple rules and set moves by the defenders. One change I made was to the defender movement rules to allow for the situation when other defending units are blocking the way, then they would move around to attempt a flanking move.

This will not be the last we see of the commando units. I will be building some landing craft for some further attacks on costal defences.