Saturday, 10 July 2021

A quick ancients game using OHW scenario

I thought I would be fun to have a quick Punic War ancients game as a quick reminder of the rules using One Hour Wargames (OHW) scenario 21 (twin objectives). I opted to use six units per side as per the scenario but selected the units myself rather than have them generated. This is so I could use a unit of elephants.

OHW scenarios are normally for a tabletop size of 3 by 3 foot, and I would normally have slightly increased the size and played the game on a 4 by 4 foot tabletop. However, I though it would be interesting to try and stretch the scenario to fit a 6 by 4 foot tabletop. While at the same time increasing unit base sizes from the OHW suggested 4-6 inch width to a width of 12 inches. 

The rules remained the same when it came to movement with 6, 9 ad 12 inches for heavy infantry, light infantry, and cavalry.

Order of battle...

Romans:

  • 1 x Light infantry
  • 3 x Heavy infantry

Carthaginians:

  • 1 x Light infantry
  • 1 x Elephants
  • 1 x Light cavalry
  • 3 x Heavy infantry
In terms of rules for elephants and light cavalry as OHW does not have specific rules for them:

Light Cavalry - operate like light infantry (Skirmishers) moving 12 inches and are allowed to exit combat with enemy foot units. They cannot pass through through other friendly units unlike light infantry.
Elephants - move 9 inches, hits equal a D6 with no reductions for armour. When eliminated roll D6:
  • 1-2 they go berserk and attack nearest friendly unit within 9 inches and are then removed from play.
  • 3-4 they are removed from play immediately.
  • 5-6 they go berserk and attack nearest enemy unit within 9 inches and are then removed from play.
Generals - I also had one general in each army assigned to a heavy infantry unit. These represented the veteran part of the army. Units with an assigned general were able to re-roll they hit D6, but had to accept the second value.

Opening moves of the game with Roman forces defending the town and wooded hill and Carthaginian forces having to wheel around to engage.

My figures are based on 4 by 3 inch bases. I used three of them to make a unit with a 12 inch width. This made for some largish looking units and also helped with the tracking of hits. For each 5 hits one based was removed.

Carthaginians split their attack while the elephants engage the Roman centre.

The town defenders are drawn out to support the defence against the elephants. The Carthaginian light cavalry were now unable to join any attack and waited in reserve for an opportunity.

The Roman centre collapses and the remnants are able to escape and hold up in the town. Time is now against the Carthaginians who need to control one of the town or hill objectives to salvage the game and get a draw.

Romans did enough in the end to win by holding the town and denying control of the hill. One more turn and the Carthaginians would have controlled the hill and gained a draw.

I enjoyed playing the scenario and using the larger unit sizes. As for the reasons I liked the larger units, they are:

  1. They are visually more appealing and I get to see more of the figures I have spent time and effort painting, which is always a good thing.
  2. The ability to manoeuvre units is restricted as they can easily get the way of each other. I definitely started to think more in terms of my army's centre and flanks, and what was in my first line and second line for support. 
  3. The benefits of a front line of light infantry who can pass through the lines behind heavy infantry became a lot more apparent to me. The larger units stopped light infantry from moving sideways out of any trouble.
  4. The constraints of movement places more importance on how an army is deployed. As any deployment mistakes are not easily undone with some quick manoeuvres before engaging the enemy.

Further thoughts:

  1. I am really tempted to increase the size of units for my Punic War campaign and reduce to number of units to 6-8 rather than the intended 10-12 units.
  2. Rather than removing one base from a unit for every 5 hits, have one base removed after 7 hits. A unit would then be eliminated upon taking 14 hits (one less than OHW's 15 hits for elimination). That way units will always have a minimum of 2 bases.
  3. Having read Lost Battles by P. Sabin I definitely want to see what deployment rules can be added.
As for my Punic War campaign, the opening campaign moves are to be made this weekend.

Monday, 5 July 2021

A naval game report to start of the Ancient campaign

The Ancients campaign has begun with a naval tabletop battle. Each campaign turn begins with a naval game with the losing player having to make their campaign map moves first. It is always an advantage to move second after your opponent. For a quick recap of the campaign rules they can be found here.

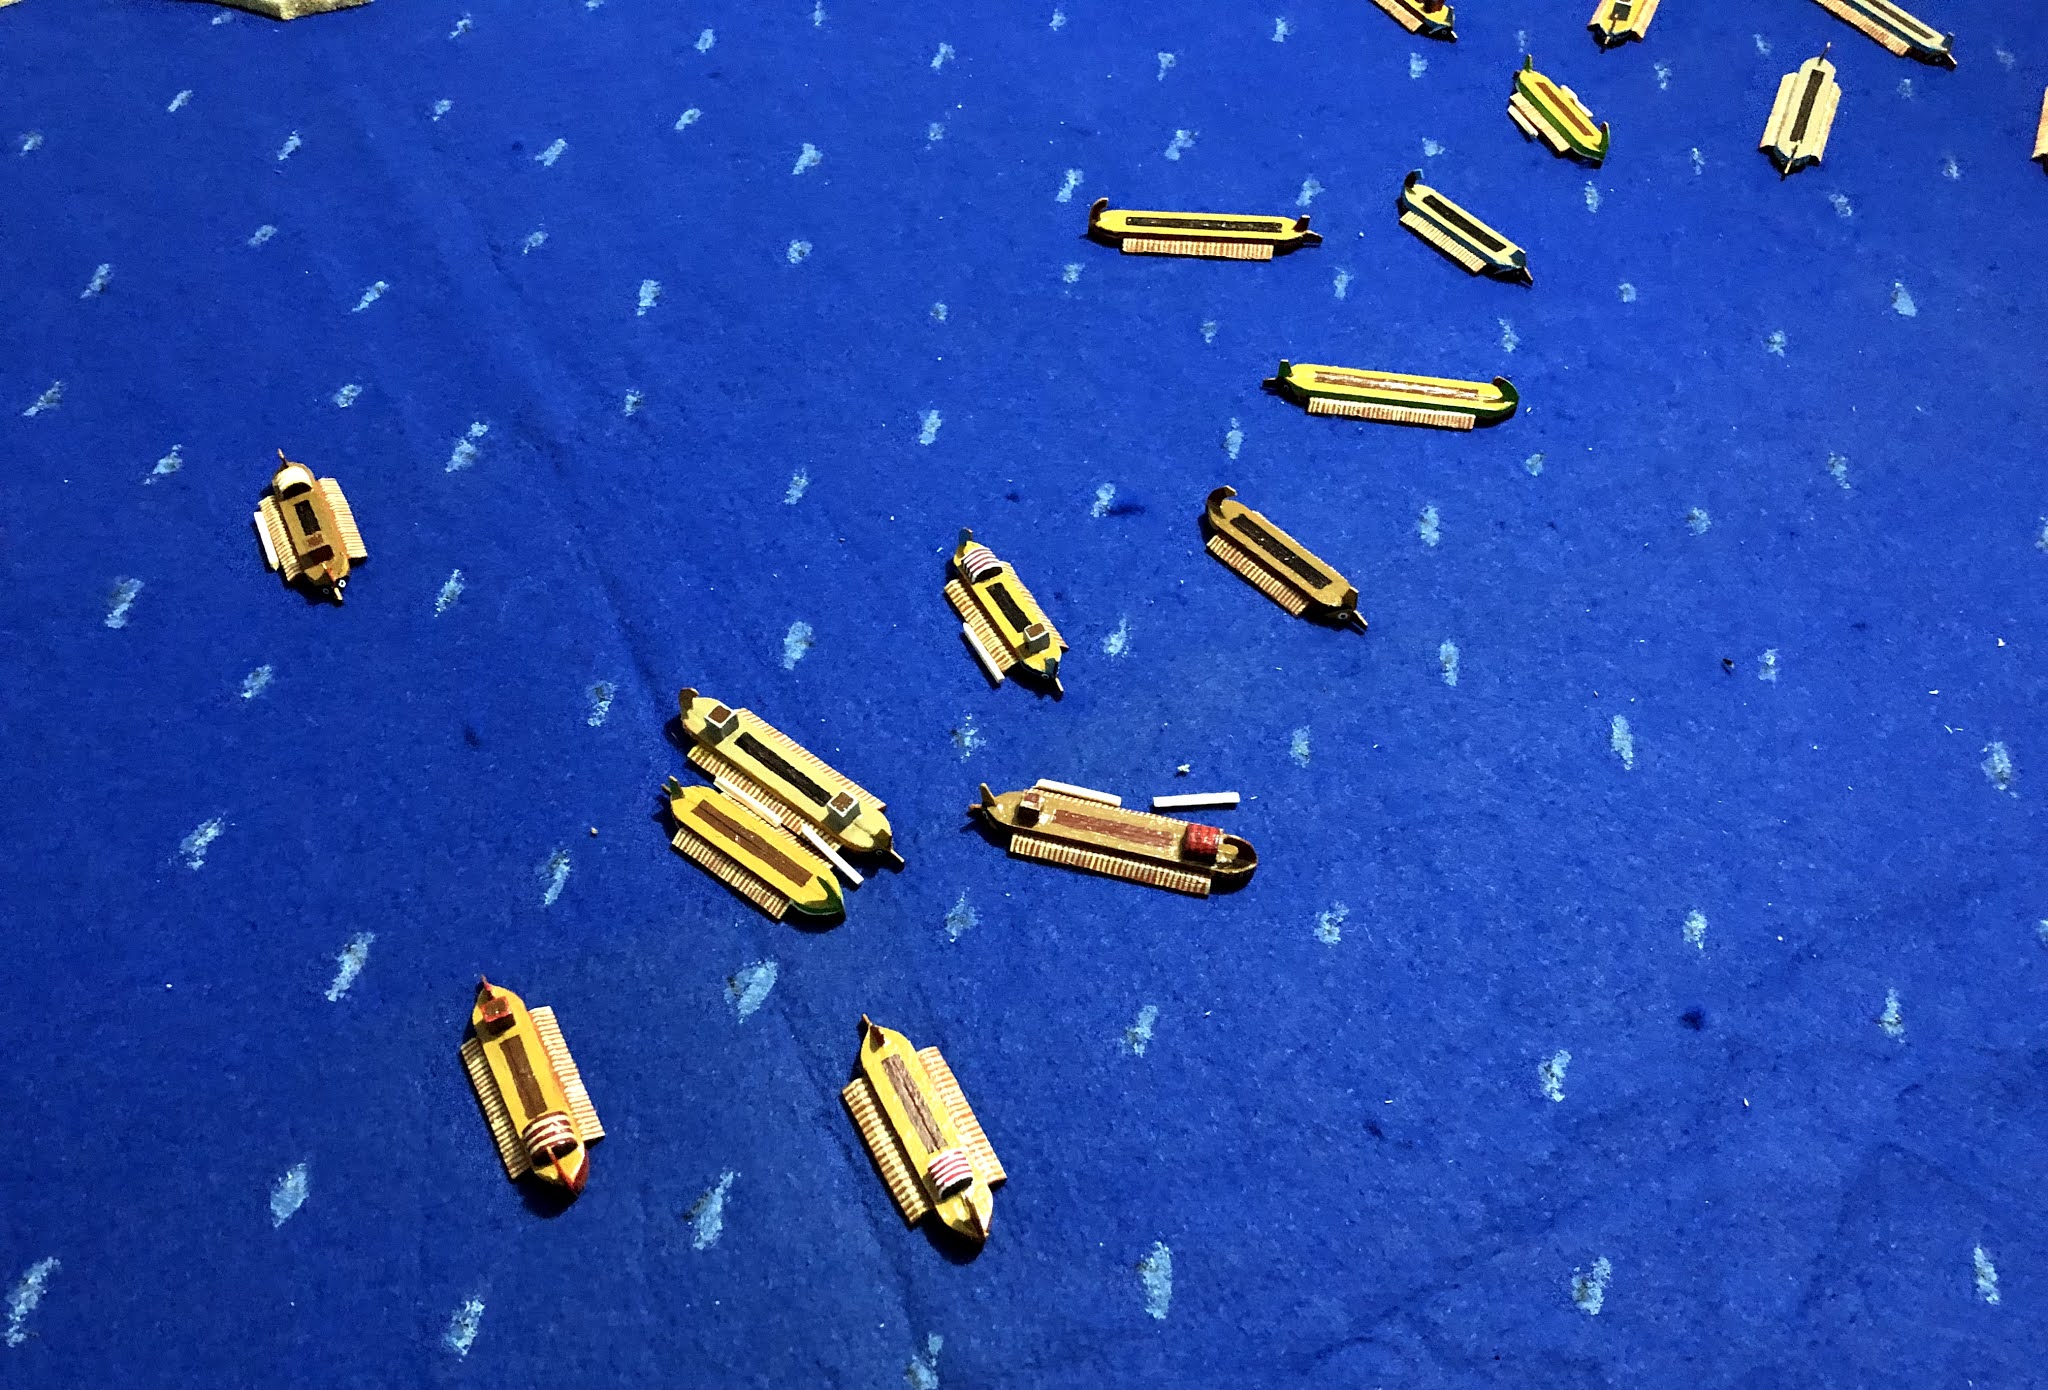
On Sunday night I was able to clear the tabletop and set up and play a game. The following photographs show the game, but it is difficult to determine which ships are from either side once they engage.

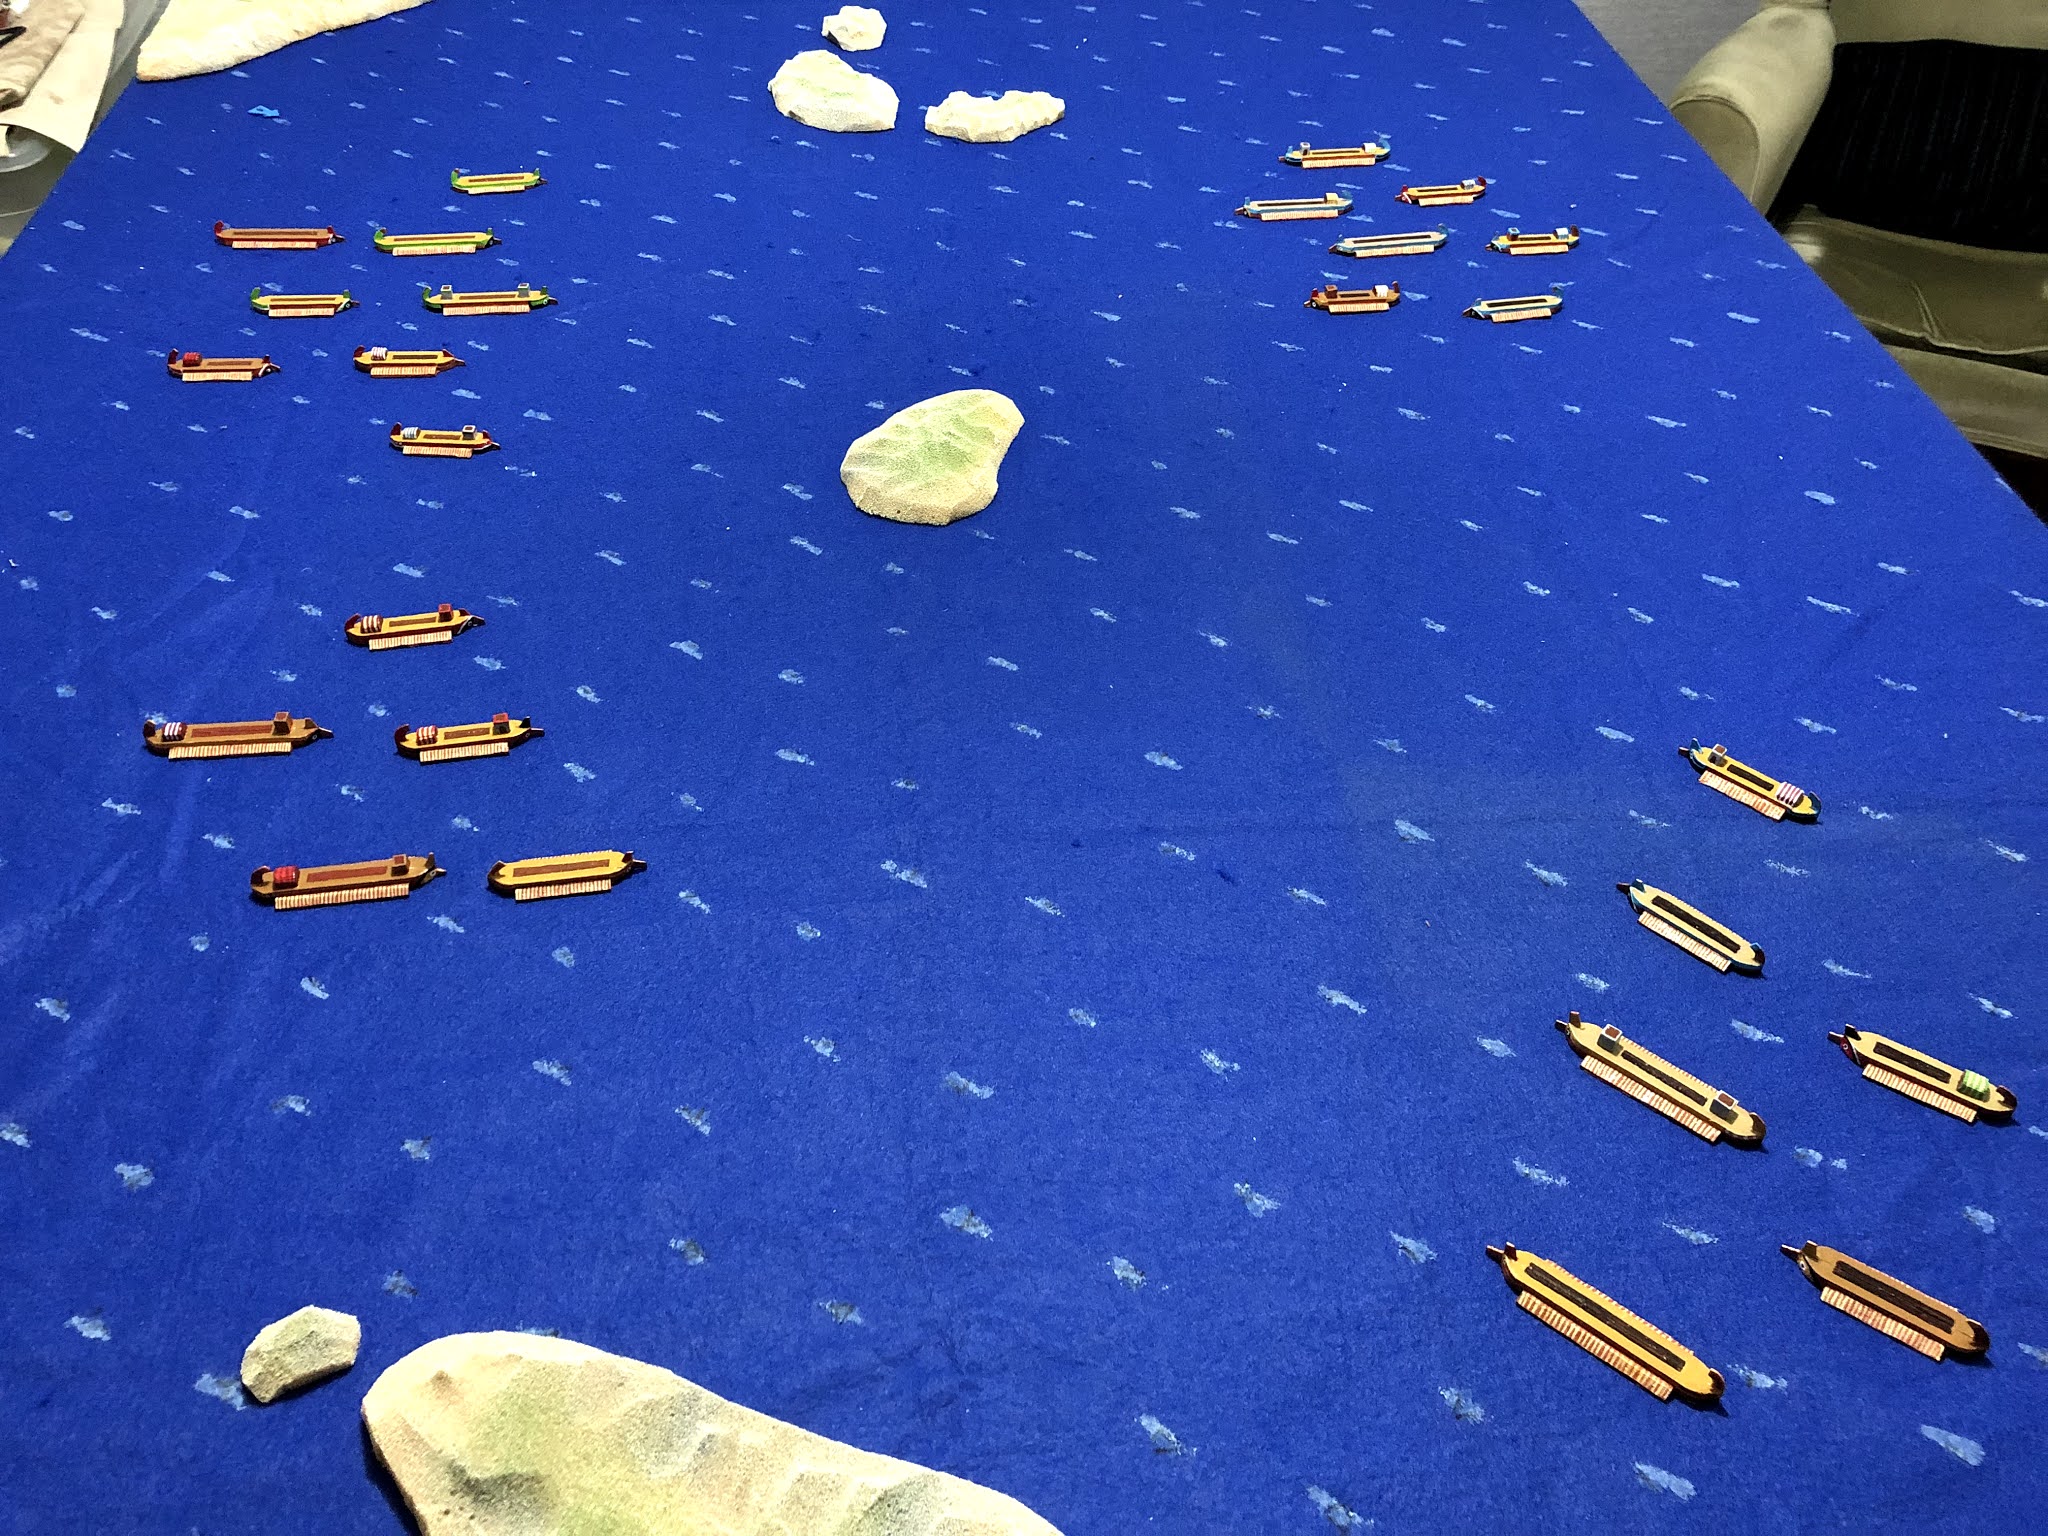
The game set up - Roman fleet on the left in one group and on the right two Carthaginian groups. The game uses a hex grid with the points of each hex marked with a white dab trying to look like a wave. 

Opening moves viewed from the Carthaginian fleet's position.

The Romans split their fleet to meet the two advancing Carthaginian groups as they both come together. The photo is from the Carthaginian side.

On the Roman left they have a small advantage, but are struggling badly on their right.  The photo is from the Roman side

The battle breakdowns into a series of individual battles. The advantage is definitely with the Carthaginians at this point of the sea battle.

Once the Roman fleet had lost 50 percent of their fleet their isolated ships quickly disappeared and victory was soon with the Carthaginians.

The rules were quick to play and the game took about 40 minutes to complete. The rules used are posted here. I found the hexes certainly helped to speed up the game with no measuring or worrying about angles when ramming or performing oar strikes.

Saturday, 3 July 2021

Samurai project and the generosity of other wargamers

Let's start with the generosity of other wargamers. This week a book "Samurai Warfare" arrived in the post which was very kindly gifted by Rob a fellow wargamer. Based on a quick flip through, the book will prove really useful as I paint and organise my Samurai miniatures. 

The gifted book

The samurai project is starting to gain a bit of traction and figures are beginning to come off the painting table. Rather than base them on 4 by 3 inch bases as I usually do in groups of 10 to 12 figures. I decided to have them based them in groups of 6 figures on half bases 4 by 1.5 inches. This will allow me to mix and match the bases to create a unit. For example, a half unit of bowmen or arquebus can be added to spearmen. This has the benefit of reducing the number of spearmen I have to paint and I can stretch out their limited numbers.

Figures based on 4 x 1.5 inch bases each base is a half unit.

Two bases are joined to make a unit

A combined spear and bow unit

In terms of painting the armies I am going with two imaginary forces. One army will be painted with reds and browns and the other with blues and greys. To name the armies, and have a bit of fun, I used Google Translate to convert the names I have given the armies:

  • Aoi nuno - Blue cloth clan
  • Akai nuno - Red cloth clan

I have no idea as to the accuracy of the translation, but I am going with this for the time being.

The plan for what remains of this weekend is to begin the ancients campaign with a naval battle game.

Saturday, 26 June 2021

Ancient Naval Games

As part of the upcoming ancients campaign I will be playing one naval game at the start of each campaign turn to determine which side completes all their campaign moves first. I opted to write my own hex-based simple rules with combat mechanisms using opposing dice rolls. I have endeavoured to keep bookkeeping to a minimum with matchsticks broken in half (which hopefully looks like debris) placed beside ships to record successful oar-strikes.

Start of a game.

From my limited reading on this subject the aspects of ancient naval warfare are:

  • Commanding a fleet was no easy feat and they generally adopted the "follow the leader” approach for manoeuvres. 
  • When the fleets came together and combat started, plans would fall apart into confusing melees with every ship for itself.
  • Attacks involved oar strikes to disable the enemy or ramming and boarding.

To try and reflect this:

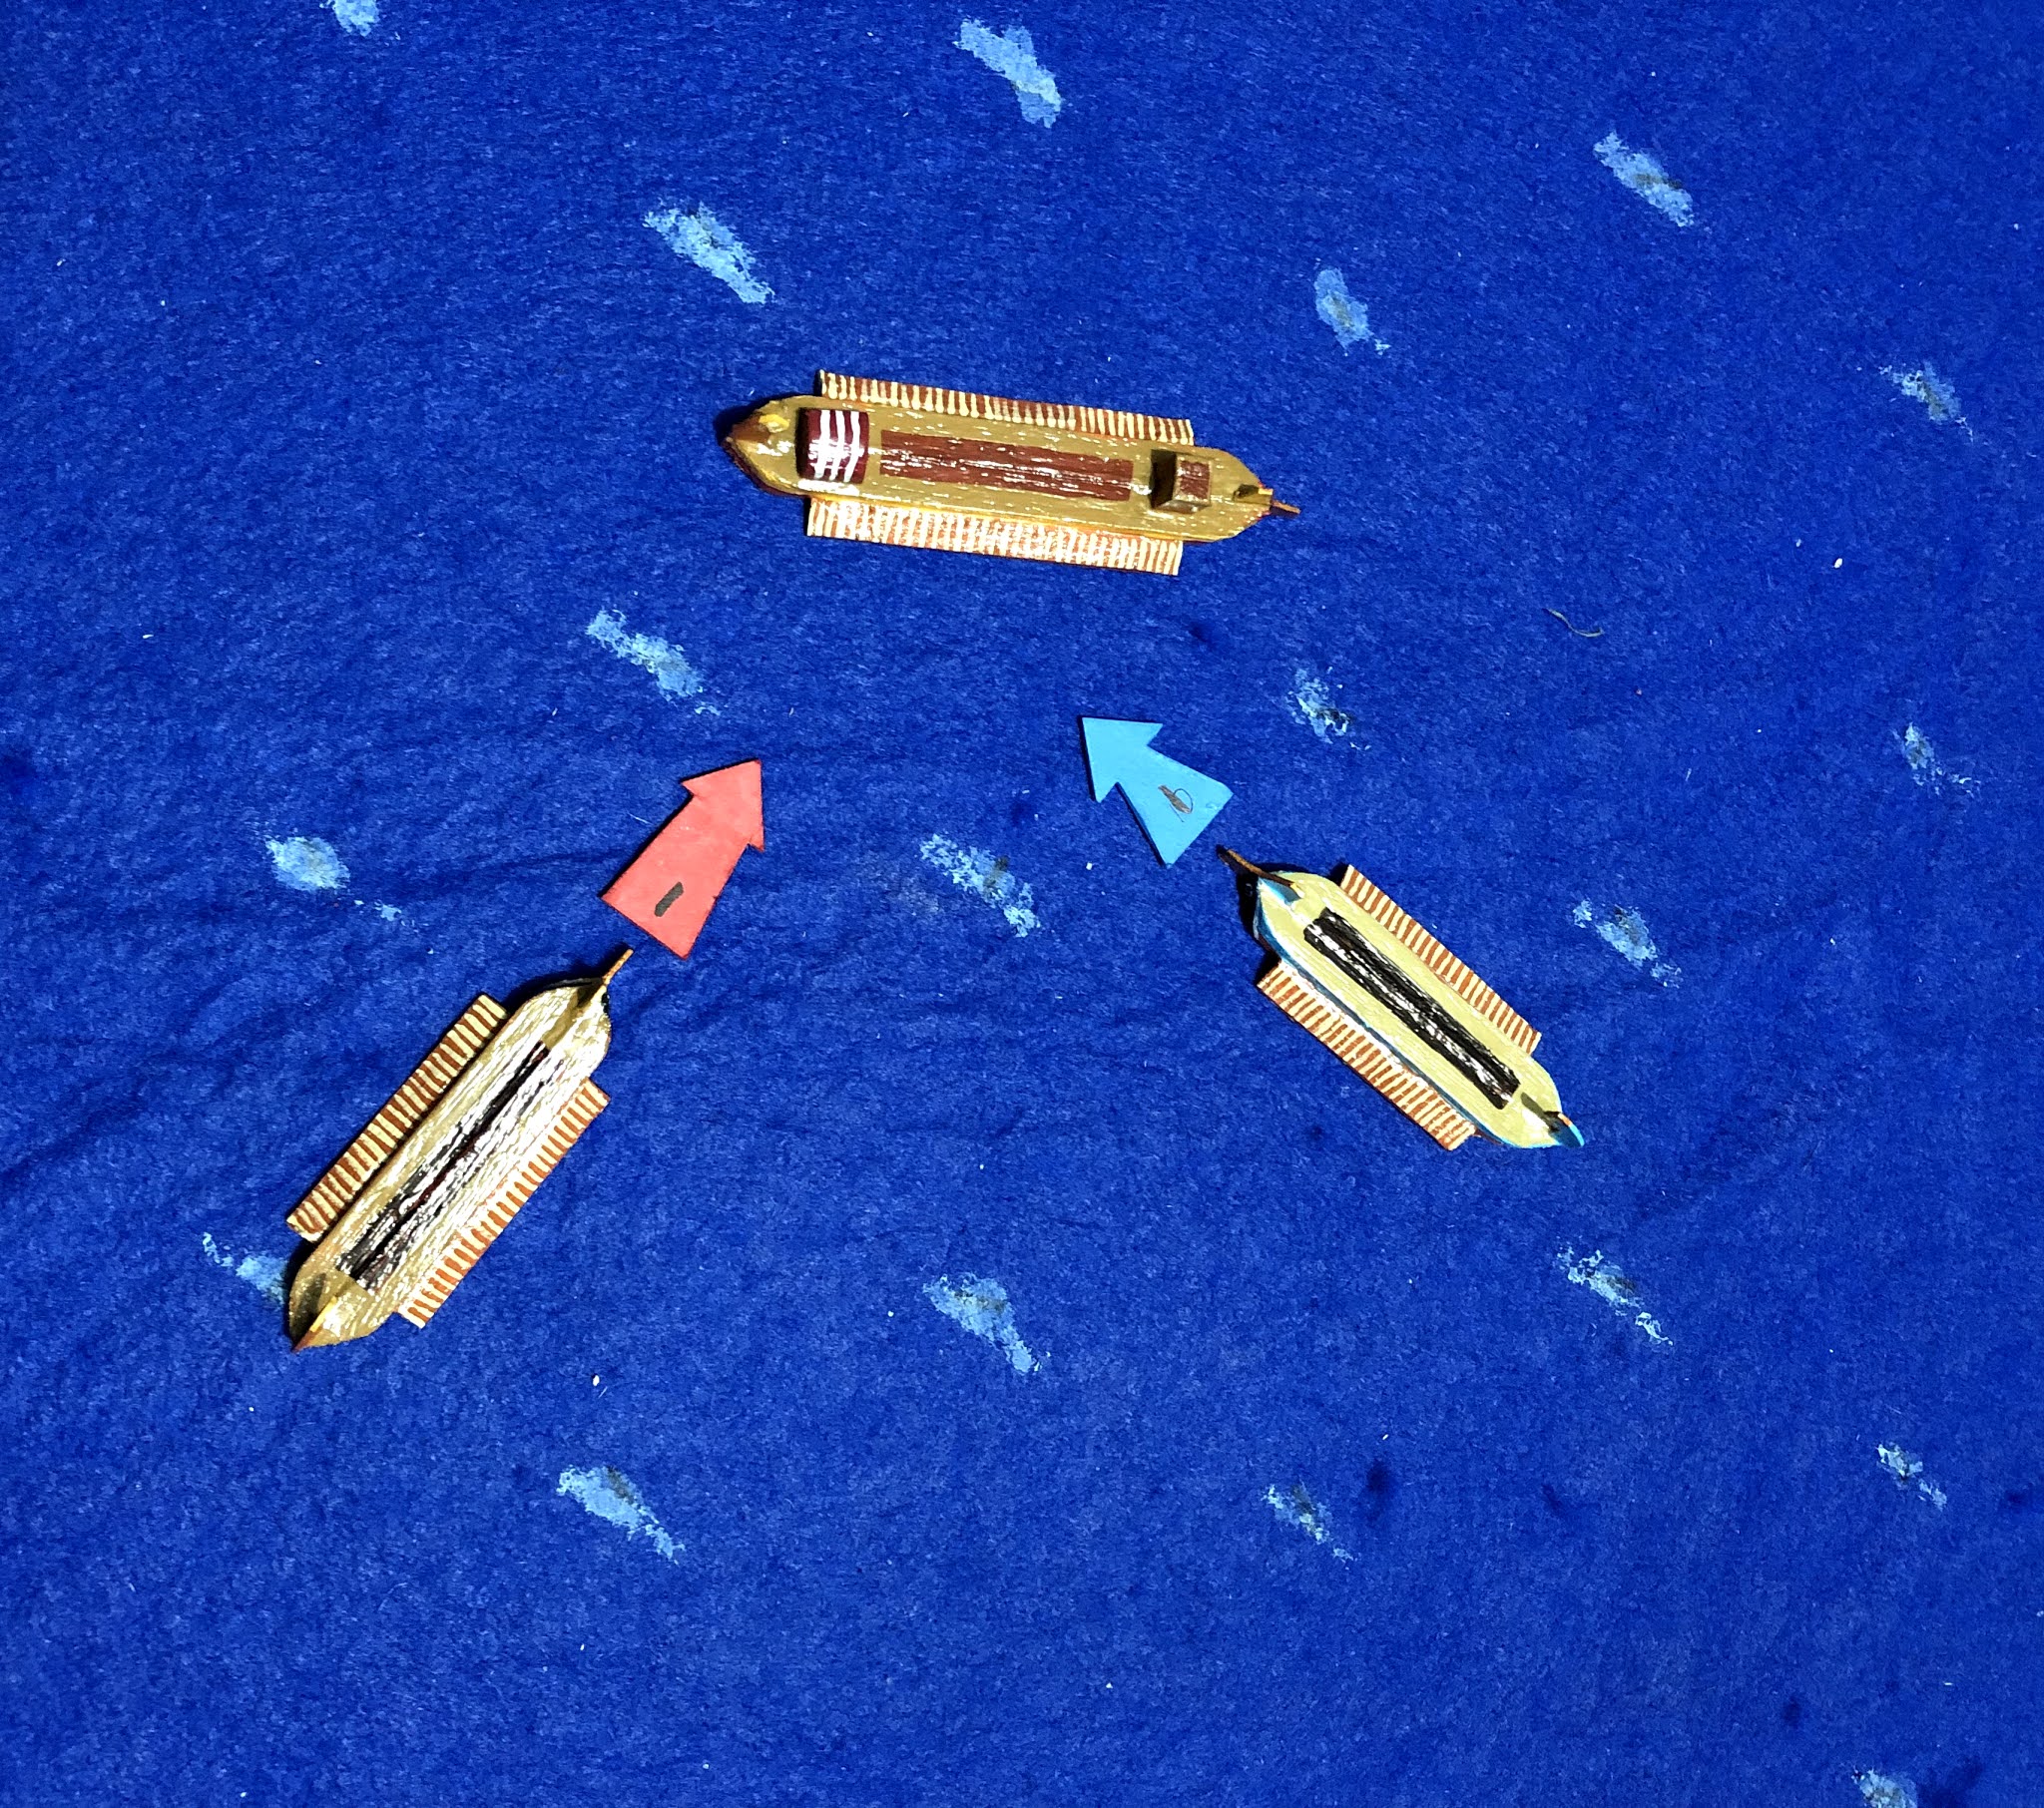
  • Ships must move in groups and any single and isolated ships cannot attack. They are expected to regroup and move towards friendly ships. When more than half the ships are lost, then these isolated ships are removed. So keeping all your ships in groups is important, if they get split up your are going to be at a disadvantage.
  • To keep the rules simple there are only two types of attack: oar strikes which will disable a ship and reduce its effectiveness, and ramming and boarding which will result in the sinking of the target ship. However, ramming and boarding can result in both ships being entangled and both considered destroyed. When this happens they remain on the tabletop and an impediment to movement, representing the carnage of the sea battle.

There are lots of classes of ships and I have chosen, again for simplicity, to have ships classified as being small or large in the rules:

  • Small ships representing the Trireme class of ships which are more manoeuvrable, but not as effective when ramming and boarding.
  • Large ships representing the Quinquireme class of ships which are most effective at ramming and boarding.

Games will need about 10-12 ships per side.

On to the rules...

Sequence of play

The game is played in turns. During a player’s turn they:

  1. Check their fleet’s morale
  2. Activate ships one ship at a time completing all their actions before activating the next ship.
  3. When all the ships have had the opportunity to be activated, the opposing player begins their turn.

Movement

All ships have 3 movement points (MPs) and they can use their MPs to move, turn, and make attacks on enemy ships. It costs:

  • 1MP to move straight ahead 1 hex.
  • 1MP to turn the facing one hex side for large ships.
  • 2MP to move backwards 1 hex
  • 1MP to make an attack on another ship

Small ships being more manoeuvrable are allowed one free turn during their activation.

Ships do not need to use all their MPs in a turn, but cannot carry over any unused MPs.

A ship’s MPs are reduced by 1MP for every damage to the oars from enemy oar-strike attacks. Ships with no MPs after 3 oar strikes cannot move, they are dead in the water and very vulnerable to attack.

Ships which do not start their movement in an adjacent hex to a friendly ship can move, but cannot make attacks.

Ships cannot move through hexes occupied by other ships.

A ship spends 1 MP to turn 1 hex side and 2 MPs to move ahead 2 hexes.

Example of an isolated ship is shown by the red arrow.

An example of a small ship making one free turn, then a second turn (1 MP) before moving ahead using the remaining 2 MP's. 

Resolve Attacks

There are 2 types of attacks:

  1. Oar Strike - attacks on the front or rear of a ship.
  2. Ramming and Boarding - attacking the sides of a ship to sink it.

Oar Strikes

An oar strike occurs when attacking a ship from the front or rear ships. Successful oar strikes reduce the ability of a ship's movement by shearing off a ship's oars. The procedure is:

  1. Both ships roll a D6 and subtract their oar damage. 
  2. If attacking the stern, add 1 to the attacking ship's score.
  3. If the attacking ship’s dice score is higher, then the attack is successful and an oar damage is placed on the target ship. 
  4. Otherwise the target ships successfully avoided the attack.
Two examples of oar strikes. The red oar strike will benefit because that are attacking the stern.

Examples of ships with damage from oar strikes recorded with broken matchsticks.

Ramming and Boarding

A ramming occurs when attacking a ship from the side. A successful ramming and boarding attack will sink the target ship. While an unsuccessful attack can result in either no damage or both ships getting entangled and out of the game. The procedure is:

  1. Both ships roll a D6 subtracting their oar damage.
  2. If attacking from aft, add 1 to the attacking ship's score.
  3. If a large ship, add 1 to the score whether defending or attacking.
  4. If the attacking ship’s dice score is higher, then the attack is successful and the target ship is removed as captured or sunk. Move the attacking ship into the vacated hex.
  5. If the scores are equal, then both ships are damaged and are locked together. Move the attacking ship into the hex with the target ship. Both ships are out of the game and other ships cannot enter the hex.
  6. Otherwise the target ship has avoided the ramming attempt or fought off any boarding attack.
Two examples of ramming and boarding attacks. The red attack will benefit because they are attacking from aft. 

The battle continues on around two entangles ships

Check Morale

When more than 50% of ships are lost. Any isolated ships not in an adjacent hex to other friendly ships at the start of the player’s turn are removed from play. Note, friendly entangled ships are ignored and do not count as friendly.

Winning the Game

The games ends when one player cedes the game.


Saturday, 19 June 2021

Finishing off some wooden block houses

Before starting the painting of Samurai units for my next project. I tidied up the painting table by completing some wooden block buildings. These houses had been sitting around for a month or two undercoated.

The houses are simply made from wood and a modelling paste used to texture the roofs. All other details are painted on.


4 houses were painted up during the past week.

The roofs are a modelling paste textured with a toothpick.

In all seven houses and one windmill have been made for my horse and musket games.

One thing I like about these models is they are robust with no fiddly bits to break off when stored.


Sunday, 13 June 2021

Planning the next painting project

Having finished painting all the units I need for my ancients games and soon to be started simple 2nd Punic War campaign. It is time to decide the next painting project. There are a three options which I can do that don't involve purchasing new figures, they are:

  1. Finish painting some old Seven Years War Spencer Smith plastic figures to add to my existing small SYW collection.
  2. Paint some Warhammer starter set figures to oppose an already painted Orc army for some Dragon Rampant style games.
  3. Paint some old Miniature Figures Samurai for 16th Century Japan. A combination of some old figures and secondhand figures purchased 18 months ago.
I am not sure why, but 16th Century Japan seems the most enticing. In all I have approximately 400 figures to paint. They are simple figures from Minifigs S range, I believe, but I am not sure. I have been doing a bit a reading and the following picture is the inspiration for undertaking this project.

The inspiration for the project

The picture is from the book "The Samurai - A Military History" by S.R. Turnbull.

Currently reading.

I pulled out the boxes containing the figures and completed a count of what is available to make up two armies. I am planning on having between 9 to 12 units per army.

Boxes of Samurai figures

As mentioned these are not detailed figures and size-wise they are smallish 25mm miniatures. I will be painting them is a glossy toy soldier look. I am still thinking about the best approach for basing them. Normally I base my units on 4" by 3" bases containing 9 to 12 figures. This time I plan to use 4" by 1.5" bases with 5 to 6 foot figures mounted on them. This way I can mix and match pikes with bows and arquebus to create mixed units or solely units of pikes or bows and arquebus. Mounted units will use 4" by 2" bases of 5 or 6 cavalry.

A couple of test figures painted

Trying out basing options

Given the simplicity of the painting approach I am hoping to get through all the units over a timeframe of 6 to 9 months.


Friday, 4 June 2021

WW2 Western Desert Campaign Wrap Up

Well, the WW2 Western Desert campaign finally finished last week with an AXIS victory.  Possibly not the result I was looking for but an enjoyable campaign nonetheless. I did a quick count back on the campaign turns and games played. In all there were 11 campaign turns and 27 tabletop games played. This all occurred over a period of 15 months between March 2020 and May 2021.

Campaign Map

Campaign Diary

Keeping a campaign going over a long period of time can be problematic, even with a solo campaign where the only dependency is upon myself and my motivation. The linear campaign approach, based upon the KISS Rommel campaign rules, allowed me to easily pick up the campaign after a few weeks break. I would just have to look at the photos of the last blog posting to quickly set up the campaign map and get going. My blogging was essentially my campaign diary and key to tracking progress and for referring back to any rule amendments.

Campaign Rules

The campaign rules were adjusted a couple of times as the campaign progressed, and finally settled down halfway through the campaign. For those interested they can be found here. There are a couple of areas I would revisit if running the campaign again:

  • The supply rules were applied evenly for both sides. I would tweek this if running the campaign again. I would use a set of chance cards for each side with the number of supplies and a brief description explaining why the supplies were lower or higher than expected to help with the campaign narrative. By using cards it would be easier to reflect the AXIS difficulty in obtaining and delivering supplies. Additionally, there could be conditions on the cards such as - “If Tobruk is not held, reduce supplies by 1”.
  • Another area I would modify would be in the use of minefields. They were widely used and it was a rare occurrence in my tabletop games. I would allow two of the defending infantry divisions to deploy mines at no supply cost. The divisions would have to be selected prior to placing the defensive division counters face down on the campaign map.

Tabletop Game Set Up

The terrain cards worked well, a carry over from my English Civil War campaign, with additional rules that allowed:

  1. Defenders to swap two adjacent cards on the first game to make the terrain set up more advantageous for defence.
  2. In the second game both players had to accept the cards as they were laid out.
  3. In the third game the attacker was allowed to swap two adjacent cards to their advantage.

Example of the terrain cards.

The type of game to be fought (frontal assault, flank attack, or escalating encounter) was influenced by whether it was the first, second, or third game. This worked well and I would have liked to introduce some more types of attack or variations of the existing types of games. The tabletop game setup rules are here.

Tabletop Rules

One of the reasons I like to run campaigns is to test out some new home-brew rules or test variations I have concocted for an existing ruleset. The campaigns force me to work away at the rules (or variations). This can be rewarding, if you get it right, or frustrating when things don’t work out to one’s own expectations. However, the campaign encourages me to be persistent.

The rules used and only slightly modified by the end of the campaign.

Tabletop rules started as the Tank on Tank rules (living rules which are downloadable from Lock ‘n’ Load games). I really like these rules and their games, East Front and West Front, which are available as online games through the Steam gaming platform. Both games are geared towards the latter part of WW2. So I began the campaign using these rules with minor modifications to the unit defence and range values. 

Gradually as the games progressed I tried out using D10 rather than the 2D6 dice from the rules. This then morphed into using opposing dice mainly because I don't like the way D10 dice roll (a personal quirk). I also tried having units taking two hits before elimination. Eventually, it was a big circle where towards the end of the campaign I returned to the original rules using 2D6, but with a rule that moving units do not get the +1 to their dice score, whereas stationary units do get the +1. 

For those who have not come across Tank on Tank rules, to make an attack add all shooting units in range to the 2D6 score and if equal or higher than the target defence value the unit is eliminated. So wonderfully simple, but there was one area of the rules that bothered me. It allowed units to rush up and attack without penalty, the change meant an attack could still be made, but not a coordinated attack with multiple moving units.

Dust and burn wreck markers in use.

Other rule modifications which stuck included: having dust from moving units block line of sight, and burning wrecks which were treated as difficult terrain costing an extra movement point to be consumed when moving through.

Settling on the home-brew rules changes was one of the objectives for the campaign, so regardless of the result I was happy with the campaign. Yes, I was hoping the Allies would have a comeback from behind win in the campaign. Anyway I will be writing up the rules either fully or as a quick reference sheet over the next few weeks and will post them.

Tabletop Games

The games themselves were played on a 4x4 foot tabletop with a homemade hexed gaming mat. I was pleased with how it all turned out, I even added a scenic backdrop. Originally my idea was to use a 6x4 foot tabletop with 17x13 hexes, but ended up playing small sized games, 11x11 hexes. These smaller games proved to be much more enjoyable and no less challenging. Smaller and quicker games can make a campaign less onerous to complete.

Tabletop set up for a game

As you can see my tabletop rule variations and campaign rules evolve as the campaign progress. As a solo gamer this adds to the enjoyment of a campaign as you work through ideas and refine the rules. (Although not a good approach if other wargamers are involved.)

Now it is time to start thinking about progressing the Ancients Campaign which will have both sea and land games to play.