Friday, 21 July 2023

Preparing for a ECW Marston Moor game

This weekend’s English Civil War (ECW) game is based on the Battle of Marston Moor fought on 2 July 1644 near the village of Long Marston in Yorkshire. Here are some details:

  • The Parliamentarian army was 28,000 strong, while the Royalist army was 18,000 strong.
  • The Parliamentarians were led by Lord Fairfax and the Earl of Manchester, while the Royalists were led by Prince Rupert and the Marquess of Newcastle.
  • The Parliamentarians won the battle which led to the capture of York by the Parliamentarians.
Will a Parliamentarian victory be repeated on the tabletop?

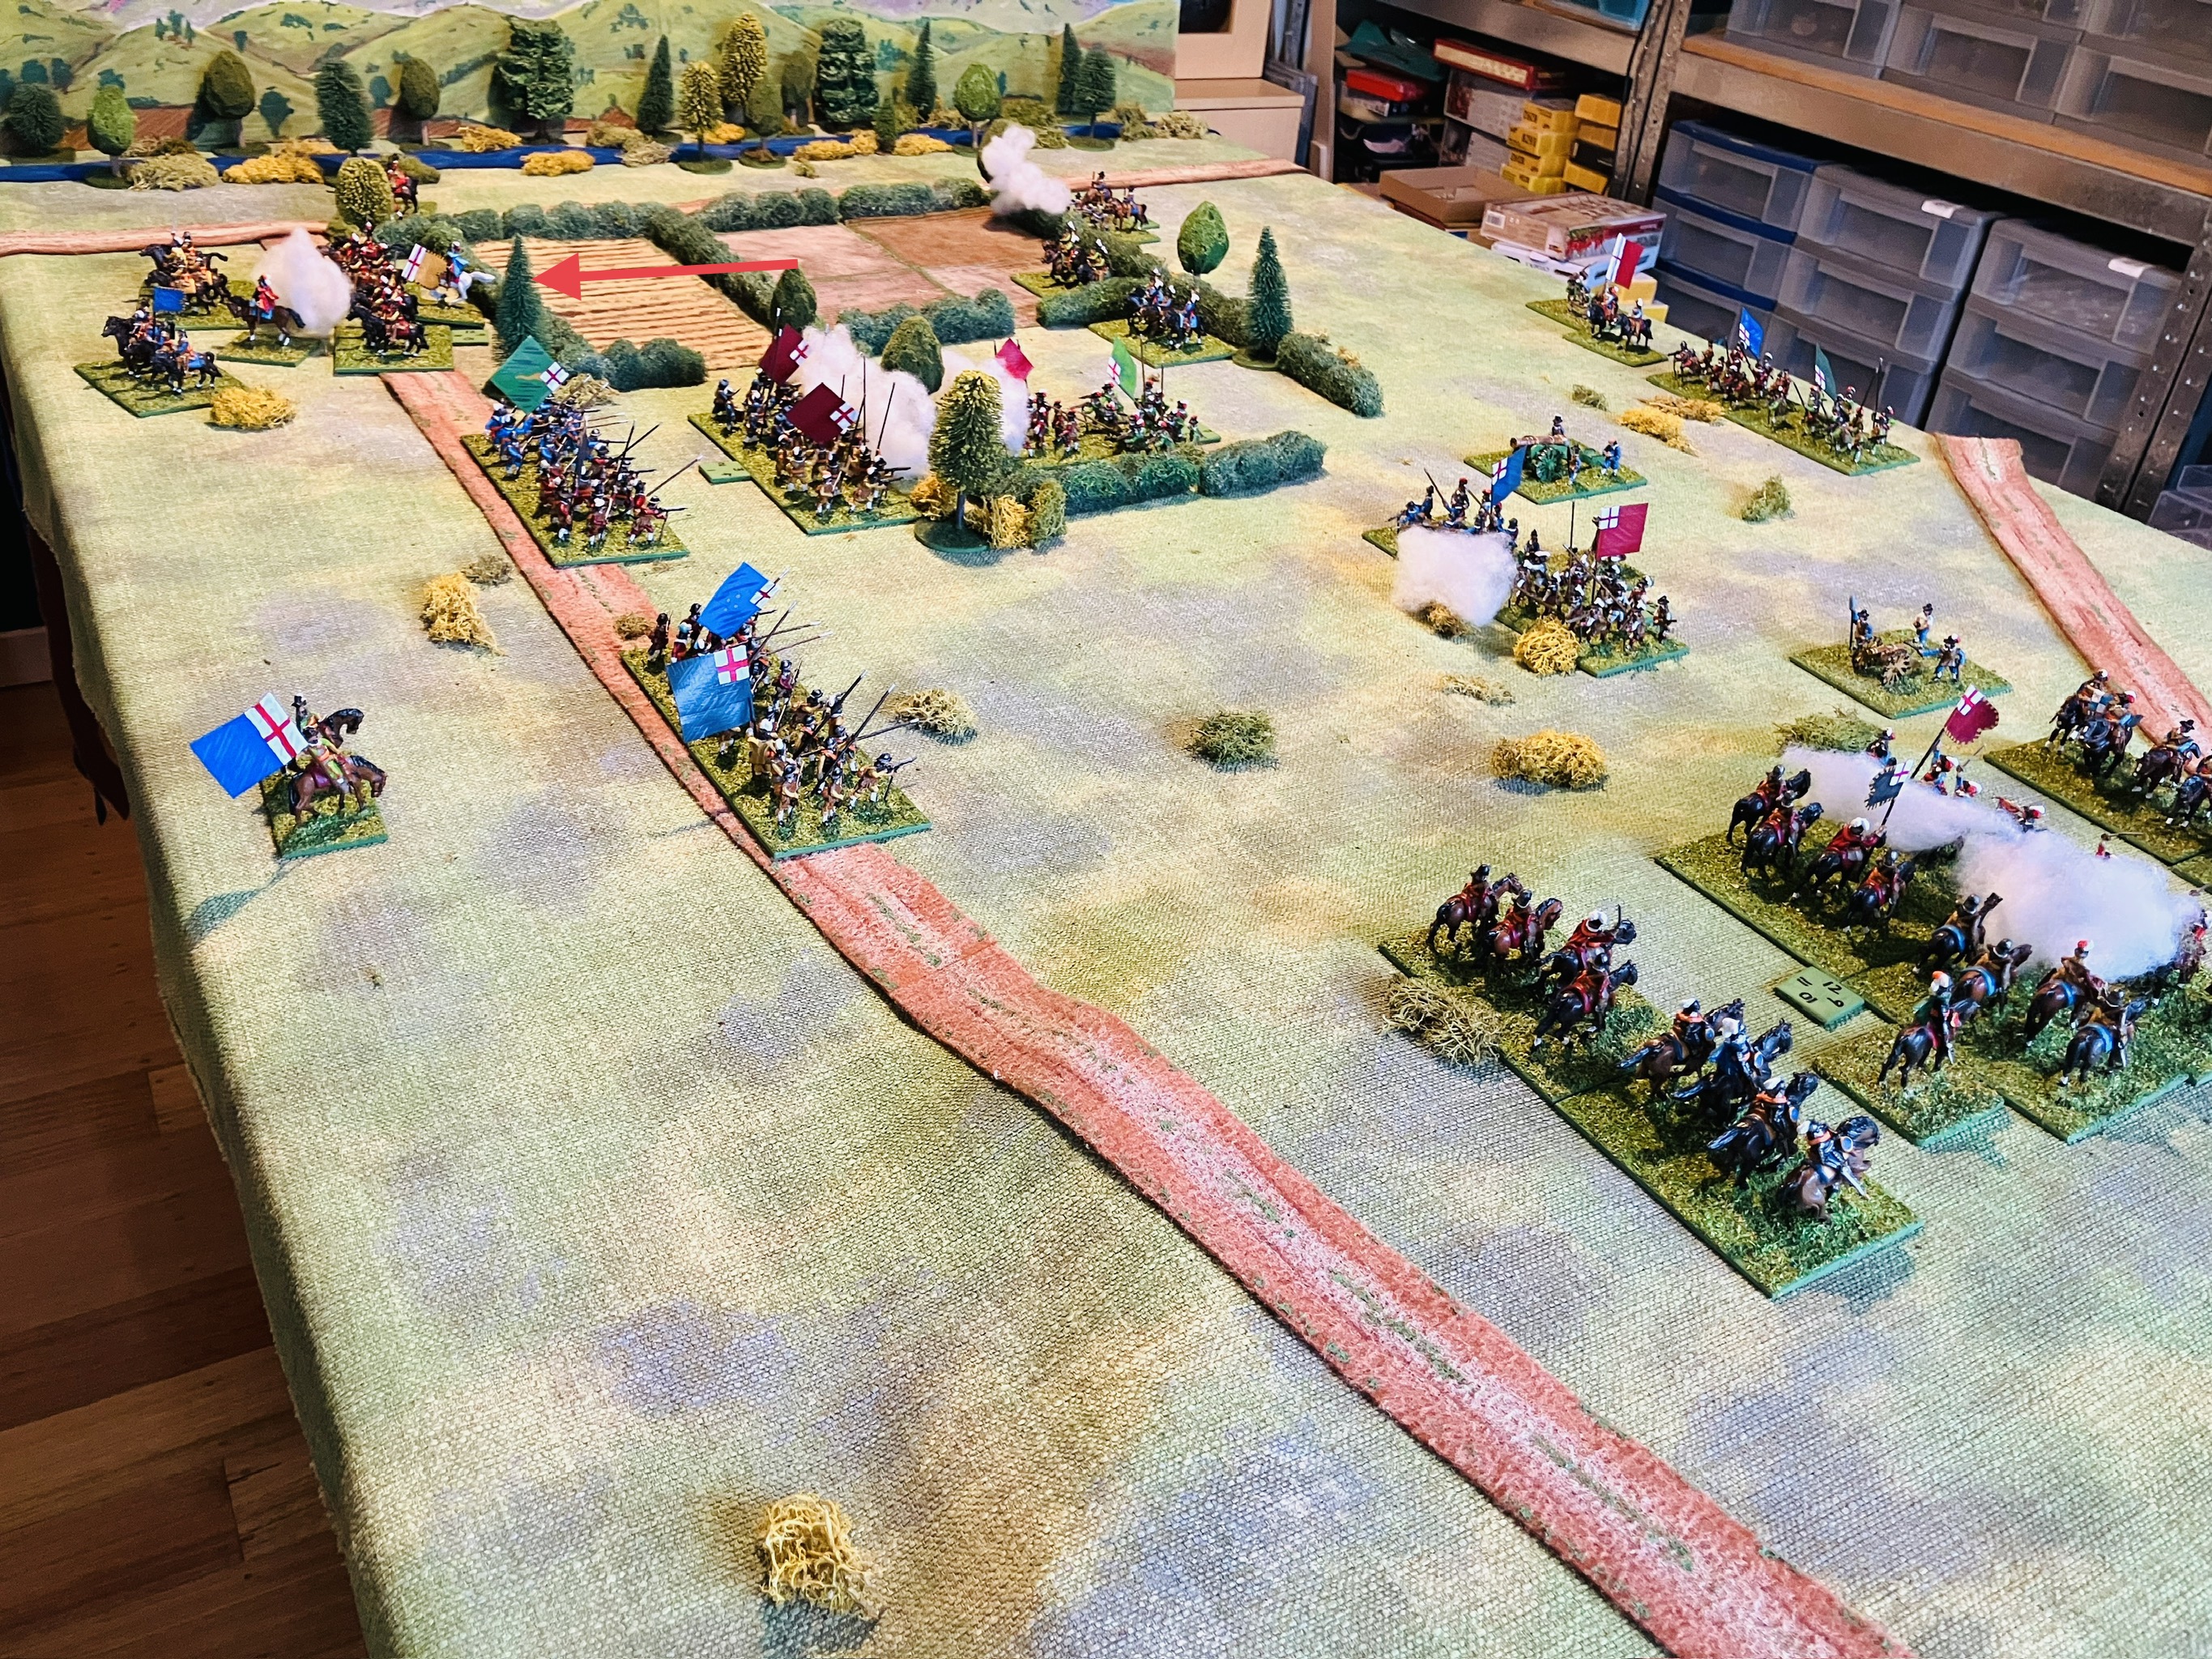
A close up on the Parliamentarian forces looking from Long Marston. The village of Tockwith can be seen in the background.

Marston Moor is a big battle so the game is going to be very much themed on the battle. I am also using pretty much using all my available units for this game. My primary inspiration for this game is based on the scenario from the book “With Pike and Musket”, but I also had a look at a couple of other books in my collection for ideas.

“With Pike and Musket” is the primary inspiration for this game.

The tabletop set up has an open area with a few hedgerows. The prominent terrain feature is a ditch across the Royalist army's front. Though crossable, it is treated as difficult terrain, impeding movement and any units crossing it will not be able to move and shoot. Defenders in a melee gain bonuses when holding their ground.
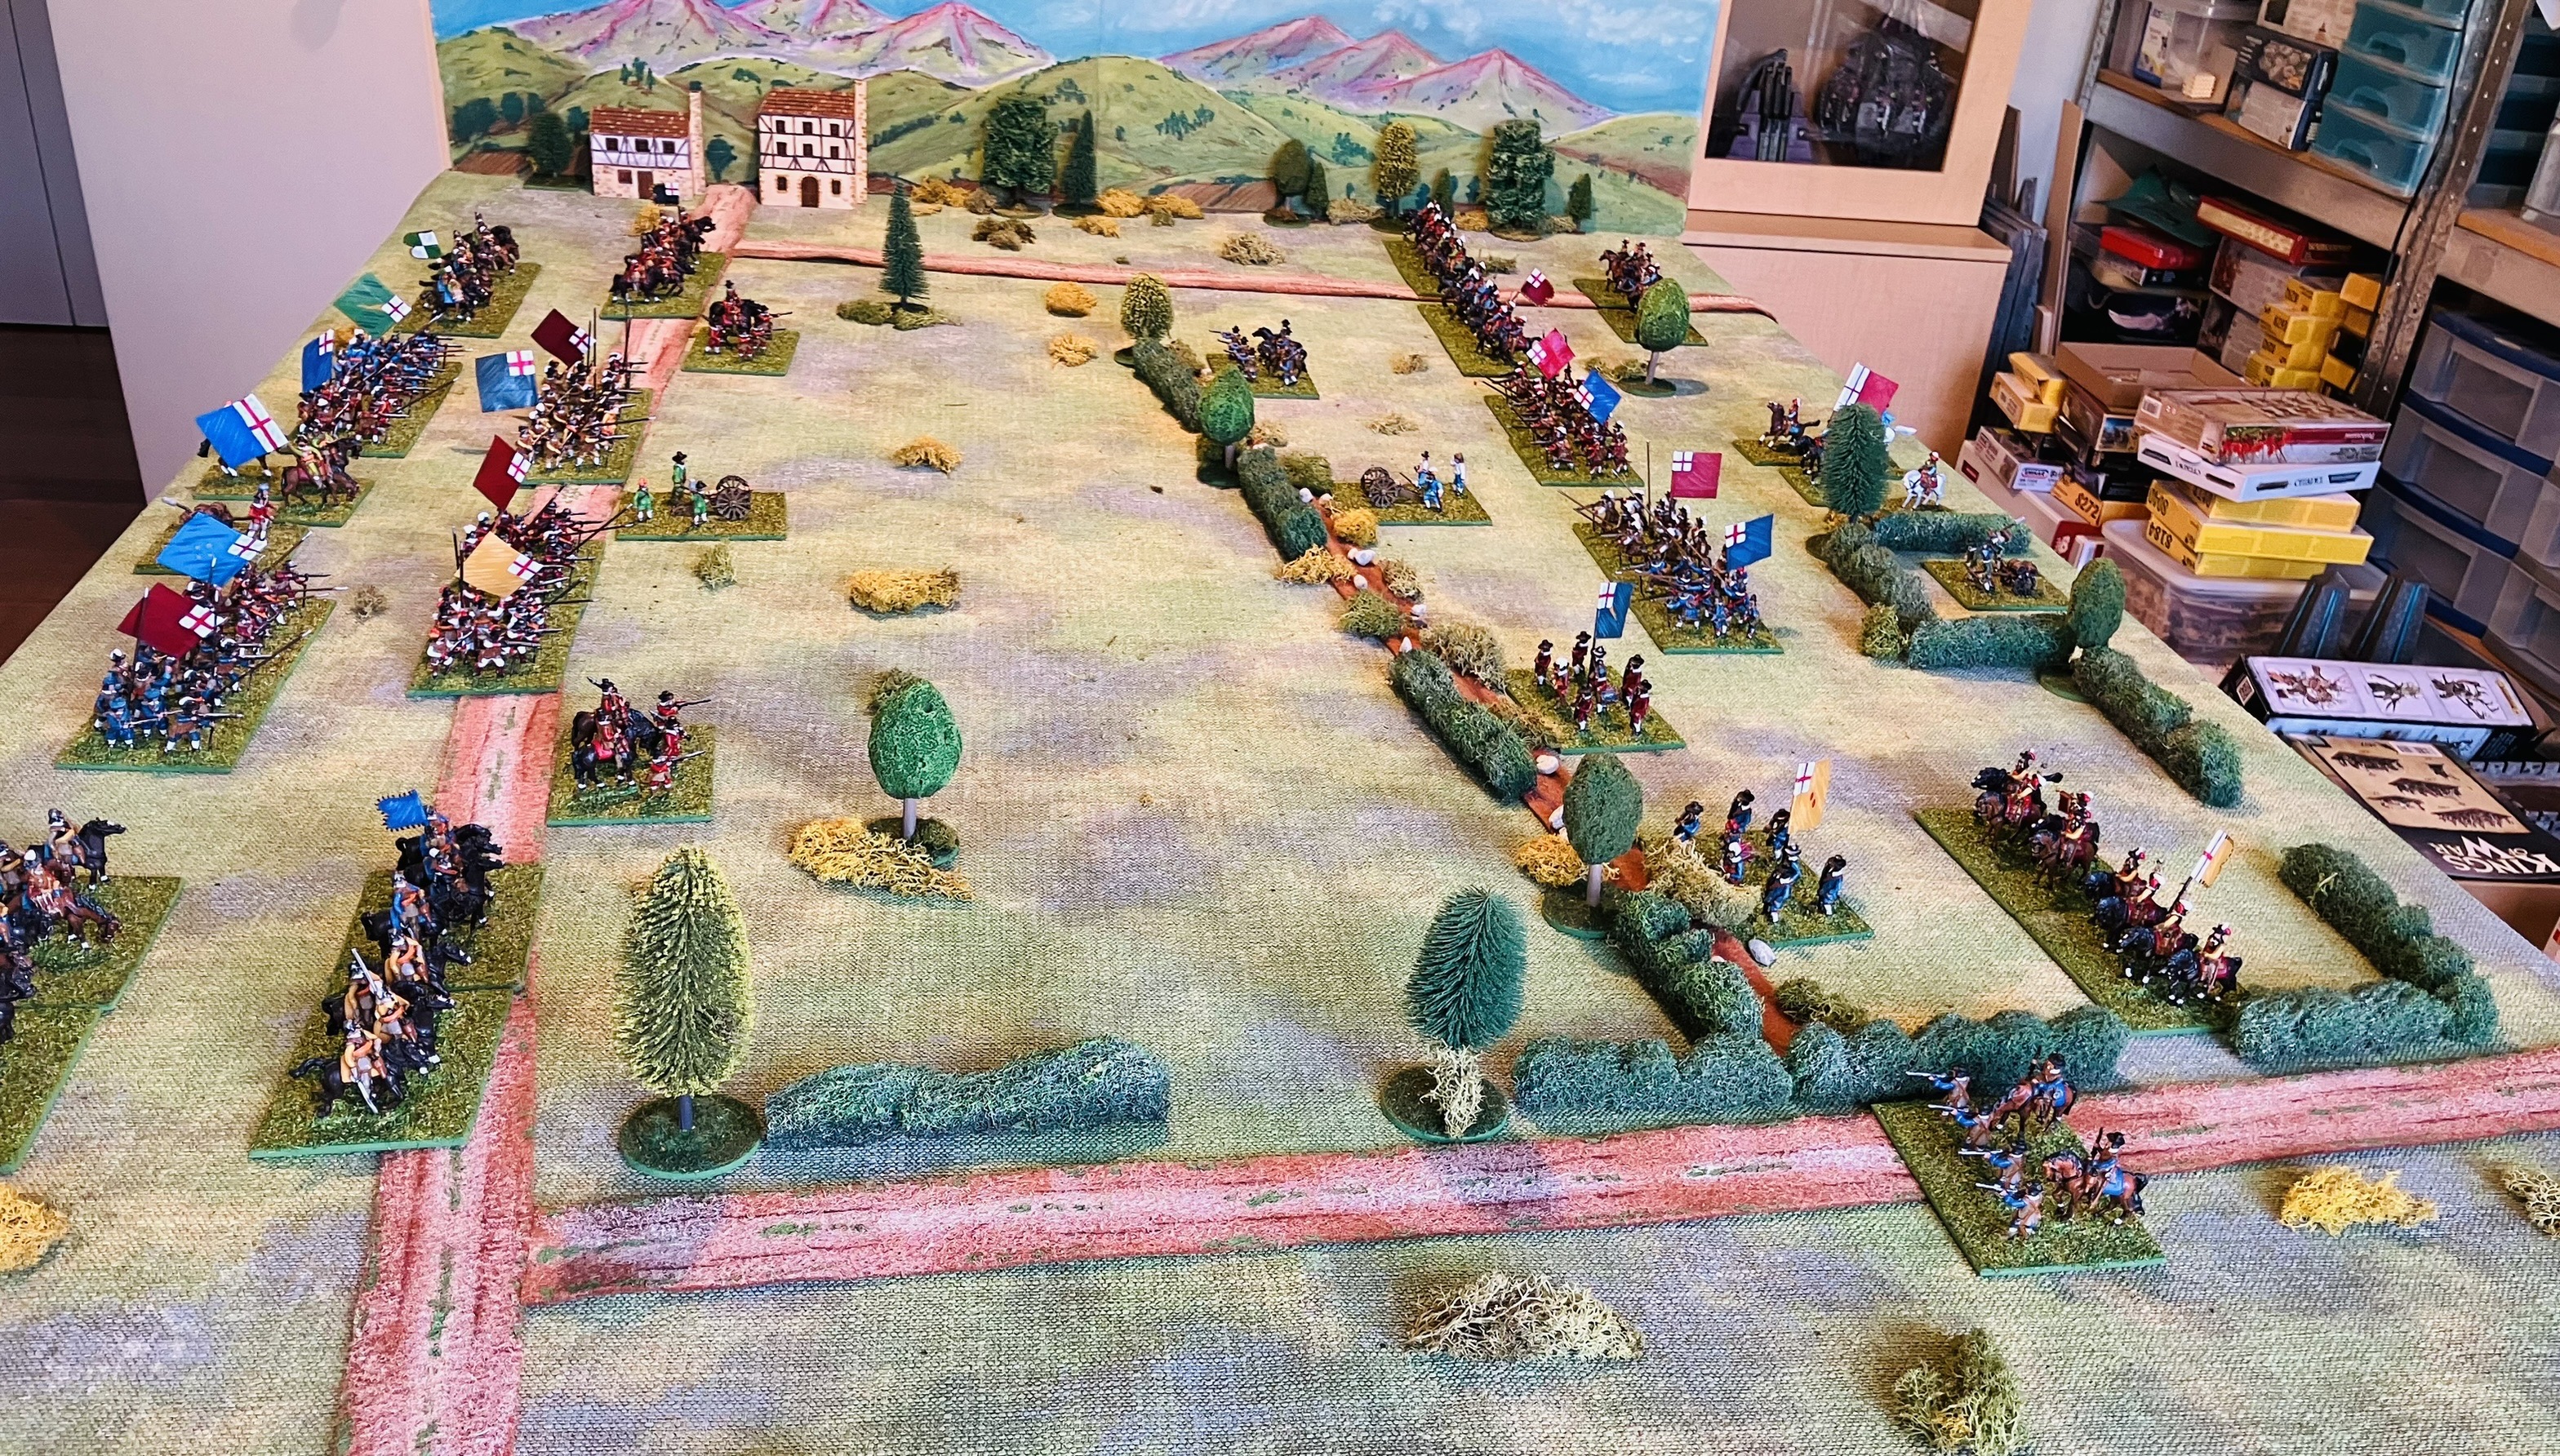
The tabletop setup with the ditch running across the front of the Royalist forces.

The ditch is an important terrain feature.

The plans…

The Royalist planned to defend the position and were not expecting to engage in battle until the following day. However, the Parliamentarian plan was to launch a surprise attack on the Royalists at around 7pm, which would give them a good few hours of daylight for the battle.

A view of the deployment.

Order of Battle…

The orders of battle for the armies is partially based on numbers and the ratio of forces, particularly cavalry on the flanks. Parliament’s cavalry appears to have been pretty much split evenly between both flanks and their infantry in the centre.

Parliamentarians

Parliament Right Flank

  • 2 x Cavalry units in two lines.
  • 1 x Commanded Shot detachment (I used dragoons to represent them).

Parliament Centre

  • 4 x Infantry units in two lines.
  • 1 x Artillery piece.

Parliament Left Flank

  • 2 x Cavalry units
  • 1 x Commanded Shot detachment (I used dragoons to represent them).

Their commander has one staff officer.

Royalists

Royalist Right Flank

  • 3 x Cavalry units in two lines.
  • 1 x Commanded Shot detachment (I used dragoons to represent them).

Royalist Centre

  • 2 x Infantry units in one lines.
  • 1 x Artillery piece.

Royalist Left Flank

  • 1 x Cavalry unit
  • 3 x Commanded Shot detachment (I used dragoons to represent them).

Their commander has three staff officers.

This is where having only a few units can create problems. The Royalist right flank had a stronger cavalry force than its left flank, but not by a 3:1 ratio. I wanted to make it stronger, so I chose to place 3 cavalry units on the right. Parliament had twice as many infantry units, so the Royalists had half as many infantry units. However, as a game, this could prove too one-sided, so I opted to have an additional 2 commanded shot supporting their left flank.

The Royalist commander has 3 staff officers to the Parliamentarian’s 1 staff officer. This reflects the better trained Royalist forces.

A view from the Parliamentarian side

A view from the Royalist side

Starting the game…

To reflect the surprise Parliamentarian attack, the Royalist command will subtract 1 from all their movement orders for the first 2 game turns. See the D3 ECW Rules here, they were updated last week and a few amendments made yesterday to clarify rules and correct typos (thank you for feedback).

As with the previous game I will be using the solo decision cards to direct both armies. The ditch will be considered a game objective which will influence the Royalist army stance.


Wednesday, 19 July 2023

Painting artillery and writing up notes on ECW rule amendments

Over the weekend I finished painting a couple of English Civil War guns and yesterday I have finally managed to write up the notes on the D3 ECW rule amendments I have been using recently. They can be found at the top of the blog page or you can simply click here.

Recently off the painting table.

Huzzah they work 😀

This weekend I am planning another ECW game using the Marston Moor scenario from “With Pike and Musket” by C.F. Wesencraft. Both armies will be using the Solo Decision Cards to direct their actions which are working well for set piece battles. After the Marston Moor game I will have to try a few other scenarios which are not set piece and more encounter style games, Cropredy Bridge springs to mind.

Sunday, 16 July 2023

ECW game report - the First Battle of Newbury

In this game report, I am playing a scenario based on the First Battle of Newbury from C.F. Wesencraft's book "With Pike and Musket". Both armies are being directed by the solo decision cards (see here for details on the decision cards).

The game in progress.

The order of battle and deployment…

Royalist Army

Right Wing

  • 1 detachment of dragoons
  • 1 cavalry in the first line (veteran unit)
  • 1 cavalry in reserve

Centre

  • 2 artillery
  • 2 infantry in the first line (1 is a veteran unit)
  • 1 infantry in reserve

Left Wing

  • 1 cavalry in the first line
  • 1 cavalry in reserve

Parliamentarian Army

Right Wing

  • 1 cavalry in the first line (veteran unit)

Centre

  • 2 artillery
  • 2 infantry in first line
  • 2 infantry in reserve

Left Wing

  • 1 cavalry in the first line (veteran unit)
  • 1 cavalry in reserve
Parliament deployment on the left and Royalist deployment on the right.

A note on the rules. I am using my D3 ECW rules but have changed the sequence of play and include simultaneous combat for shooting and melee. At the start of a game turn each player rolls a D6. The highest scoring player will move first as Player A, re-rolling any ties. 

  1. Movement for player A.
  2. Movement for player B.
  3. Both player’s units shooting simultaneously.
  4. Both players' units melee simultaneously.
  5. Remove eliminated units and check for impetuous cavalry.

I will be updating the rules and posting over the next week, once I type up my notes.

On to the game…

The initial turns of the battle saw Parliament seizing the initiative, advancing their dragoons and exchanging artillery fire with the Royalists. As the opening moves developed, both armies committed their cavalry, while the Royalist centre infantry pushed forward. However, the presence of hedges delayed the advance of the Royalist right flank. However, it was not long before the cavalry on both flanks were engaged in combat, charging and counter-charging.

Opening artillery salvos.

Cavalry advance on both flanks.

As the cavalry engage on each flank the Royalist centre advances.

As the Royalist centre pressed forward, the Parliamentarian commander responded, advancing his own centre in a bid to counter the enemy's progress. Both commanders deployed their reserves to reinforce their flank cavalry and provide crucial support. While In the centre, infantry units from both armies began exchanging musket fire. A breakthrough occurred on the Royalist right flank with their cavalry breaking through the Parliamentarian cavalry, sending them into a panicked retreat. The impetuous Royalist cavalry pursued the routed enemy, driving them off the field and also taking themselves out of the battle.

The centres advance and engage in musket fire.

The game is at a critical point with no losses by either side yet.

The Royalist right flank finally breaks Parliament’s left flank and pursues them off the tabletop. 

The Royalist dragoons seize the opportunity to position themselves on the exposed left flank of the Parliamentarians. With a clear line of sight, they readied their carbines to unleash a volley of fire. Seeing the imminent threat, Parliamentarian forces reacted and position their reserve infantry to block the danger.

Meanwhile, in the centre of the battlefield, the Royalist infantry first line were sustaining damage from the Parliamentarian musketry. Despite the mounting losses, the Royalists are yet to deploy their centre reserve. 

On the other flank cavalry reserves from both forces continue the cavalry engagement.

The action is on both flanks with dragoons flanking the centre and the cavalry battle continues on teh near flank.

Parliament’s centre is starting to put pressure on the Royalist infantry.

The Royalist first line of infantry in the centre had resisted the larger Parliamentarian infantry force. However, the weight of numbers eventually took its toll, and the Royalists were routed. A late charge by the Royalist right flank cavalry reserve sought to turn the tide of the battle, but the hedges limited their effectiveness and they could not halt the advance of the Parliamentarian infantry centre.

On the opposite flank, the cavalry forces of both sides had engaged in fierce combat. Exhausted and depleted, both cavalry forces found themselves at a stalemate, unable to continue.

The Royalist commander observed the advance of the Parliamentarian infantry, choosing not to commit the final reserve of infantry and retired from the battlefield.

A final Royalist cavalry attack by their reserve through the hedges.
 
The Royalists retire.

Summary

The battle proved to be a closely contested affair, with victory hanging in the balance until the final turns. Had the Royalist cavalry performed better, the outcome may have been different and favoured them. However, similar to the actual historical battle upon which the scenarios is based, the presence of hedges posed significant challenges for the Royalist cavalry on their right flank. Allowing the Parliamentarian forces to leverage their numerical advantage in the centre, and eventually gaining control of the battlefield.

A commander’s view midway through the battle.

I am planning to post the solo decision cards, current version, and also the updated D3 ECW rules which have been modified over the past month or so to accommodate the decision card approach.

Friday, 14 July 2023

Finished painting an ECW unit just in time for a weekend game

I am continuing with the painting English Civil War figures. This week I have painted every evening, even if it was just for 30 minutes on one occasion, with the aim of completing a base of infantry during the week. Well the base rolled off the painting table this Friday evening and is ready to be used in the weekend’s ECW game.

Tabletop setup with the First Battle of Newbury scenario.

An infantry base completed this week.

For my games I now use two bases together as a unit often representing a brigade.

I am continuing to test out my solo decision cards and will be using these cards to run both armies in the scenario First Battle of Newbury adapted from “With Pike and Musket - Sixteenth and Seventeenth Century Battles for the Wargamer” by C.F. Wesencraft.

The solo decision cards - updated, reprinted, and laminated.


Monday, 10 July 2023

Some ECW painting and WW2 games

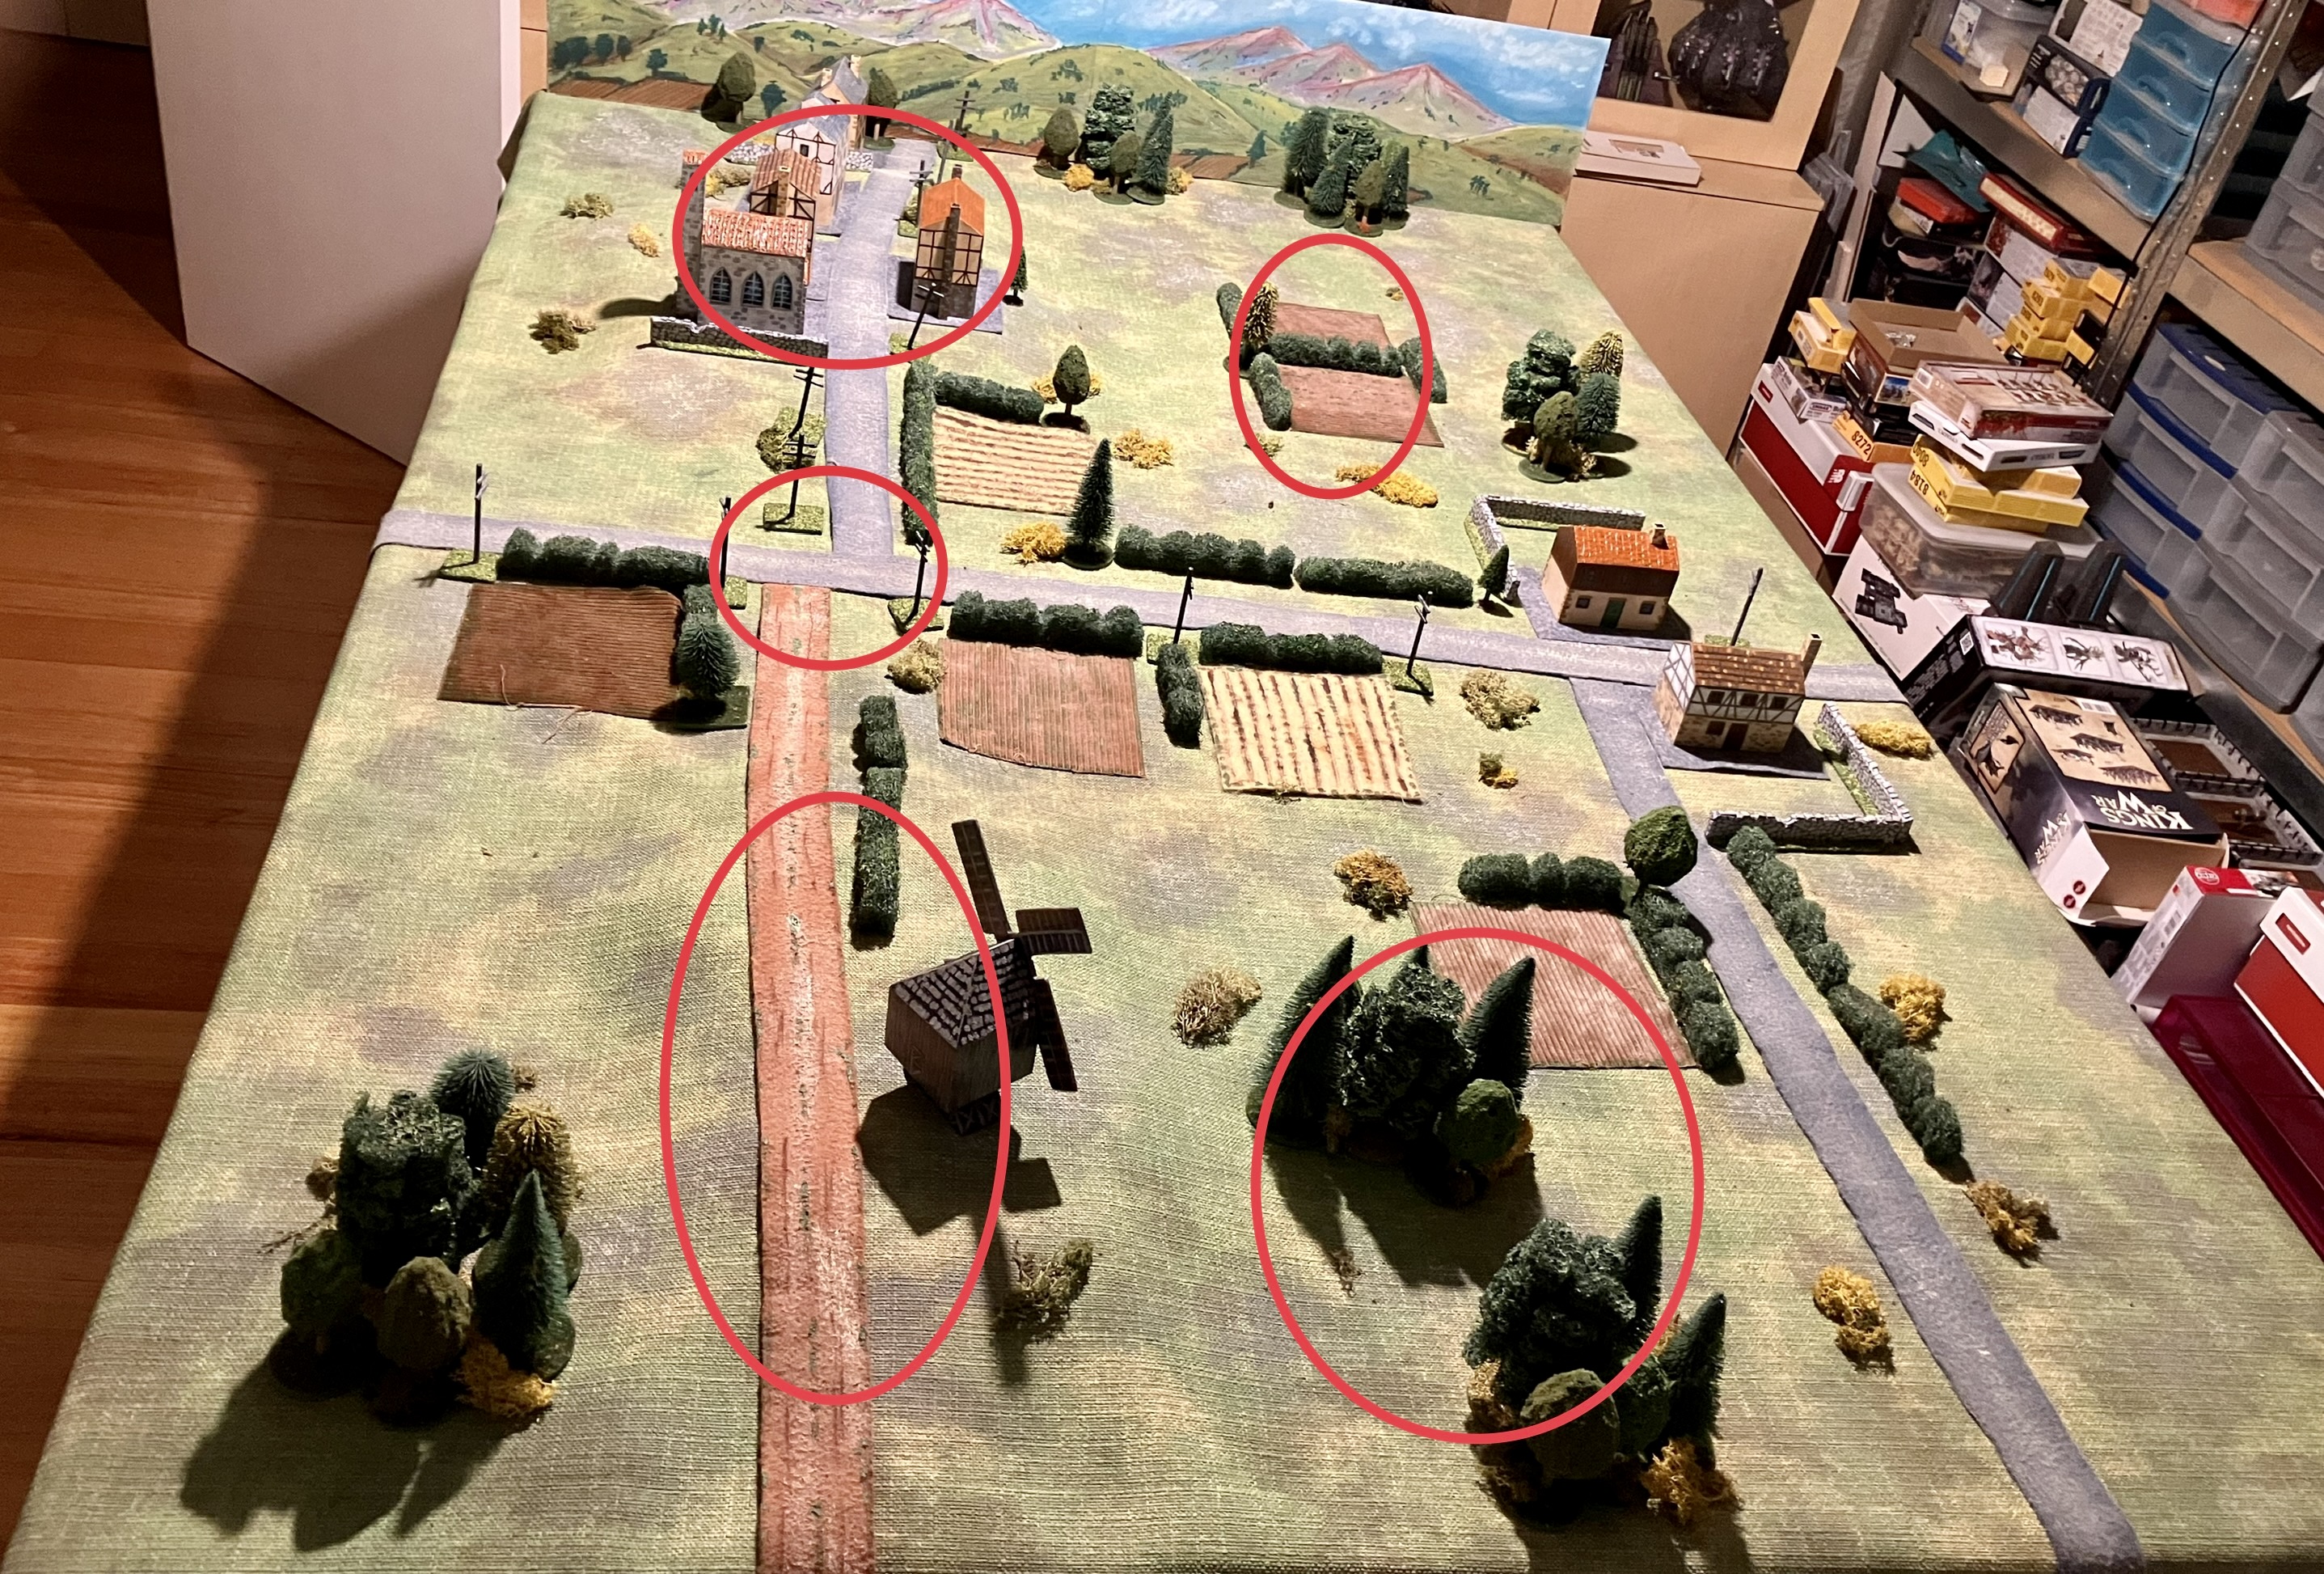
Not a lot to post about this week. Over the weekend I decided to get the World War II forces on to the tabletop and have a few games. I was set up the terrain rather randomly, then identified five features on the tabletop the defender was to hold. At the end of the game who ever holds three areas has a marginal victory, four areas is a victory, and five areas is a major victory. 

Tabletop setup with 5 terrain features to be held or captured.

My thinking behind this approach is that I'm considering setting up a mini-campaign and using period-specific maps. I aim to transfer the campaign actions from the maps and onto the tabletop by creating scenarios based on these maps. Each scenario would involve the defender needing to hold 1, 3, or 5 key terrain features, preventing the attacker from gaining control over them. Although there has been some progress, there still needs to be a bit more thinking to be done to make this idea successful. 

An example of the type of maps I am looking at using in a future campaign.

In the meantime, here are a few photographs of the games…

Allied forces enter the town.

Panther tanks positioned on a hill.

AT gun covers the road.

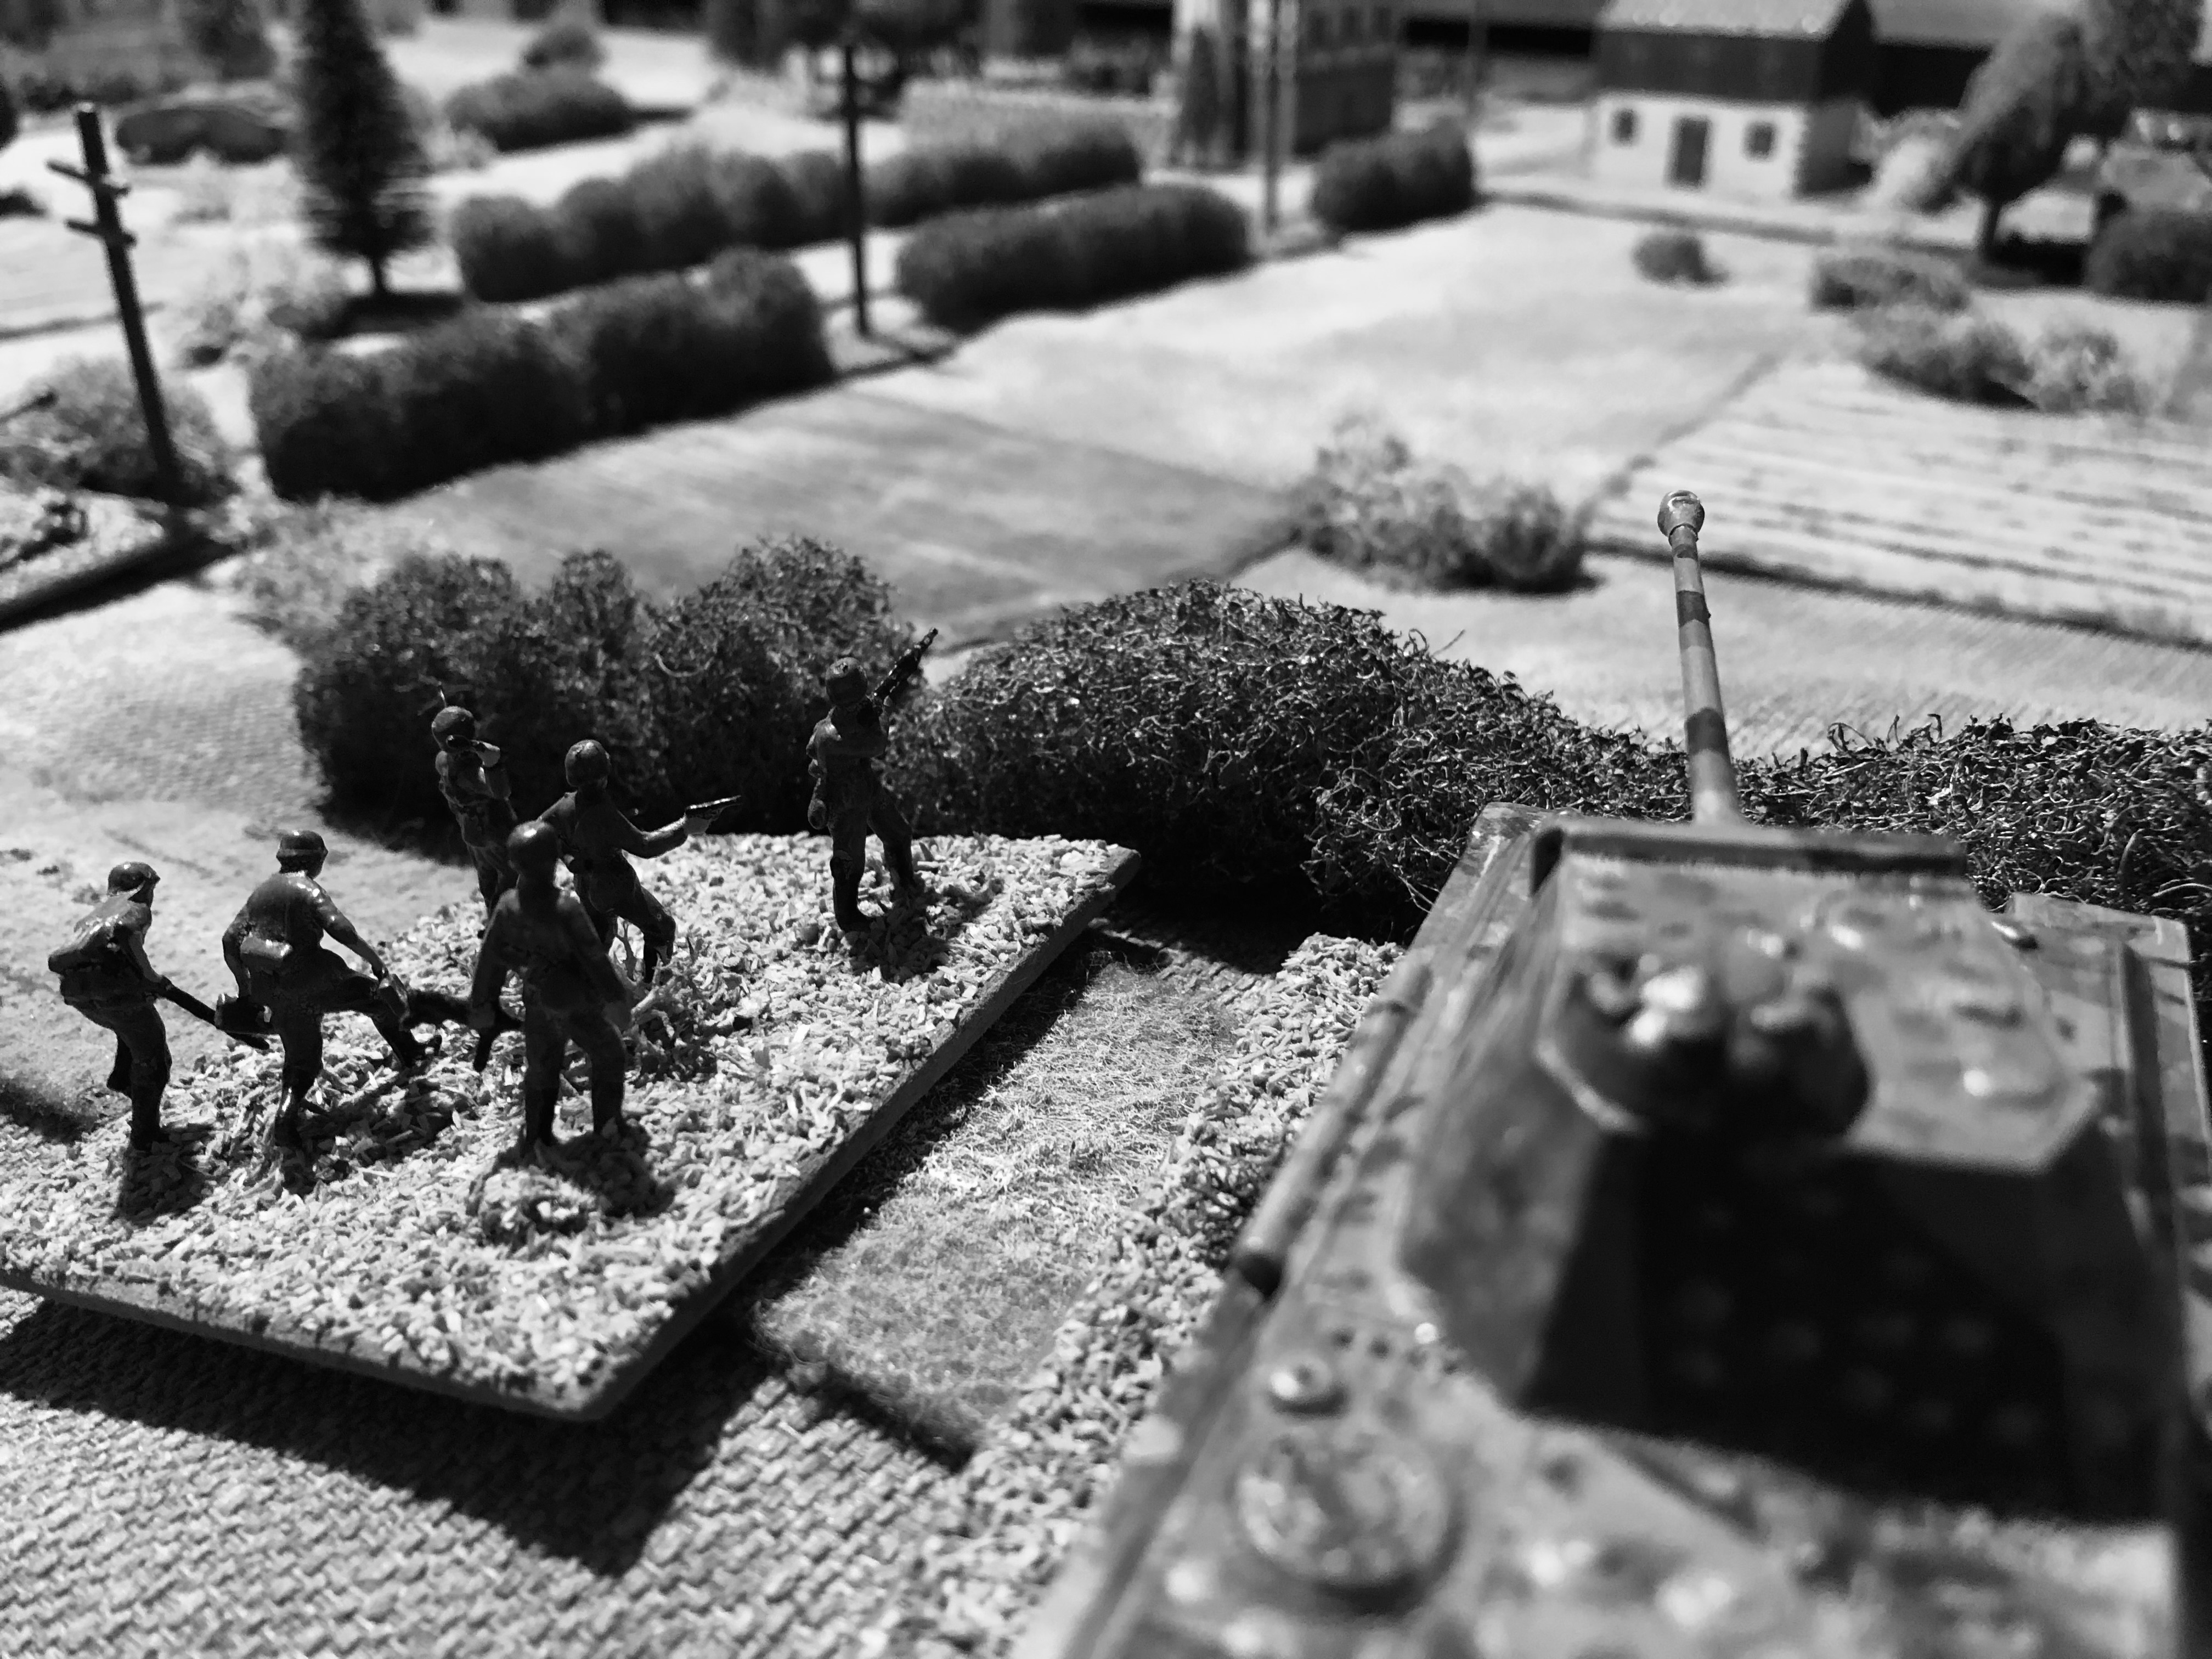
A ground level view.

On a more productive note, I finished painting a base of English Civil War figures using the figures that had arrived the previous week. I still have one more base to complete as I am currently using two bases for  my units. I plan to begin working on the next base this week.

Latest base of ECW infantry.

On the ECW topic, I am considering painting up some single pikemen to place behind the unit as a marker to show when a unit is out of ammunition. At the moment I use single mounted officers to show veteran units as they look nice and reduce the number of tokens.

An officer is used instead of a token to mark veteran unit.

A possible use of some spare pikemen to be used to indicate infantry units out of ammunition.

The ECW will soon return to the tabletop.

Tuesday, 4 July 2023

The Battle of Ripple Field

This week the English Civil War armies have made it back onto the tabletop again for a small game. A couple of weeks ago I was trying to decide whether to go with fewer but larger units made of two bases or more single base units. From the pictures below of the game you will see I have opted to go with larger units of two bases for infantry and cavalry, while keeping single base units for smaller detachments of dragoons and artillery pieces.

The tabletop all set up for a small ECW game - The Battle of Ripple Field

The game setup is based upon the Battle of Ripple Field scenario from the book “With Pike and Musket”, one of my favourite wargaming books. I am using this game to test out two things:

  • Continue my testing of the solo decision cards (or tables) to which there have been a couple of minor changes to some of the instructions to make them clearer (see here).
  • A couple of changes to the D3 ECW rules I use. These include a change to the sequence of play and differentiating between two base cavalry and infantry units and detachments.

The sequence of play is very much lifted from “With Pike and Musket”. At the start of a game turn each player rolls a D6. The highest scoring player will move first as Player A, re-rolling any ties. The sequence of play for each turn is:

  1. Movement for player A.
  2. Movement for player B.
  3. Both player’s units shooting simultaneously.
  4. Both players' units melee simultaneously.
  5. Remove eliminated units and check for impetuous cavalry.

Additionally, When moving a player may make D3 movement orders. Each order can move 1 infantry or cavalry unit, or all detachments (dragoons and commanded shot). A player is not required to use all their movement orders. For example, a player with a D3 roll of 2 may order the move of: 1 infantry and 1 cavalry unit, 2 cavalry units, 2 infantry units, 1 infantry unit and all detachments, or 1 cavalry unit and all detachments.

If I stick with the rules I will post them up at the top of the blog.

A most useful book and a joy to read.

The Battle of Ripple Field was fought on 13 April 1643. It was a small battle with approximately 2000 men per side. The Royalist force was led by Prince Maurice and the Parliamentarian force by Sir William Waller. 

In the lead up the the battle Waller had marched north from Tewkesbury in an attempt to block Maurice’s force by containing them on the western side of the Severn river. However, Prince Maurice was able to successfully cross the river and marched south to face Waller’s forces who had taken up a defensive position on the hill at Ripple Field.

Battle of Ripple Field game report…

Order of battle

Royalist
  • 2 veteran cavalry units
  • 2 infantry units
  • 1 detachment of dragoons
  • 1 gun
Parliament

  • 3 cavalry units (1 is a veteran unit)
  • 1 veteran infantry unit
  • 1 detachment of dragoons
  • 1 gun

Opening stage

In the opening turns of the Ripple Field game, both armies opted for a hold stance, skirmishing with their detachments of dragoons around the Uckinghall village and exchanging salvos of artillery fire. Both armies quickly shifted to an attack stance, advancing their cavalry on their respective flanks while maintaining the artillery bombardment until, they were out of powder. With the cavalry engaged Weller’s single centre infantry advanced to the edge of the hill.

The opening actions of dragoons skirmishing and artillery shooting.

Cavalry begin their advance.

Cavalry on each flank are engaged in combat.

Middle stage of the game…

During the middle stage of the game, Prince Maurice began advancing all of his centre infantry while the artillery continued shooting until their ammunition was depleted. Initially, infantry from both sides engaged in musket fire at a distance, but this quickly transitioned into close combat involving push of pike.

Meanwhile, the cavalry clashes reached a decisive outcome. The veteran Royalist cavalry on both flanks emerged victorious, routing their opponents. However, the left flank Royalist cavalry pursued the fleeing Parliamentarian cavalry, leaving the flank open to the now unopposed Parliamentarian cavalry reserve.

Parliament’s infantry advance in the centre and their reserve cavalry move up in support.

The remaining cavalry look to attack their opponents centre.

End stage of the game…

The cavalry forces from both forces manoeuvred to attack their opponents infantry centre. While the Royalist infantry held their nerve, the sole infantry unit of the Parliamentarians suffered defeat and routed. Left with only a single cavalry unit and a detachment of dragoons, Weller retired and conceded the field to Prince Maurice and the Royalist force.

Cavalry charge to engage infantry.

The Royalist infantry centre holds firm.

Weller’s remaining forces concede the field.

The English Civil War theme continued this week when a shipment of Hinchliffe figures arrived. Included in the package were a couple of guns and sufficient infantry to complete another infantry unit with two bases.

Recent arrivals.


Saturday, 1 July 2023

The fight for Henry House Hill - an ACW remote game

This week I played a remote American Civil War (ACW) wargame with Jon of Palouse Wargaming Journal. The scenario played was from the First Battle of Manassas (Bull Run) focussing on the fight for Henry House Hill. Over the past few weeks Jon has been playing a number of remote games using various scenarios from this battle which I have been reading with interest (link here).

A close up of the action provided by Jon.

Prior to the game, Jon had sent me through a detailed game briefing along with his ACW version of the Fields of Honor rules. I had the opportunity to use these rules in a previous ACW game with Jon, and they do make for a thoroughly enjoyable game.

An overhead view of the tabletop provided as part of Jon’s briefing notes.

At the beginning of the game, the Union forces have most of their brigades deployed on the tabletop, except for Howard's brigade, which was en route and expected to arrive from the road. While the Confederate forces have approximately half of their brigades positioned on or behind Henry House Hill, and the remaining three brigades are scheduled to enter during the course of the game from their base edge.

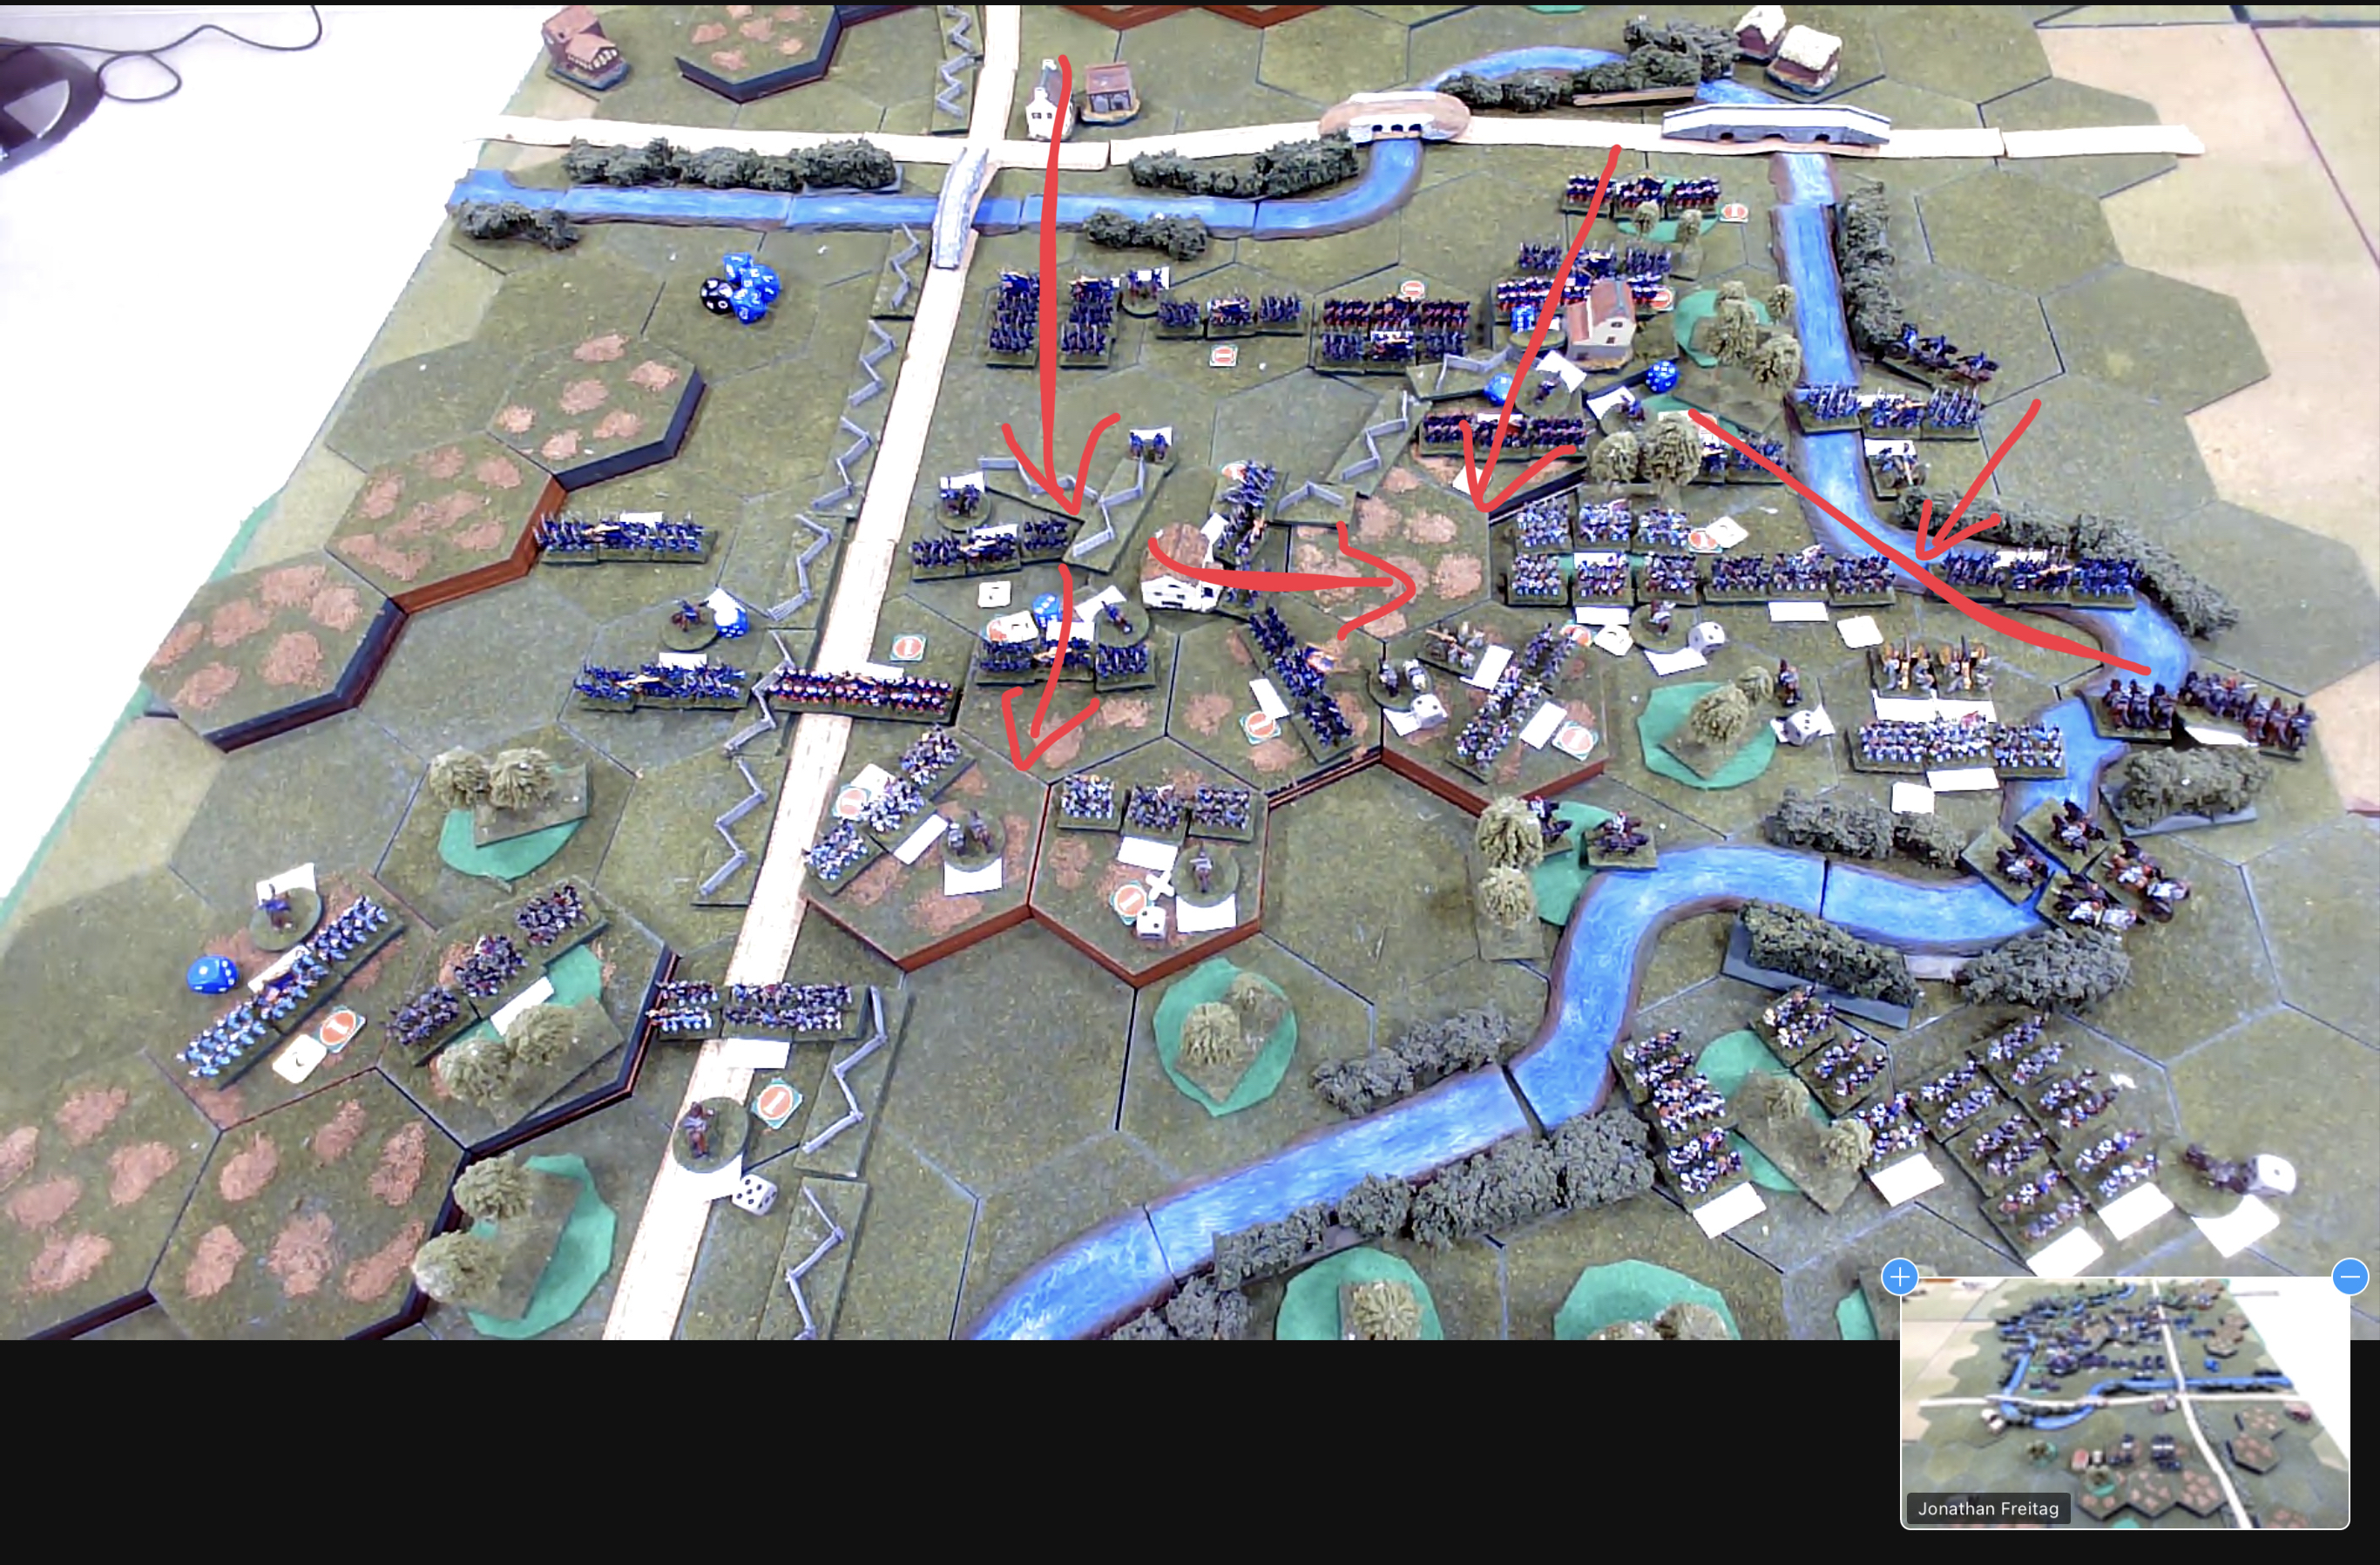
Initially, I didn't have a specific plan in mind other than advancing towards Henry House Hill. However, as Porter achieved some early success in the centre, I did begin to come up with a bit of a battle plan. I opted to launch attacks on both flanks of Henry House Hill. On my left flank I planned to push forward using the river banks for cover, while the right flank attack would take advantage of the road to swiftly advance. Additionally, I positioned all my rifled artillery units on Matthews' Hill to provide support for the assault on the hill.


My plan of attack

Turn 1

With Confederate reserves expected I just pushed the units forward as quickly as possible. There was some early success for Porter’s brigade and I began organising all my rifled artillery on Matthews’ Hill which provided a clear view of Henry House Hill.

Turn 1

Jon has an excellent setup with cameras at both ends of the table allowing the remote players to switch cameras to understand what is happening on the tabletop. As the battle progressed down the table I relied on the view from the camera at Confederate end of the table.

Turns 2 and 3

Early on Porter's brigade managed to establish a foothold on the hill in the centre. However, due to the attrition suffered by most of the units, they were unable to make further advances. Meanwhile, the right flank had made good progress along the road and was engaged in skirmishing with Confederate force positioned on the hill in and around Henry’s house.

Turns 2 and 3

Turn 4

As the battle progressed, Porter's brigades in the centre were tactically withdrawn from the hill before they are worn out. Fresh reserves were then moved forward to support the centre. Meanwhile, on both flanks the Union attacks on the hill began in earnest, marking the start of their concerted efforts to capture the Hill.

Turn 4

Turn 5

At this point in the battle, things were starting to get confused as units from different brigades became entangled and mixed together. This confusion was perfectly emphasised by the rule’s activation system, where brigades were activated individually based on the draw of coloured dice from a can, with blue dice representing the Union and grey representing the Confederates.

On my left flank, Sherman's brigade held a defensive line along the river, effectively impeding the advance of Confederate reserves towards the hill. On my right flank, supported by Union artillery positioned on Matthews' Hill, my units began consolidating their position on the hill through a series charges. Successfully pushing back the Confederate brigades which were becoming worn out.

Turn 5

Turn 6

As fresh Confederate reserves arrive in the form of Early’s brigade, the Confederate position on the hill is beginning to collapse with two of their brigades were worn out and another one at risk of being worn out. At this point in the game, after some 5 hours of play, we decided to call it as a Union victory as they held the majority of the hill and had Keyes reserves arriving to counter Early’s brigade.

Turn 6

Wrap up thoughts

This was a thoroughly enjoyable game. I was engrossed in the game for its 5 hour duration. I would best describe the game as a bit of an arm wrestle with units from both sides getting worn out from battle and fresh ones getting thrown in. The Union forces being the attacking force and with greater numbers initially were able to rotate out worn units more easily and avoid having their brigades treated as broken with impacts to their saving dice rolls.

There were a couple of breaks during the game to make coffee, during which my wife asked how the game was going? In both cases I responded “I think I have a slight advantage” and that was the nature of this game, just as you feel you are making good progress and find you cannot capitalise on this advantage as your unit’s strength points are dangerously low. Where things worked well for me was my artillery on Matthews’ Hill. They regularly caused hits on Jon’s units position on the hill, and the flank attacks meant there was always clear line of sight for the artillery. I was fortunate with initiative and the drawing of dice from the tin, which on more than one occasion allowed my right flank forces to get combined attacks on the defenders and caused unit losses. It was only right at the end (turn 6) did the the victory seem at hand.

Many thanks to Jon for putting on this most enjoyable game with his wonderful collection of 10mm armies.

The game is played on a hex grid with 10mm figures. Photo by Jon.