Sunday, 21 November 2021

War of the Spanish Succession Game Report

The game and tabletop setup uses the ideas from the "The Battle of Langensalza", chapter 15 in "Wargame Tactics" by Charles Grant. The original setting was for the Seven Years War, but has been repurposed for the War of the Spanish Succession and also scaled down by half as I have no where near the number of figures described in the chapter.

For the rules I am using the WSS Card home-brew rules mentioned in my previous post, and also found on the blog's header.

Order of battle

France:

  • 2 x Cavalry
  • 3 x Infantry
  • 2 x Dragoons
  • 1 x Artillery
  • 1 x Mortar

Alliance:

  • 3 x Cavalry
  • 4 x Infantry
  • 1 x Artillery

Both sides fielded 3 Commanders and 1 General which are used in the game to rally and reorganise units.

The objectives for both armies are to capture and control the town near an important river crossing.

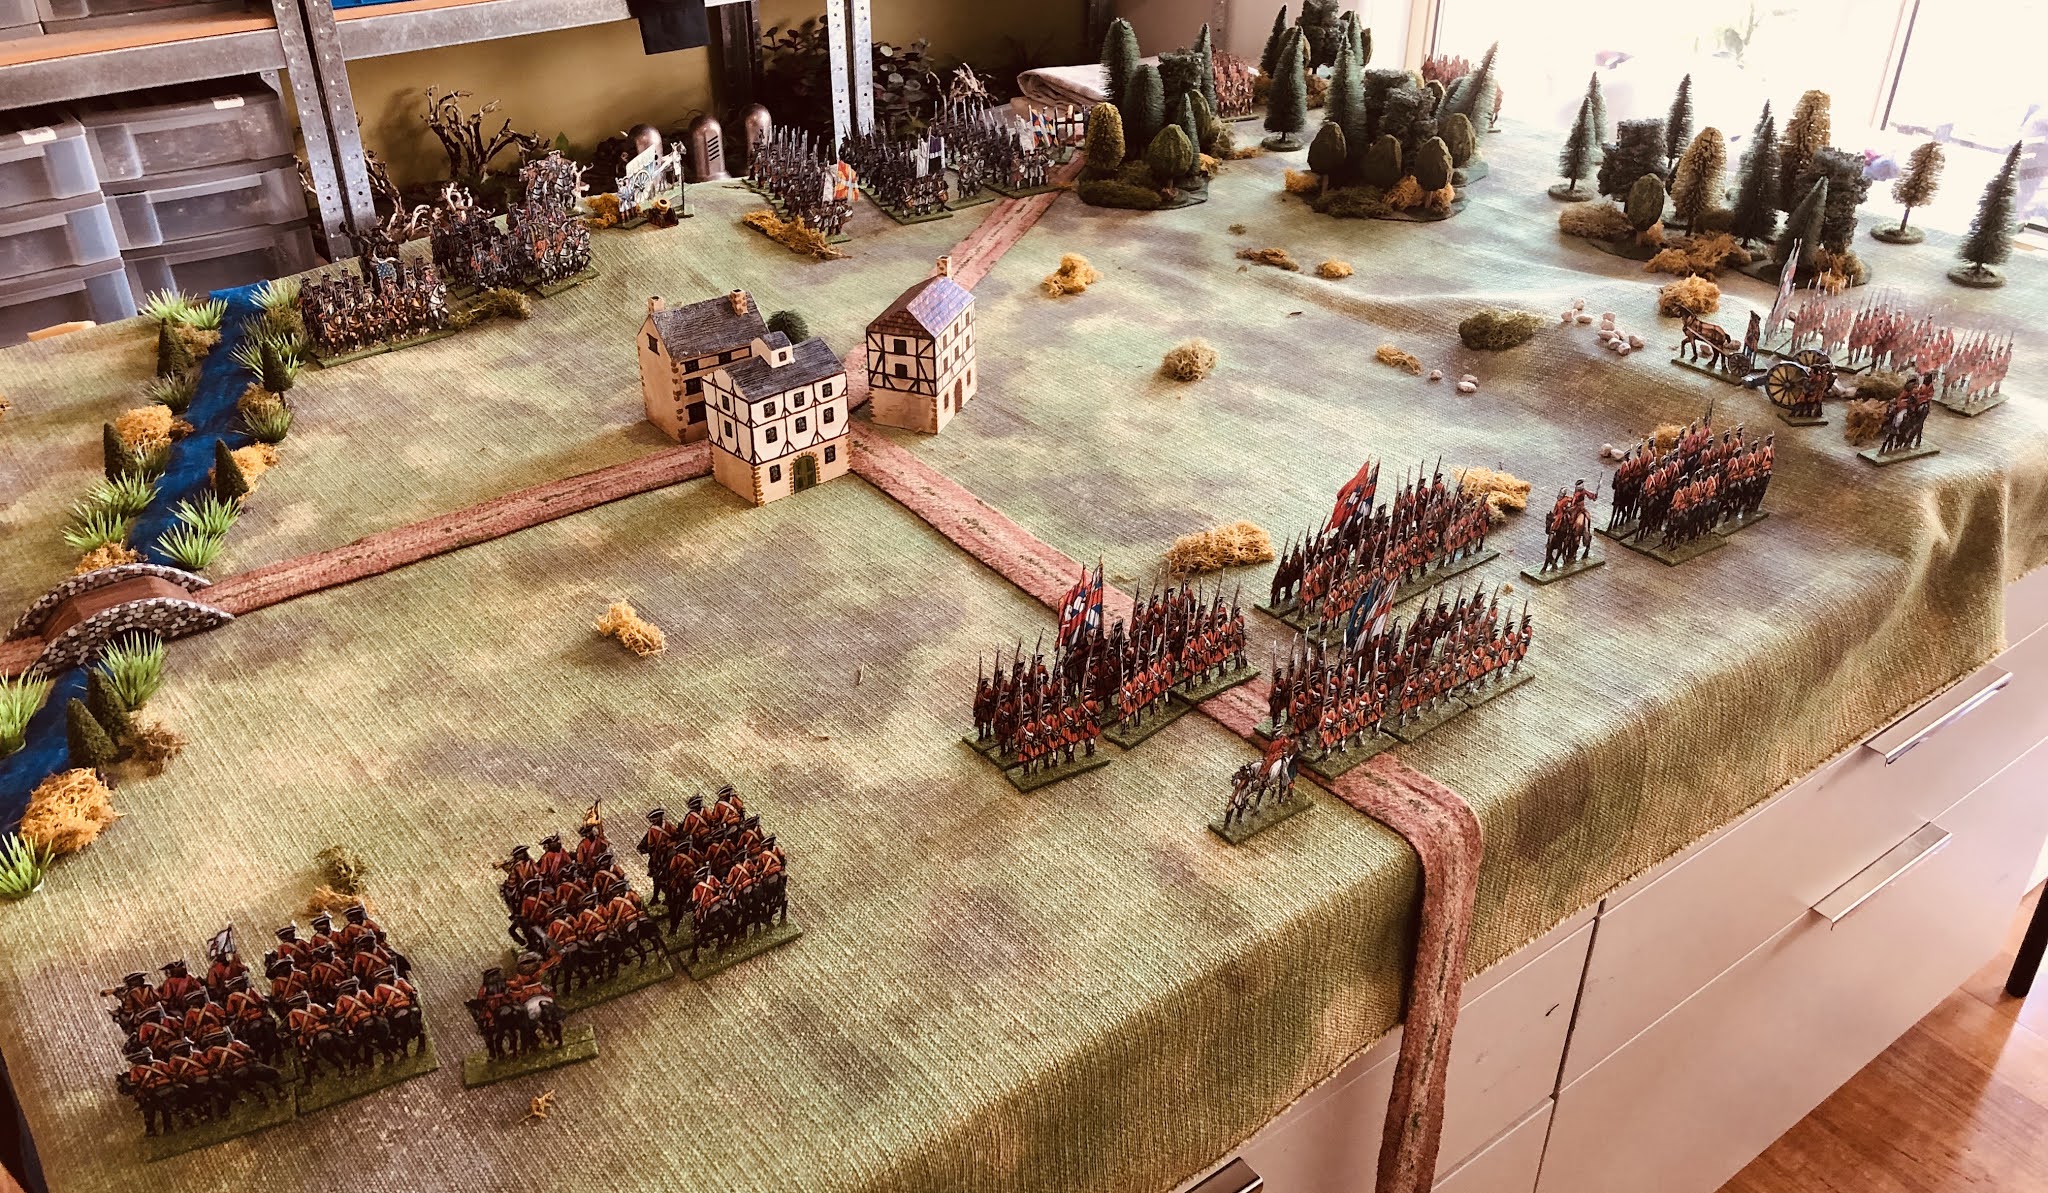
Deployment of forces. French are depicted in blue and the Alliance in red. The French dragoons can arrive through the woods on their left flank.

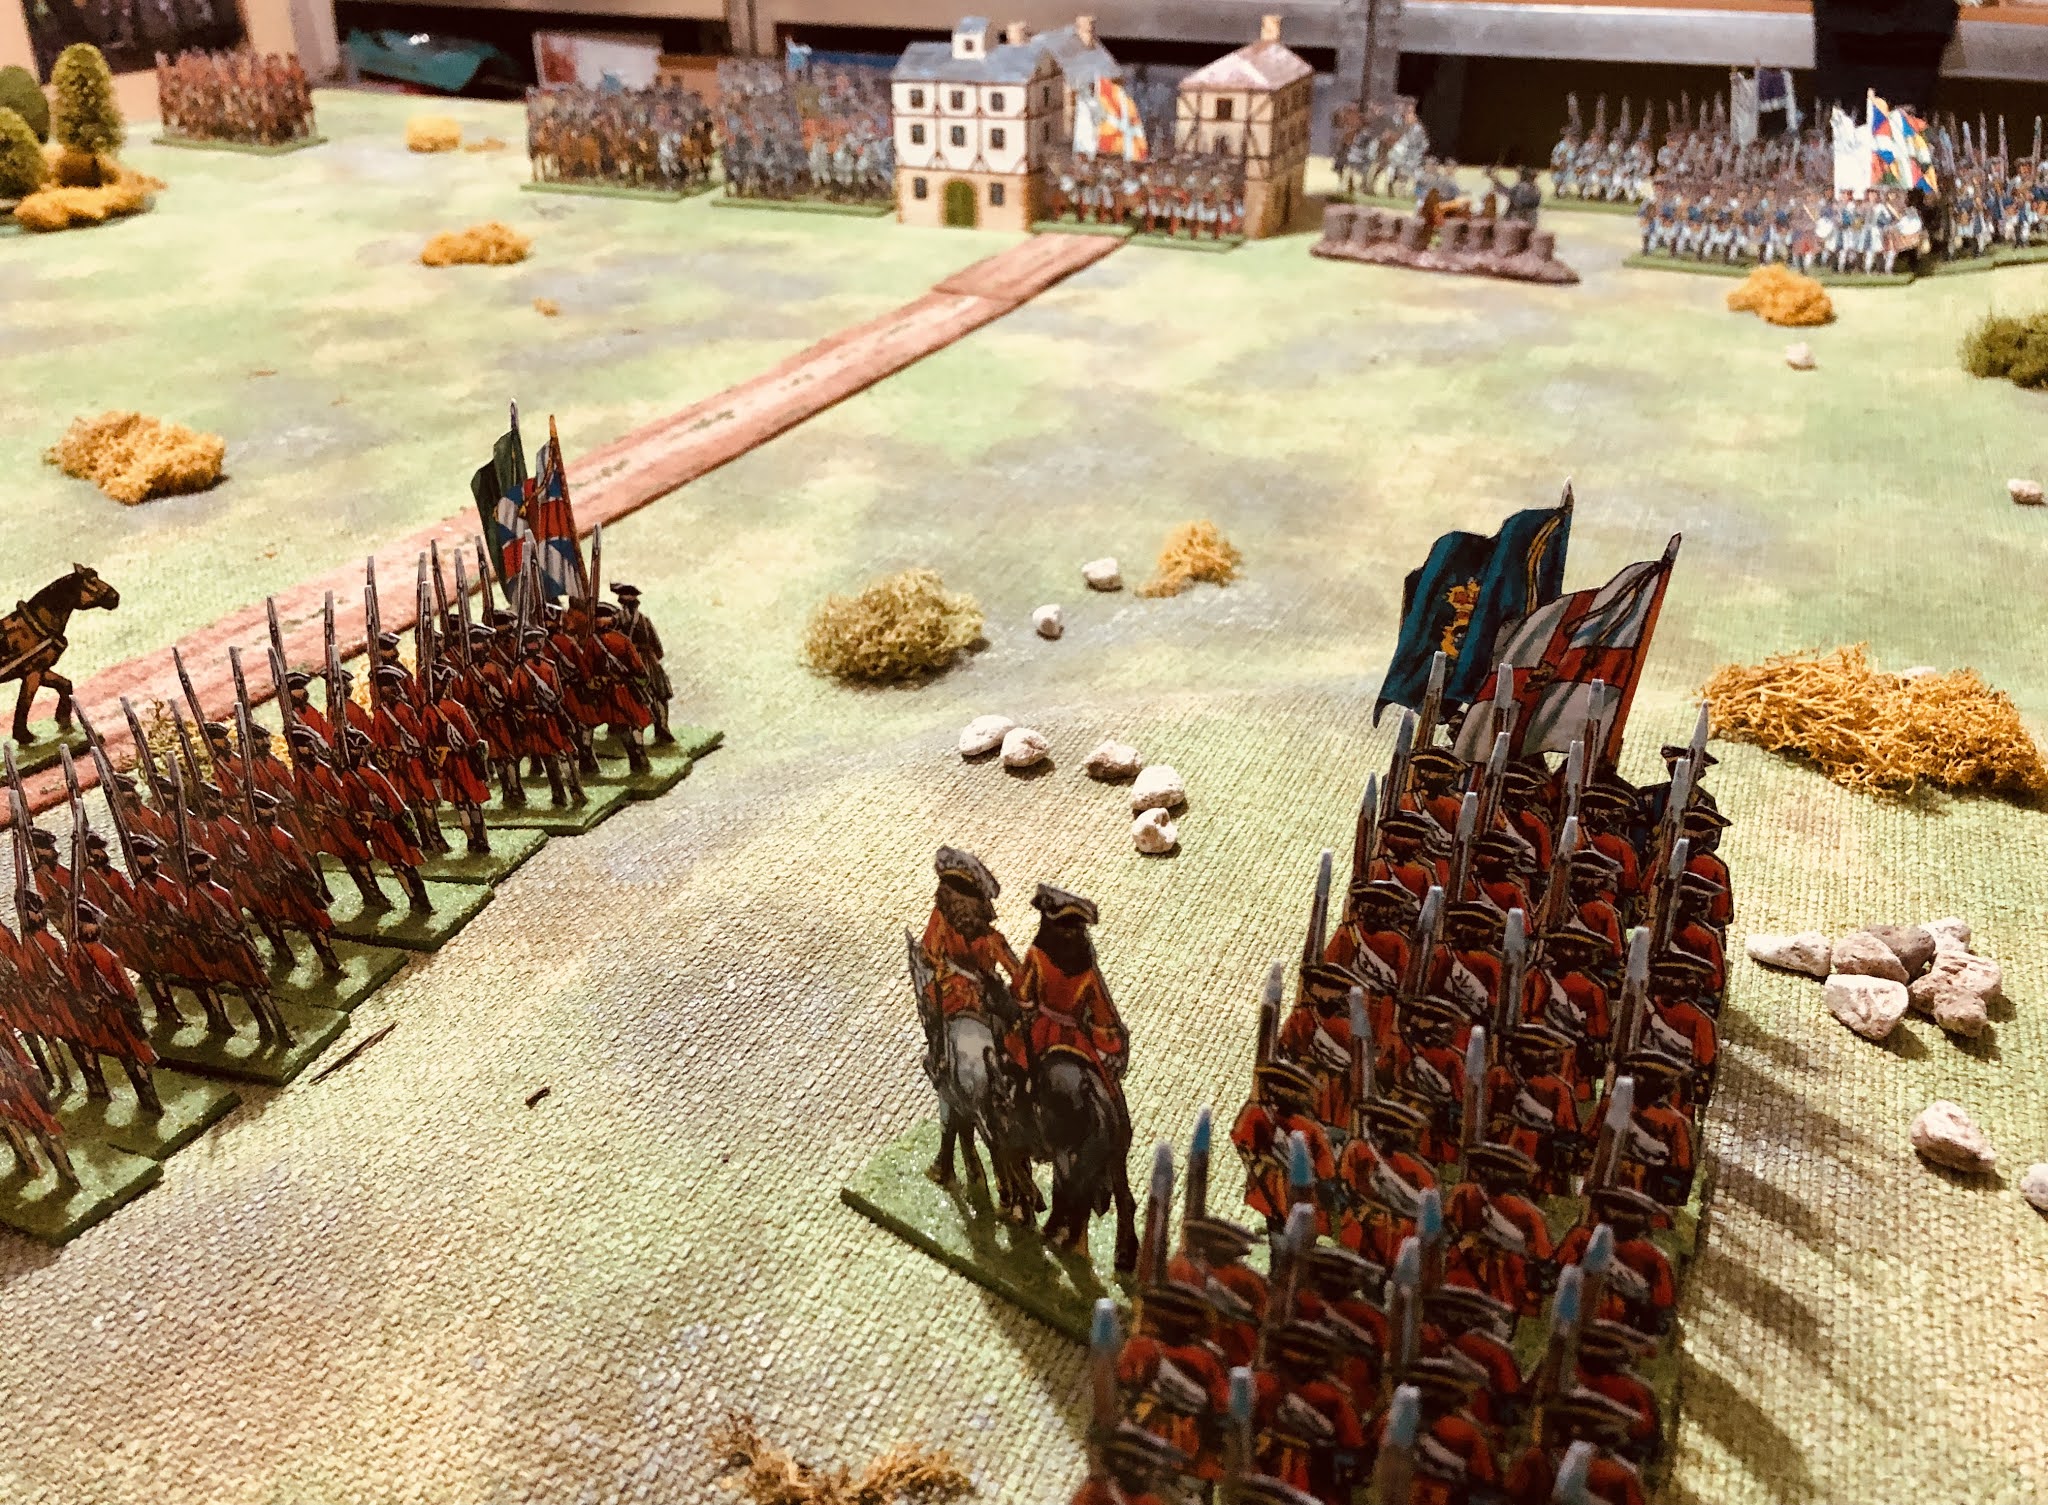
A view of the tabletop from behind the Alliance forces. All units are Paper Soldiers standing at 42mm tall because I increase the size when printing. I do this so I can see the art work better and they are less fiddly to cut out.

French dragoons arrive through the woods.

The opening turns had both sides pushing forward. On their right flank the Alliance stopped and deployed in the hill. The French were able to occupy the town first, as the Alliance were mostly deployed and moved at a slower pace. The French dragoons soon appeared on the flank from the woods.

A general advance by both sides for the opening move.

The French dragoons appear from the woods, while artillery from both sides exchange shots.

A large cavalry engagement occurs on the other flank.

The cavalry engagement was a hard fought affair, and with two evenly matched cavalry forces it was going to be touch and go as to who would win. Both sides used their available commanders to rally troops. In the end the Alliance managed to gain the upper hand.

The Alliance cavalry gain the upper hand in a hard fought engagement. Whoever won the engagement would be pretty much nullified as a threat and unable to withstand any serious opposition.

Movement of forces on the battlefield.

The French Dragoons arrived but had not progressed as far through the woods as they expected, and were less of a surprise and easily countered. While they swiftly attacked it was unlikely to be more than a diversion. Even more so when the Alliance reserve cavalry unit arrived.

The dragoons put up a spirited attack, but failure was always on the cards (excuse the pun)

In the centre the French still had some reasonably fresh units, but the threat of cavalry appearing on the flank, and lacking any more reserves, meant they had been reluctant to fully support the town's defence. Eventually, the town changed hands and was occupied by the Alliance.

The Alliance gain access to the town

With a flank exposed, even to a very weak cavalry force, the French line is obliged to retire.

A victory to the Alliance who by securing the river flank where able to do just enough to gain control of the town. The French dragoons who were intended to be the main threat appeared too early from the woods and were easily countered. Had they appeared later and further towards the Allied rear the story could have been different.

How did the rules play? 

There was not a lot of difference from using cards (red/blank) rather than D3 dice (1,1,2,2,3,3) for combat. The slight difference was for the winning unit, which in most cases would not stand up to more than one attack before being routed. Now I quite like this as I am always troubled by units going on to make too much mischief after an engagement, unless they are rallied and reorganised by a commander.


Friday, 19 November 2021

Doing without dice

This past week has been spent converting the D3 War of the Spanish Succession (WSS) rules I use to ones which don't use dice. They used D3 dice (1,1,2,2,3,3) for most combat situations delivering below average, average, and above average outcomes. The aim of updating the rules is to reduce the possible combat outcomes to mostly two using a deck of cards and results based on drawing the red or black suits.

A game in progress using a cards only approach

What prompted this madness to rework the rules not to use dice? 

Every now and again I flick through some of old wargaming books that I have. Last week came across a chapter called "Doing Without Dice" in the book "Advanced War Games" (by Donald Featherstone) which asks the question about having fewer dice and less chance in games. The general idea is that wargamers welcome an element of chance, or luck, but that good strategy and tactics should be rewarded more so than good luck. It is an interesting and short chapter of 5-6 pages which looks at various options of restricting the range of results, and chance, and having more expected results. The variety of approaches mentioned include home made percentage cards, playing cards, and even dominoes. 

French units take up defensive positions

The chapter also reminded me of the book "Rules for Wargaming" by Arthur Taylor, published way back in 1971, where chance had been removed as much as possible from the rules.


The result of this reading eventuated with the reworking of the rules, now called WSS Cards for want of a better title, and they can be found in the above tabs or by just clicking here. 

Allied units arrive

The next post will cover a game report with these rules.

Friday, 12 November 2021

Looking ahead towards the next painting project

I recently purchased the board game Zombicide. I have been thinking about getting the game for a while and was able to get a copy in my local games shop when I was in there to restock my paints, which were running low after the last lockdown here in Melbourne. I alway like it when I can support the local games shops, they are always a joy to browse in and look at other products close up.

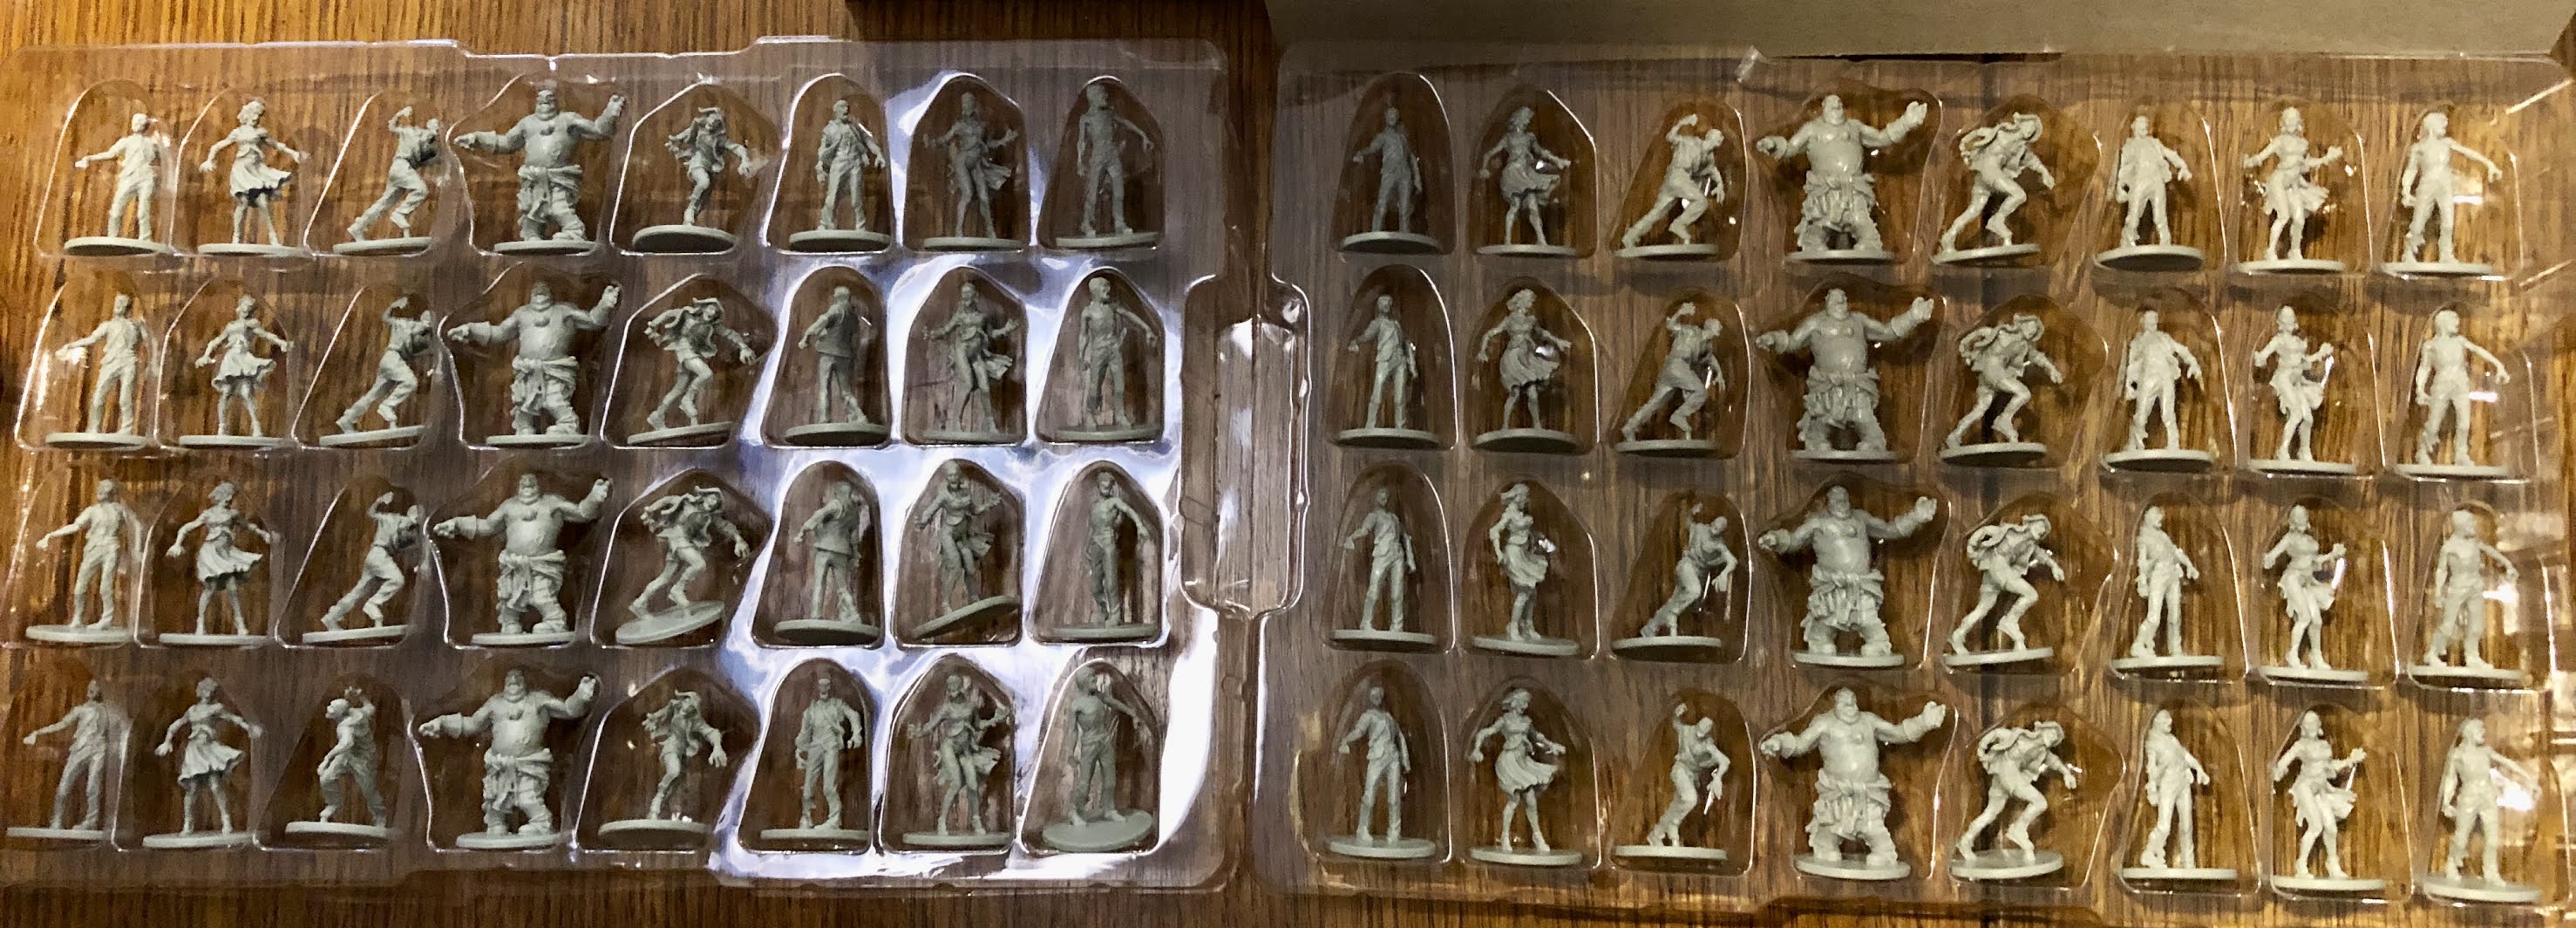
As for the Zombicide game itself, it has been around for a good few years now and is a collaborative game where survivors fight off ever increasing numbers of zombies which move to set game rules. The game comes with about 70 miniatures representing a few survivors and lots of zombies. My plan is to take a break from painting my Samurai armies shortly and paint up the miniatures in readiness for playing the game over the Christmas holiday break. 

The boxed game

I am as yet undecided how to paint these miniatures. I am quite tempted to try some of the Games Workshop contrast paints not having used them before, and the miniatures are sufficiently detailed for the washes to work.

Survivors and lead Zombie

Zombies

Friday, 5 November 2021

ECW Game Report - The Battle of Hopton Heath 1643

I have been tinkering with the D3 English Civil War rules for a few weeks now. Originally, they were a variant of One Hour Wargames using D3 dice, but I have made further modifications to the artillery rules and turn sequence. The turn sequence was the largest change and uses homemade cards which determine the order in which a player’s units perform their actions. There are 10 cards in all:

5 Red cards

  • Horse Activation
  • Foot Activation
  • Dragoon Activation
  • Artillery Activation
  • Commander Activation

5 Blue cards

  • Horse Activation
  • Foot Activation
  • Dragoon Activation
  • Artillery Activation
  • Commander Activation

The deck is shuffled together into one card deck at the start of a turn. One player is assigned blue cards and the other red cards. As the cards are revealed, one at a time, a player activates the unit types on the card. Once complete, take the next card from the top of the pack and repeated until all cards have been drawn. Then shuffle the card deck for the start the next turn. 

This mechanism is trying to reflect the difficulty of commanders coordinating the various parts of an ECW army. Players don't know the order that their unit types (infantry, cavalry, or dragoons) will be activated, or of their opponents. The updated rules can be found above or click here.

For the game I used the Battle of Hopton Heath description from the book "With Pike and Musket" by C.F. Wesencraft as inspiration. The Battle was fought 19 March 1643 between Parliamentarian forces led by Sir John Gell and Sir William Brereton who attempted to combined their forces to face a Royalist army under the command of the 2nd Earl of Northampton.

I decided to draw up a map to help show the positions and tabletop layout. It has been a long while since I drew one of these diagrams for a game. I do enjoy drawing them, but they do add time to creating a blog post.

Map of the Royalist deployment and Parliamentarian off table units.

The game uses the weather barometer as described in the "With Pike and Musket" book. I made one a couple of weeks ago (see here). I have no idea as to what the weather was like on the actual day, but on my tabletop the day was looking pretty dismal with the possible threat of rain to come. A roll of 9 on 2D6 determined the weather which is adjusted by a D6 roll at the end of each turn, a 1 or 2 moves the peg up one slot on the barometer and a 5 or 6 move the peg down one slot.

Weather barometer

The Royalists begin the game deployed between the two roads. Parliament forces arrive one unit each turn along one of the roads. The units arrive in the order of cavalry units first, then infantry units, and finally artillery units.

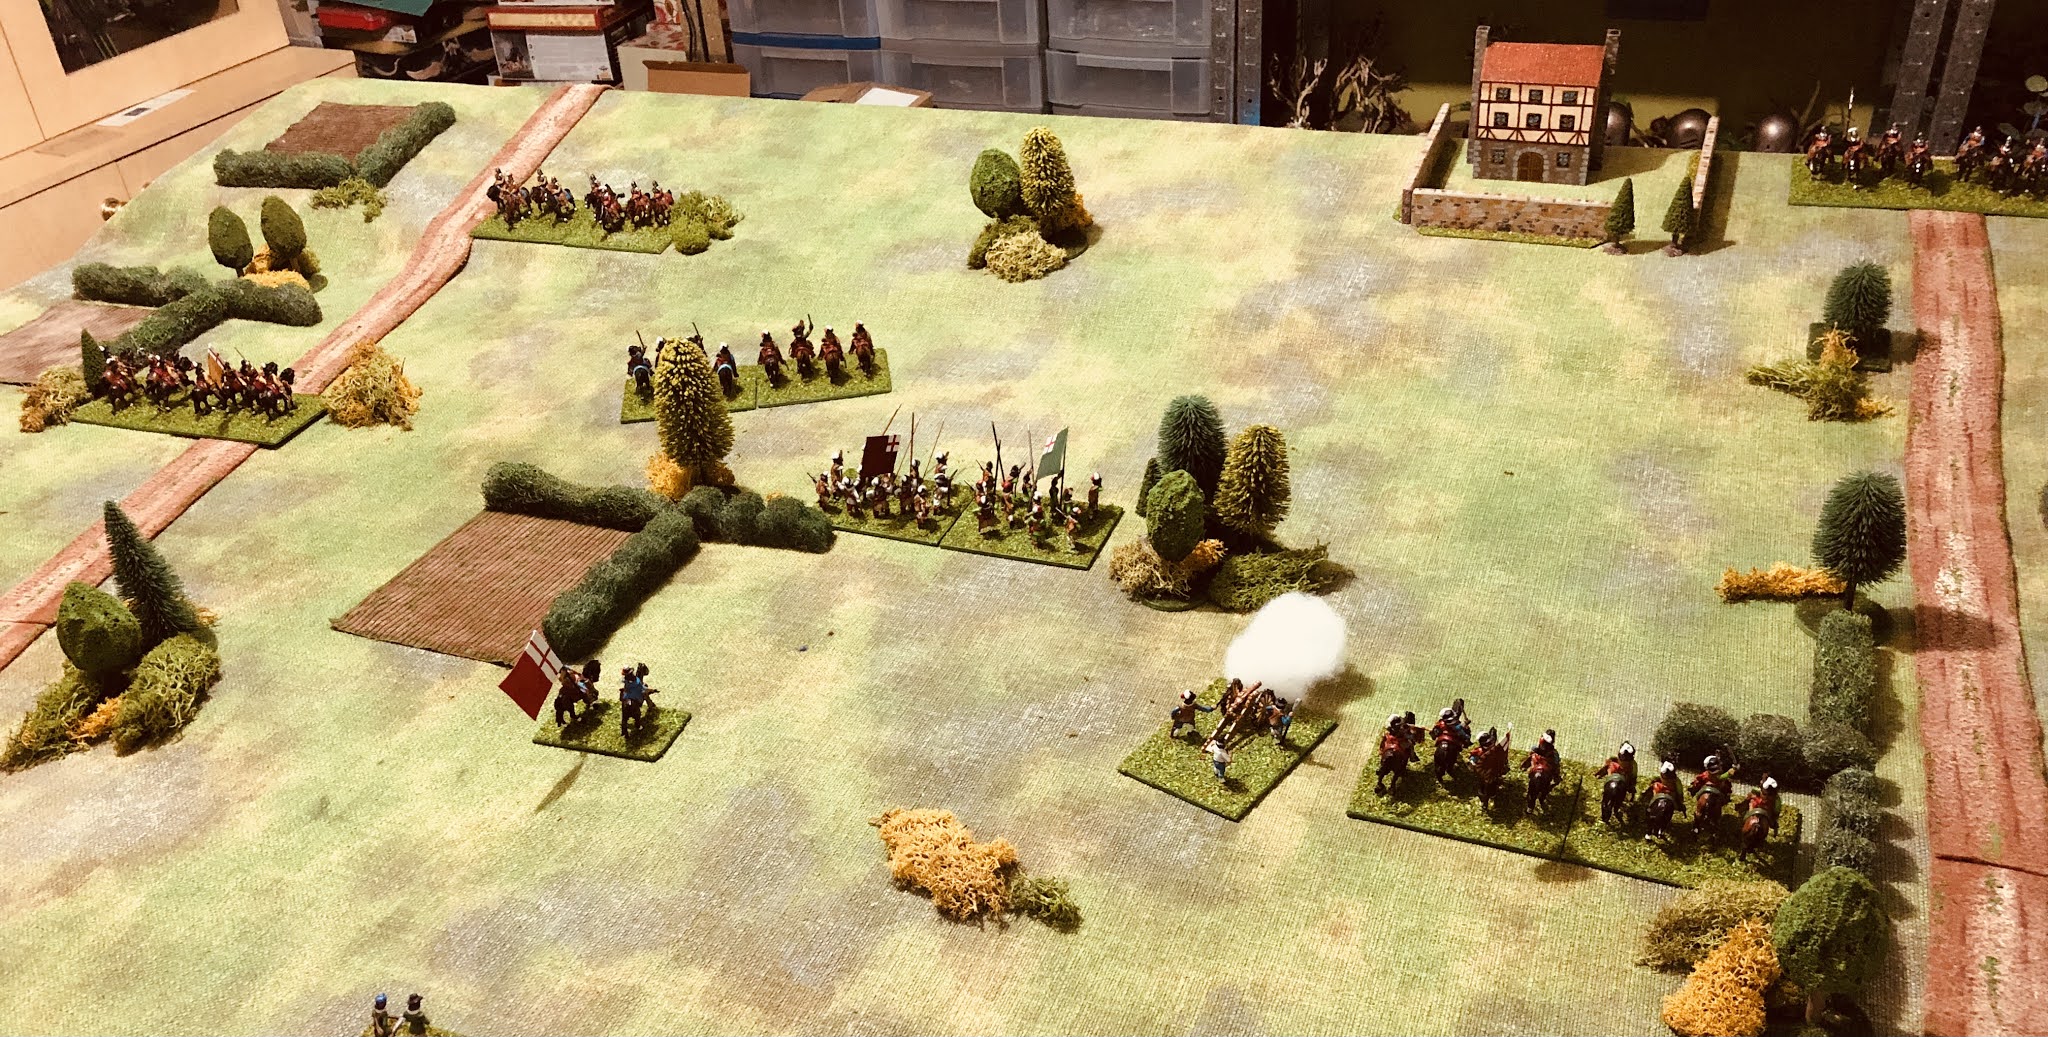
Initial deployment of the Royalist forces. Two Parliamentarian forces will arrive one unit each turn on the roads. (As a quick note I am using two bases for each unit in this game, artillery are still on a single base.)

The game report in pictures...

The first Parlimentarian cavalry arrive along the road as Royalist forces move up.

The weather did not remain fine for long and soon steady light rain began falling.


A second Parlimentarian cavalry unit arrives on the other road. While on the left flank two Royalist units move towards their Parliament's cavalry.

Parliamentarian infantry arrive and are quickly engaged shooting at Royalist cavalry. They were able to keep their powder dry.

The weather continues to turn for the worse with heavy rain. All artillery pieces become bogged, including  Parliament's artillery which is yet to arrive.

More infantry arrive on the tabletop for Parliament near the building, but their artillery is delayed due to the heavy rain.

Royalist cavalry head towards the other flank as Royalist forces concentrate their attacks on the right flank.

With artillery ineffective Royalist forces close in on the outnumbered Parliamentarian forces.

Casualties are starting to mount as the forces engage.

The weather has become stormy and all movement will be halved and artillery fully bogged and useless for the remainder of the game.

Royalist cavalry attack on the flank and Parliament's situation looks dire. Their infantry on the other flank is being delayed due to the storm (and half movement).

Parliament forces are routed and a Royalist victory.

While the Royalists won, they were aided by the weather which delayed Parliaments artillery and the ability for both forces to join up.


Sunday, 31 October 2021

The Painting of Samurai Units Continues

The painting of my old Minifigs, some secondhand Minifigs S-Range, and a few Dixon Samurai figures I had hidden away is progressing slowly and steadily. I have been able to avoid any other painting temptations and have now reached the point where I could have a small One-Hour Wargames style game. 

All the figures and units completed to date.

I am about half way through painting all the models I have stashed away in their various boxes. The painting began back in June 2021, so at this rate I recon I have another 5 months to go before nearing completion.

Colour schemes are kept simple with a red and a blue army

The blue army

The painting is to a wargaming standards, where I try and keep things simple and easy to do with block painting.

Some old Dixon miniatures are the latest to leave the painting table.


Tuesday, 26 October 2021

Ancient Campaign Turn 3 - Battle of Aternum 213 BC Game Report

The Battle of Aternum 213 BC is the second game in turn 3 of my solo ancients campaign. The setup for the game including: choice of terrain, order of battle, and deployment can be found on the previous post. As a quick reminder the battle is occurring in Southern Italy, and Carthage has the edge in terms of numbers of troops and with having Hannibal as the commander. These advantages are factored into the chance cards used by each army.

Deployed armies, Carthaginians on the left and Romans on the right. The buildings are considered impassible and light infantry can enter the woods (seen in the distance) on the other flank.

Plans

The Roman commander's battle plan was quite simple and used the available terrain. Having the town and woods on either flank reduced the width of the battle line and would constrain any Carthaginian flanking moves with their cavalry. Roman light infantry were placed on either flank and would contest the woods to protect the flanks at best, or at worst frustrate any flanking efforts. In the centre the heavy infantry would try and engage as quickly as possible using their greater heavy infantry numbers to inflict as many losses as possible.

Carthage's plan was to hang on in the centre and take any limited flanking opportunities. Some light infantry were positioned in the centre to frustrate and delay the Roman centre. Hannibal was attached to a unit of heavy cavalry.

Game Report

Rome gets the jump on the Carthaginians and pushes into the woods while in the centre an initiative chance card allows their heavy infantry to quickly get to grips and make short work on the light infantry. Carthage responds with the Gauls charging forward and contesting the woods with their own light infantry.

Roman heavy infantry push forward as quickly as possible to engage the Carthage's heavy infantry.

With little space to operate in, Carthage's heavy cavalry prepare to flank the first Roman line to support the centre which is under pressure. They will be placing themselves at risk from the second Roman line.

Both sides are losing units in the centre, but Rome has the edge with their heavy infantry numbers. Carthage's heavy cavalry proved useful, but suffered casualties from Rome's second line and had to quick retire before suffering too many hits.

The fighting in the centre is a grind and with little threat from the flanks the Roman commander's plan seems to be working as they gain the advantage.

In a last ditch attempt to avoid defeat Carthage's heavy cavalry having been rallied and reorganised once more enter the fray. Roman light infantry having routed their Carthaginian counterparts attack from the rear.

With the loss of their heavy cavalry and commander the Carthaginian forces flee the field of battle.

Summary

A Roman victory against the odds. The constrained flanks certainly did hamper the Carthaginian cavalry and they were not helped by a lack of rally cards in the earlier part of the game, those mercenaries can be unpredictable! Rome was aided by an initiative card on their first turn which caught Carthage's light infantry on the hop and they were quickly routed. Consistent combat dice rolls meant the pressure was maintained and they kept the initiative with Carthaginian attacks always seemingly in response to Romes attacks.

I was quite pleased to see a Roman victory from a campaign perspective. It now gives Rome a glimmer of hope as they try to build momentum and escape their dire campaign situation.

Possible Rule Changes

The rules which are heavily based on One-Hour Wargames rules, but adapted to use a D3 dice, have remained static for a good few games now. (There is a link to the rules at the top of the blog). I really do like the addition of chance cards to reflect the different army characteristics and force size. 

However, one rule I want to mess around with is the commander rule. Currently, heavy units (infantry or cavalry) with an assigned commander can re-roll their combat dice if unhappy with the score. This rule does not feel like a decisive move made by a commander, so I plan to allow a commander to join a heavy unit at any point in the game and double the number of hits on the turn they join. They will only be allowed to do this once, and must remain with the unit from that point until the end of the game.

Saturday, 23 October 2021

Ancient Campaign Turn 3 - Battle of Aternum 213 BC setup

This game is the second land battle in turn three of my Ancients campaign. Earlier in the campaign turn Rome had finally secured a victory in Northern Italy. While they are still in a precarious position in the campaign the victory was most welcome and the attention now turns to Southern Italy where Hannibal is running amok with a strong Carthaginian force. Will Rome's recently found momentum continue, or will it come to an abrupt halt?

Campaign Map at for turn 3

The game preparation went through the usual three step process:

  1. Decide the terrain and prepare the tabletop
  2. Select the forces and prepare the chance card decks for each army
  3. Deployment of the armies

Terrain and prepare tabletop

The terrain was selected and the tabletop prepared for this weekend's gaming. As per usual terrain cards were used. Four terrain features are randomly selected from a shuffled deck of eight terrain features. These 4 cards are added to four open (blank) terrain cards and shuffled, then six cards selected and placed in two rows of three to represent a 6 by 4 foot tabletop.

If there are no opposing terrain features on the flank areas the terrain gets positioned equal distance from both table base edges. This adjustment does not occur in the centre to ensure the centre areas of the tabletop remains open terrain. The rocky terrain in this instance will be an impediment to any army deploying along that edge.


8 terrain features are shuffled together in a deck and 4 are selected. The selected 4 cards are added to 4 four open (blank) terrain cards and shuffled.

From the deck or 4 terrain and 4 open cards. 6 cards are randomly selected and placed to represent a 6x4 foot table top. Each card representing a 2x2 foot area.

If there are no opposing terrain features on the flank areas, as with the woods and town, the terrain gets positioned equal distance from both base edges. This adjustment does not occur in the centre so ensure the centre areas of the tabletop remains open terrain. 

Select forces and prepare chance cards

To select the order of battle for each army I use the approach from One Hour Wargames and have created two tables, one for the Romans and one for the Carthaginians. A D6 is rolled and the forces selected. Both armies will always have 7 units. Where one side has a larger army, as is the case with the Carthaginians here, then the army will have additional rally cards in their chance card deck.

Rome's order or battle generator table. I have been using the table during the campaign, but have yet to write it up.

Rome rolled a 3 and will have the following order of battle:
  • 4 x Heavy Infantry (HI) units (the Roman commander is assigned to one of the units)
  • 2 x Light Infantry (LI) units
  • 1 x Catapult (CAT) unit
Carthage's order of battle generator table.

Carthage rolled a 4 and will have the following order of battle:
  • 3 x Heavy Infantry (HI) units (one of the units will be Gauls who don't fare so well against missiles)
  • 2 x Light Infantry (LI) units
  • 1 x Heavy Cavalry (HC) unit (Hannibal is assigned to this unit)
  • 1 x Light Cavalry (LC)
No elephants (EL) in this game.

Next is the preparation of chance card decks for each army. There are differences between the cards used for Carthaginian and Roman armies. These differences are to reflect the experienced mercenaries used by Carthage and Rome with their well discipline legions and army organisation.

For this game Carthage will gain two additional cards: one initiative card for being commanded by Hannibal and one rally card because they have the larger force. These cards replace two no event cards in the deck.

Carthage's standard chance card deck.

A rally card for having a larger force and initiative card for having Hannibal as a commander are added, replacing two no event cards.

Rome has their standard deck.

Rome's standard chance card deck prepared for the game.

Army deployment

The deployment of units on the tabletop follows some simple rules. Players dice to see who begins the deployment and they alternate deploying their first, second and third rows. There are limitations to placing heavy infantry on the flanks.
The deployment rules

Rome did not only lose the dice-off to decide which side they are to deploy on, they also lost the second dice-off and will start deploying first. Here are a few photos of the deployed armies...

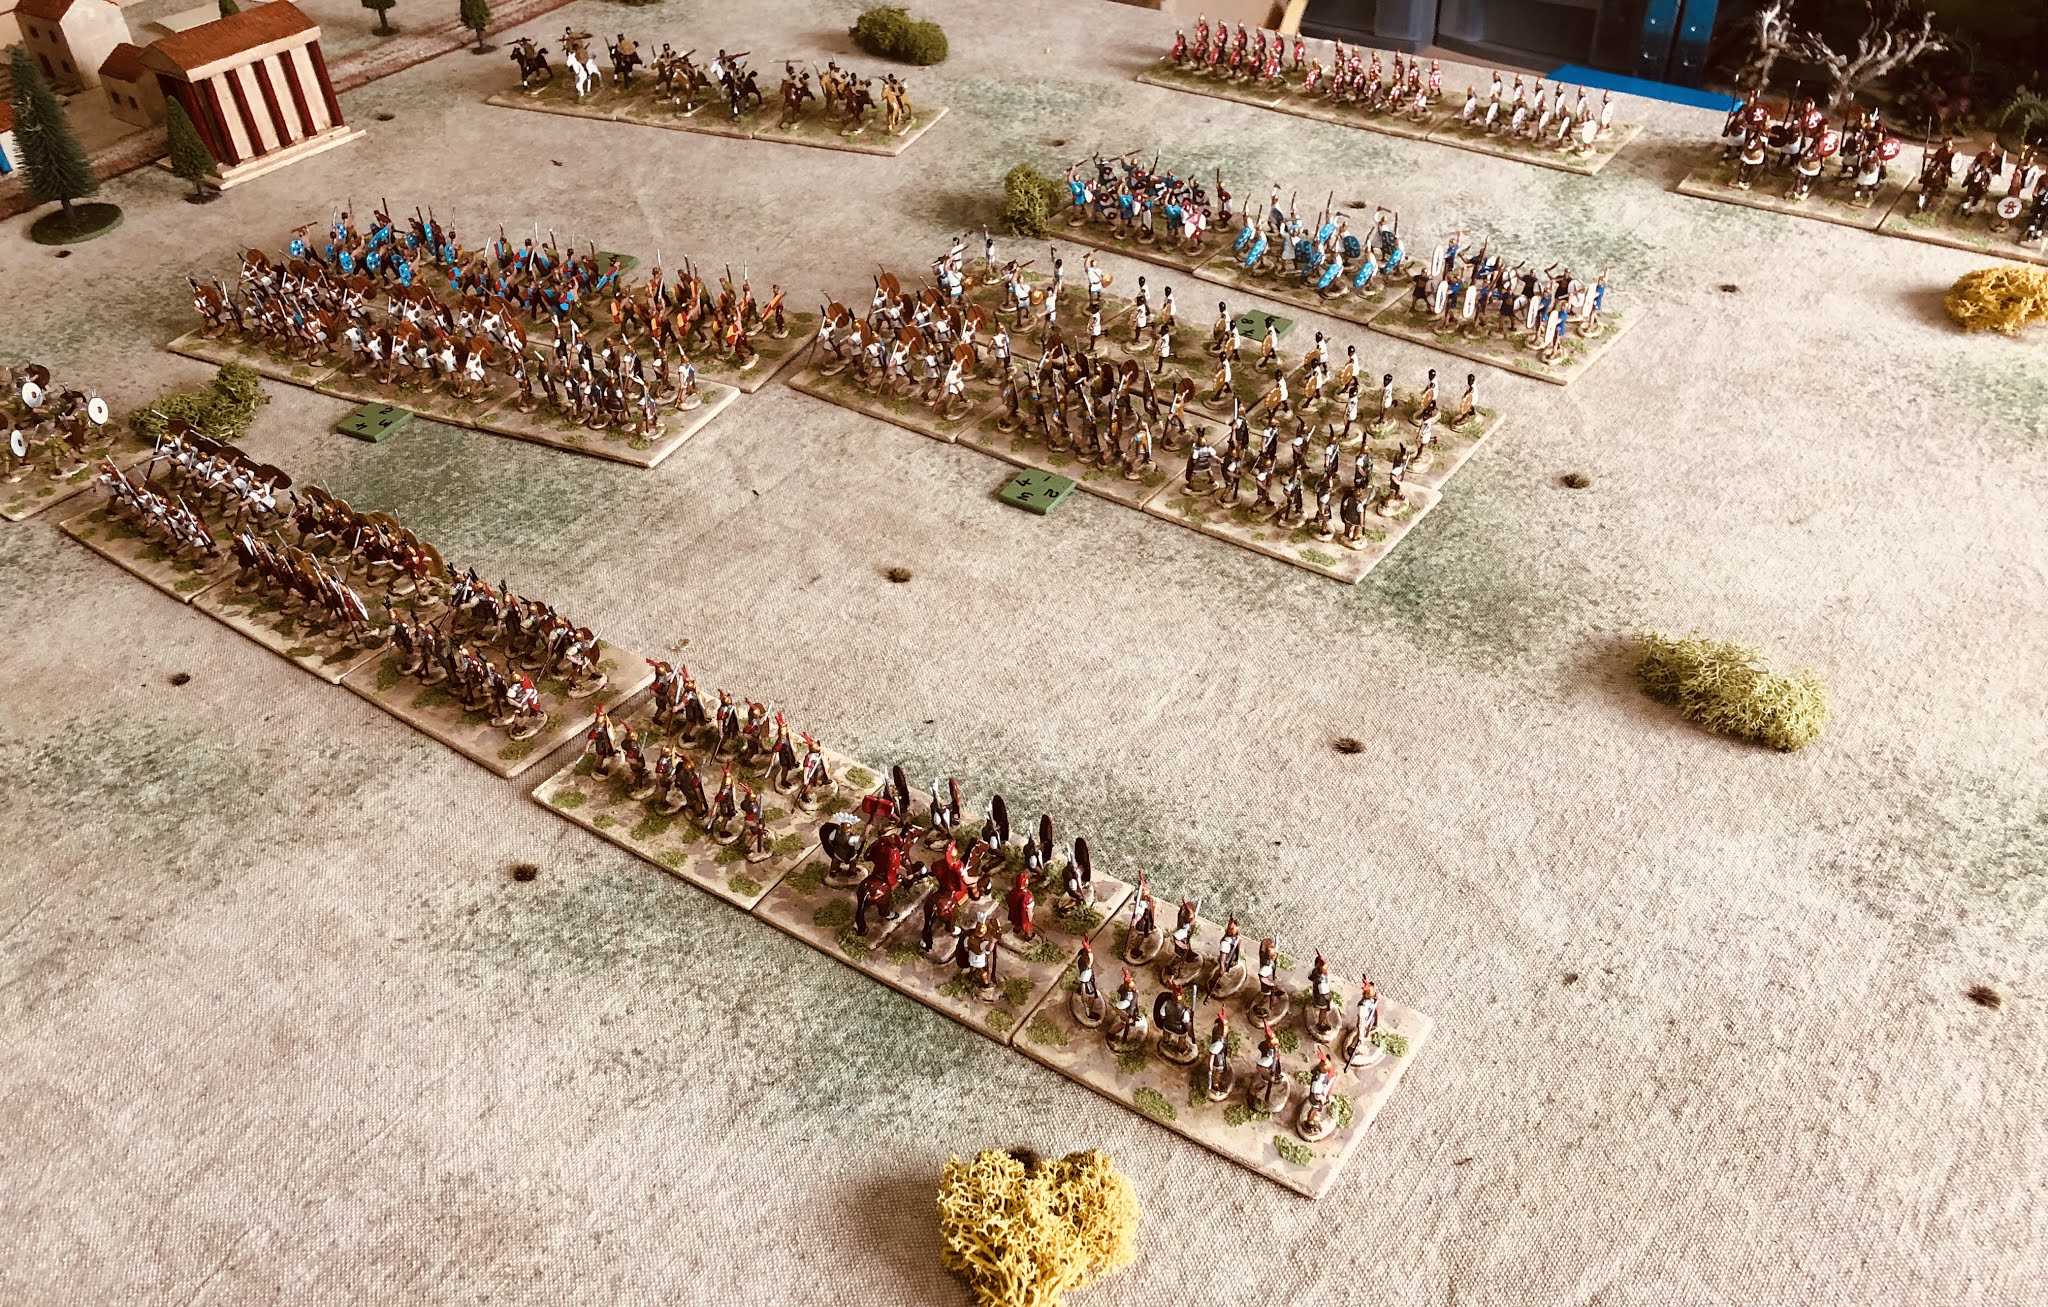
The Roman centre. Each unit has 3 bases and 27-36 foot figures depending upon unit type and 12-18 mounted figures.

Both armies are deployed. Rome in two lines and Carthage with three lines.

A view from behind the Carthaginians

Hannibal with his heavy cavalry.

A view from behind the Roman army with their catapults are closest in the second line.

The next post will be of the game.