Wednesday, 3 January 2018

A third Napoleonic game and some draft rules

A couple of days ago, before returning to work, I was able to play a third Napoleonic game. The game set up was based upon the battle of Haslach-Jungingen 1805. As with previous games I used the scenarios from Command and Colors website.

For the games I have been using house rules which are a mash up of ideas and mechanisms from One Hour Wargames (no surprise there) and 2x2 Napoleonic. The rules are after the photos of the game if you are interested. They are draft and probably have a few typos - my eyes are now glazing over from reading them once too often.

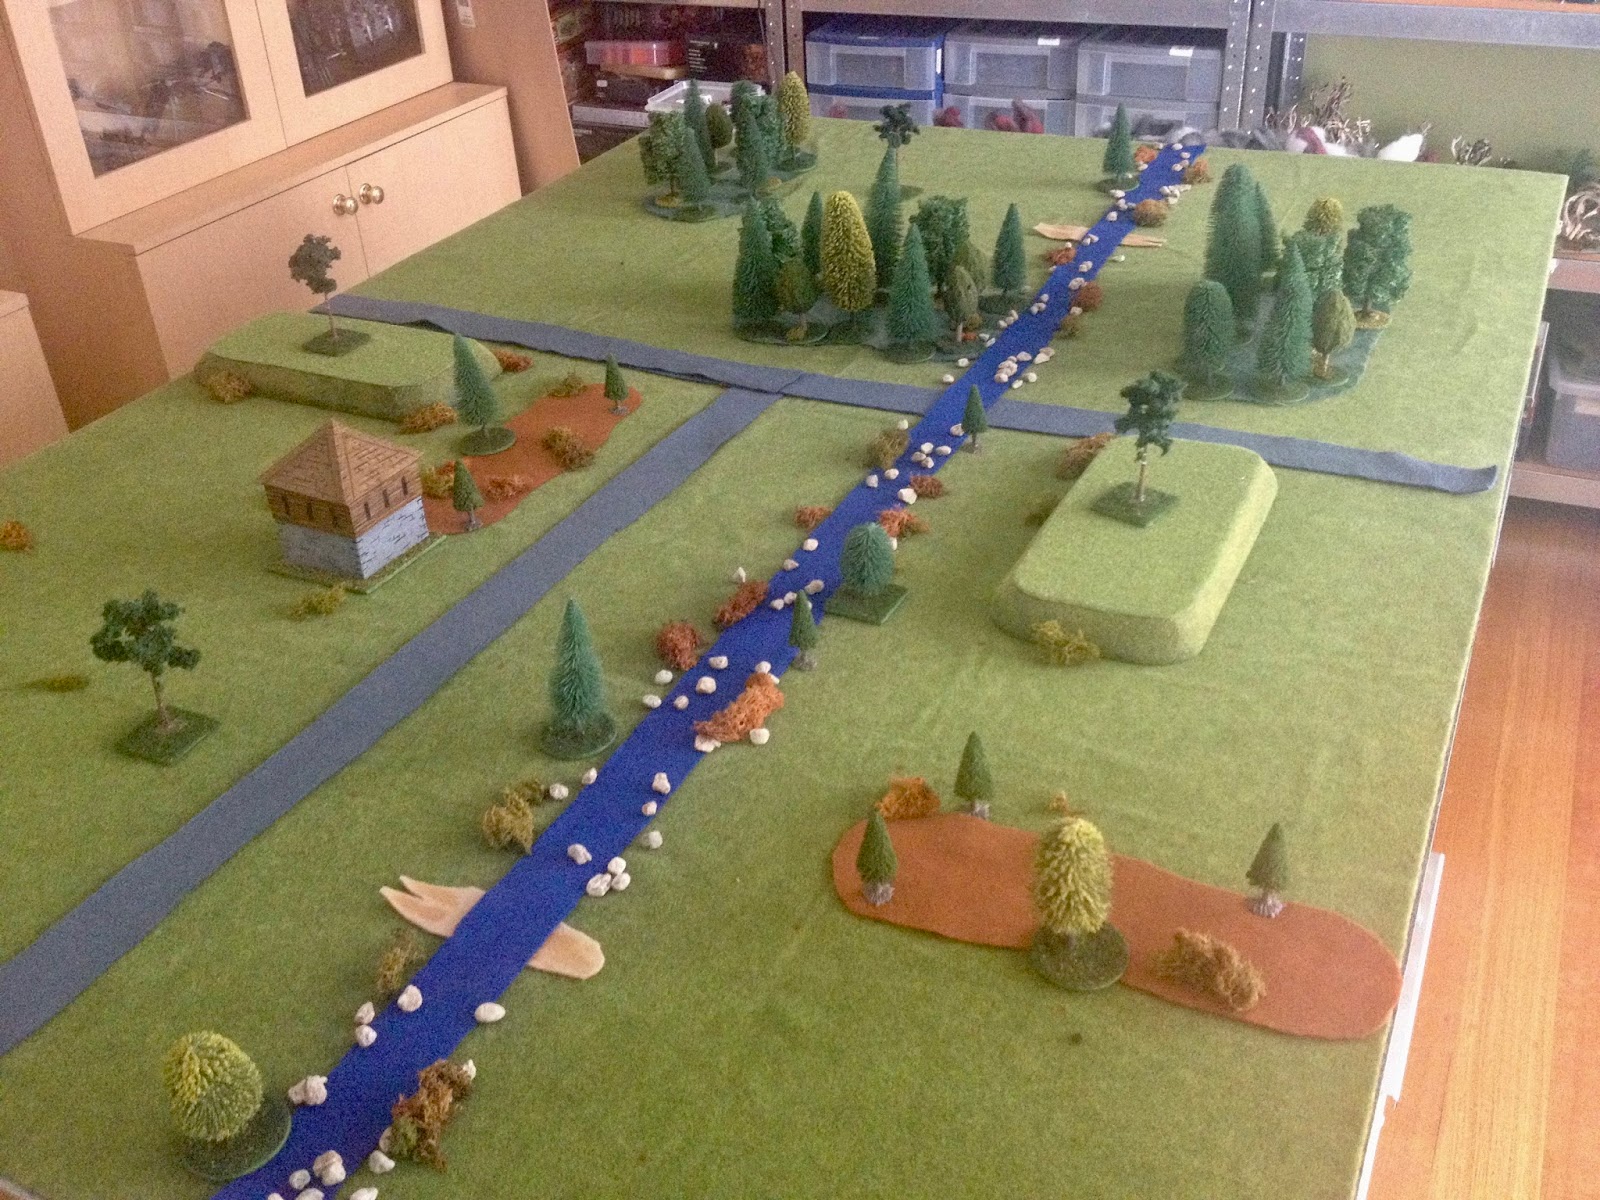
The game set up looking from the Austrian side with the river splitting the tabletop into two sets of actions.
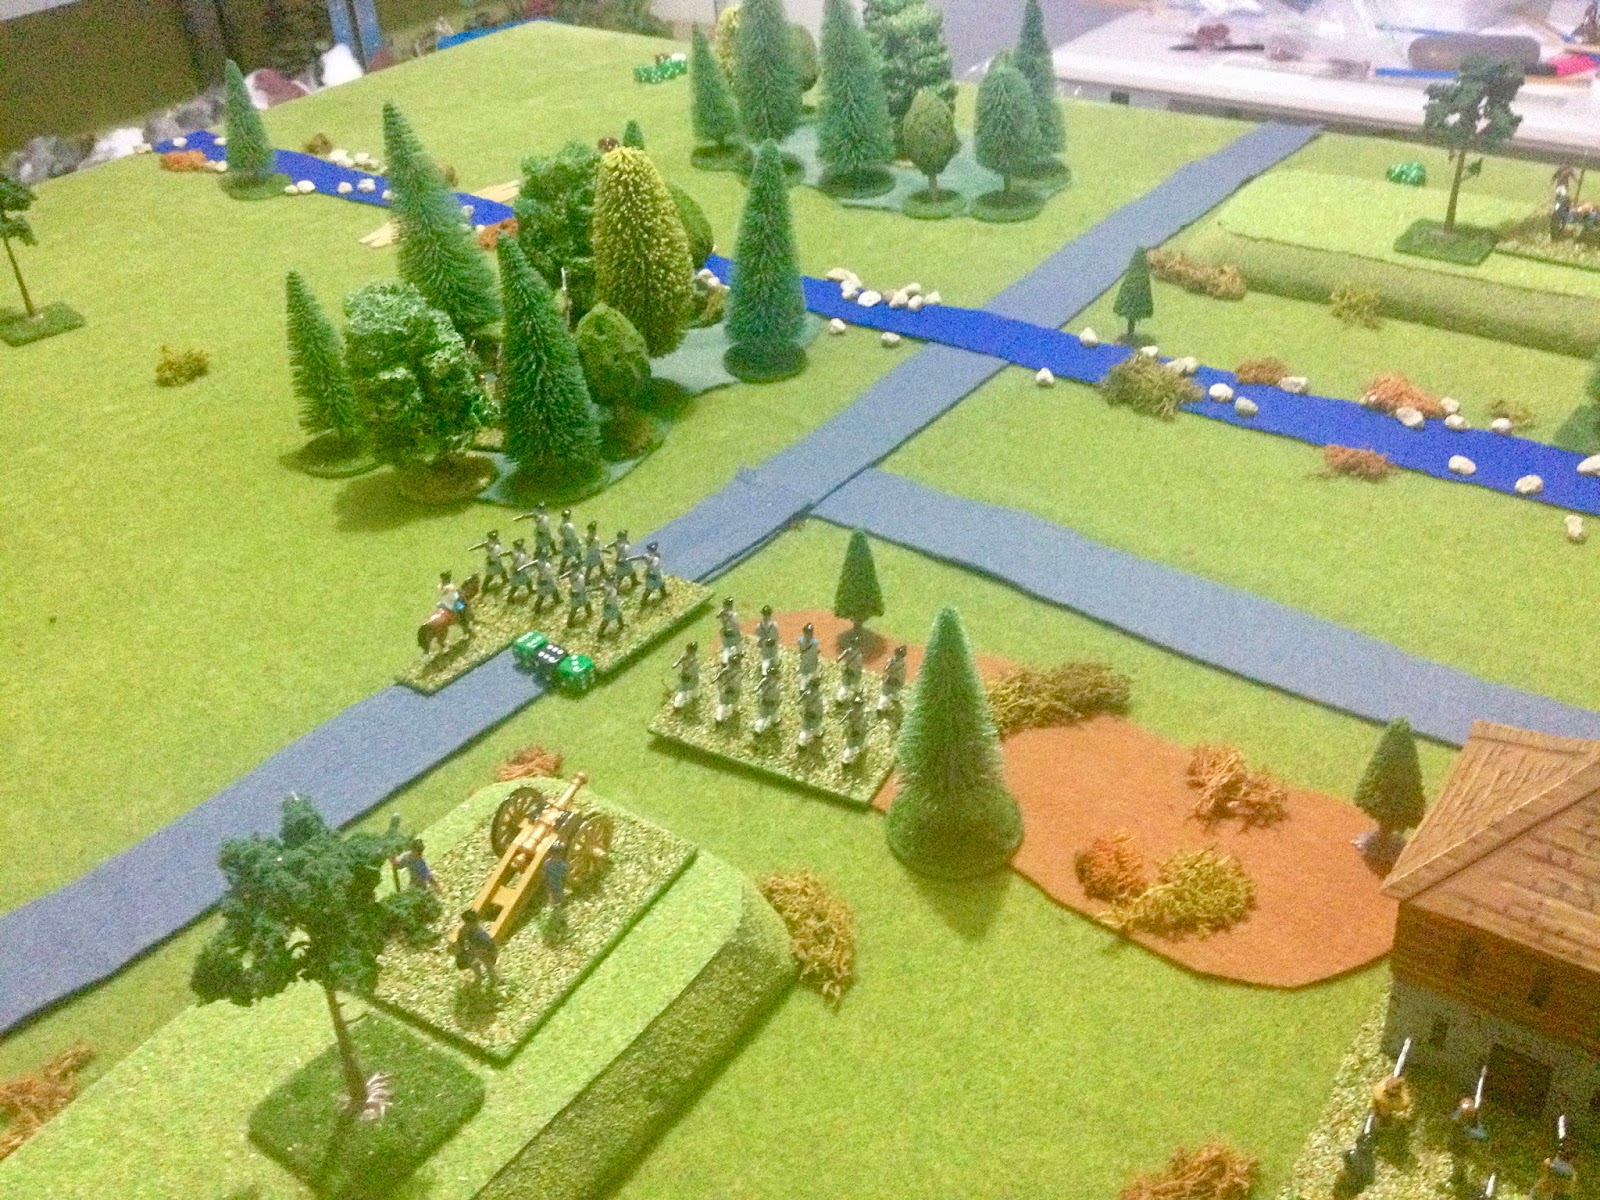
The French right flank quickly moved up with the light infantry to occupy the town. This move limited the options available to the Austrian cavalry units opposing them in this side of the battle. 
The Austrian right flank quickly pushes up trying to use their numerical superiority
The French and Austrian cavalry clash with the light infantry taking pop shots at any Austrian cavalry coming too close. 
French artillery are positioned to support their outnumbered left flank. The support turned out initially to be somewhat lacking from a string of low dice throws.
The French right gains the upper hand. In the background Austrian Grenadiers are moved to the bridge to stop any future attacks from the rear.
On the other flank the battle rages on with neither side yet having an upper hand. 
The French are now looking under pressure as two Austrian artillery units are well positioned to support their attack.
The cavalry clash continues, but the Austrians are looking a bit done in now.
The French defence is quite tenacious and the attacking units are getting ground down. 
The Austrian's appear to have won the fight on their right flank, but are well and truely worn out.
French light infantry come out into the open to harass the Austrian cavalry who are on the very edge of elimination. (On 13 hits of more units are eliminated unless they are elite infantry (Guards/Grenadiers).
French cross at a river ford and Austrian forces begin to retire.
A French marginal victory on the tabletop. The rules combined with Command and Color scenarios have so far provide me with three enjoyable games.

Napoleonic Wargaming Rules (Draft)

The inspiration for these rules come from “One-Hour Wargames” by Neil Thomas and “2 by 2 Napoleonic’s” rules by Rod Humble.

Units

The following unit types are used:

  • Infantry (Line Infantry)
  • Elite Infantry (Guard or Grenadiers)
  • Skirmishers (Light Infantry)
  • Cavalry
  • Artillery
  • Corps or Division Commanders
  • General (only one per army)

Units are singly based for which I use 4" x 3" bases.

Sequence of play

Roll the dice or flip a coin before each turn to determine who is Side A and B. Each Turn has the following phases and steps within each phase:

1. Movement

  • A moves
  • B moves

2. Shooting

  • A artillery shoot
  • B artillery shoot
  • A light Infantry shoot
  • B light Infantry shoot
  • A stationary infantry shoot
  • B stationary infantry shoot
  • A infantry (that moved) shoot
  • B infantry (that moved) shoot

3. Cavalry Charges

  • A cavalry charges
  • B cavalry charges

4. Rally

  • A rally
  • B rally

Movement

The standard unit movement allowances are:

  • Cavalry 6”
  • Skirmishers 6”
  • Infantry 6”
  • Artillery 6”
  • Commanders 9”

Add 3” when all movement is along a road.

Add 3” when starting movement within 6” of ta General.

A unit may move up to their movement allowance, but may never exceed it.

All movement must be in a straight-line unless starting and finishing movement on a road.

Units may pivot on their centre at the beginning and also at end of their movement.

Movement must cease once a unit comes to within 6” of an enemy unit. The exception is where a units is moving directly towards an enemy with the intent to engage them in combat.

Units which have been engaged in combat may not move unless they are rallied. However, they are allowed to pivot to face an enemy (this counts as movement for shooting purposes).

Interpenetration

Skirmishers and artillery may move through other units.

Shooting

Shooting is done in a series of steps determined by the type of unit and for infantry units whether they moved during the movement phase (see sequence of play for order).

Artillery that has been moved may not shoot. This includes a unit turning.

Skirmisher shooting does not differentiate which units have moved, unlike infantry units where stationary infantry units shoot first, before infantry units that have moved.

In each step side A first conducts shooting first and remove hits. Then its is the turn of side B. This may mean a side B unit is eliminated before it had an opportunity to shoot.

Use the following procedure for shooting (note cavalry do not shoot):

1) Determine the range of shooting.

  • All units have a 45 degree field of fire, unless they are in a town when they have a 360 degree field of fire.
  • Measure the range. Muskets have a range of 6” and artillery 24”.

2) Determine the number if hits.

  • Infantry and Guard units roll 1D6
  • Skirmishers (Light Infantry) roll 1D6-2
  • Artillery roll 1D6-2
  • Any unit with an attached Commander get to roll 2D6 and select the highest score.
  • Any target unit in cover has the number of hits halved (rounding up and fractions).
  • Any target cavalry unit can retire 6” and halve the number of hits (rounding up fractions). The cavalry unit may not charge in the turn.
  • As soon as a unit shoots place a marker (eg cotton wool) to show it has been engaged in combat. The unit may not move until it is rallied.

3) Remove any units which are eliminated due to the number of hits they have received.

Charges

Only cavalry can charge. Side A first gets to make its charges.

Move a cavalry unit 6” into contact with target unit. A charging cavalry unit may turn once at the start of its charge. The turn may not exceed 45 degrees.

Cavalry cannot charge units in cover (buildings and woods).

A target unit may not be charged more that once during a turn.

To determine the number of hits inflicted by the attacking cavalry units rolls 1D6+2. The number of hits are modified by the following:

  • If the target occupies a hill halve the number of hits (round up any fractions).
  • If the target is cavalry, then they halve the number of hits.
  • If the target unit is attacked on its flank or rear, then double the number of hits.
  • If the target is a skirmish unit double the number of hits.
Artillery units are eliminated if charged and not within 3” of any infantry or elite infantry unit. If within 3” then they cannot be charged.

If the target is not eliminated the attacking cavalry unit retires 6”, ending their move facing the unit just charged.

If the target is eliminated, then the cavalry unit must occupy the area previously occupied by the eliminated unit.

Eliminating Units

A hit represents a combination of casualties, exhaustion and disorder caused to a unit by combat. Units are eliminated when they exceed 12 hits.
Elite units, such as Guards and Grenadiers, are eliminated when they exceed 18 hits.

Terrain

Terrain effects units in the following way:

  • Woods - only Skirmisher units can enter and are treated as being in cover.
  • Towns - only Infantry, guards and skirmishers may end their move in a town, only one unit may occupy a town. Units in a town get cover.
  • Marsh/Lakes - impassable to all units.
  • Rivers - impassable except at bridge/ford.
  • Roads - All units move an additional 3”.
  • Hills - Artillery line of sight is not blocked by units or rough terrain.
  • Entrenchments - only infantry, skirmishers, guards and artillery units may use entrenchments. Units get cover and when shooting roll 2D6 picking the highest score. However, once placed in an entrenchment they must remain static and entrenched for the game’s duration.

Corps/Division Commanders

Both armies can have up to 3 commanders. As a rule one commander is allowed for every 4 units on the table.

These commanders must be assigned to an infantry or elite infantry unit.

A unit with an assigned commander is able to roll 2D6 when shooting and select the highest score.

A commander can rally one unit during the rally step within 6" of their attached unit. This also applied to the unit they are assigned to.

General

All armies have an overall commander (General). They are not units and as such cannot be engaged in combat. If approach by enemy units they can be moved 6” away from the enemy unit.

Generals can rally one unit during the rally step. If the unit is within 6” of any enemy units, then they must be within 6 inches of the General to be rallied.

If a unit is not within 6” of an enemy unit, then the General can rally they unit at any distance.

During movement any unit within 6” of an General can move an additional 3”.

Rally

All units except for cavalry cannot move after shooting until they are rallied.

A unit can be rallied if there is no enemy unit within 6”

If a unit is within 6” of an enemy unit, then it may only be rallied by either a Commander or General within 6”.

Saturday, 30 December 2017

Napoleonic gaming


As Christmas is a quiet affair for us this year with just one of the kids returning for the holidays. I was able to escape and play another game with my recently completed Napoleonic armies. I set up the forces and tabletop for a Caldiero 1805 style game. I am using the Command and Colour Napoleonic maps as a guide for both the terrain layout and force composition.

Table set up
A slightly closer view of the table and Spencer Smith miniatures.
The French begin by launching an attack on their right flank
An Austrian cavalry charge eliminated a weakened French infantry unit
The French centre pushes up to support the flank which was losing momentum
Austrian cavalry launch an attack on the French right wing. This proved to be a decisive attack as it eliminated not only an infantry unit, but also the nearby artillery. French cavalry can be seen moving across to counter the move - alas they were too late.
In the centre Austrians grenadier units in the town were holding firm and taking a toll on the attackers.
At this stage the battle was at its height with reserves positioned to move into the line.
French attacks on the centre fail and the game momentum turns in the Austrian favour.  
The battle was still a close run thing on the other flank.
The French break off their attack and retire from the field of battle.

The house rules seem to be hanging together and providing an enjoyable solo game. Still a few more games will be required to help make sure the different situations that occur on a tabletop are covered. I had better write up the rules in their current state. As I will forget which of my many scribbles have been discarded if not done soon.

I must confess I am really enjoying play these Napoleonic games. The last time I played some Napoleonic games I would have been 12 years old with my yellow plastic Airfix armies stuck on bits of cardboard.  Never thought I would ever have my own painted armies to game with.

Wednesday, 27 December 2017

Update on painting project list

A while back in August 2017 I listed all my painting projects. These are a combination of projects I wanted to do because of interest, or because I had a number of miniatures collected many years ago before I tool a break from wargaming. Producing this list was prompted by two blogs: Natholeon's Empires and Here's No Great Matter where there was a suggestion of a more project minded approach to painting armies.

Fortunately my projects are medium sized (I believe) due to the limitations of a 6x4 foot gaming table. There are only so many units which can be accommodated on such a sized table. This is a self imposed tabletop size, as it is easy to manoeuvre troops and I prefer games to be about an hour or so in duration.

Anyway, back on topic. I posted the list back in August. Looking at the list today I can cross off the first two projects as being completed.

Napoleonic - Completed December 2017.

WW2 Burma - Completed October 2017.

Samurai - A very old collection of 25mm MINIFIGS which I am yet to start.

English Civil War - The plan is to repaint my old and partially painted Hinchcliffe 25mm miniatures. Yet to start.

Warhammer Age of Sigmar (starter pack) - Yet to start.

Warhammer 40K - Started work on Necromunda figures.

So which one to start on next? I exclude Warhammer 40K as this is my never ending project. One which I will often use as a filler or when I feel the need to do something different.

Before choosing the next project. There is one additional project which should be added to the list and is causing a dilemma for me - ACW (Spencer Smith miniatures). I have enough infantry, cavalry and artillery for a couple of armies, but I already have some painted Minifigs 15mm ACW armies. Rather than have two ACW armies in different scales. My present thinking is to create a couple of Victorian Science Fiction armies using these Spencer Smith ACW miniatures with various scratch built contraptions. Most likely they will be painted with a ACW theme along with walking Ironclads perhaps?

Currently my focus is on playing out my solo French Indian War campaign and devising rules for some Napoleonic games. Here are some photos of a recent Napoleonic game using some quickly produced house rules, which are an amalgamation of ideas from OHW and 2 by 2 napoleonic rules.

Opening moves of a game which is loosely based on the battle of Wertingen1805 
French Guard attack supported by Light Infantry
The battle hots up with French cavalry attacking the Austrian right flank
Austrian cavalry rush to protect their left flank 
Austrian Infantry in a square defending against the French cavalry
Artillery is used to break the Austrian Infantry square - after which Austrian forces retire


Sunday, 24 December 2017

Spencer Smith Napoleonic Armies painted

This week I have been able to finish off the last few cavalry and artillery units required for my plastic Spencer Smith Napoleonic armies. The painting is very simplistic and uniforms somewhat generic with a War of the Third Coalition look.

The figures are mainly old plastic Napoleonic miniatures with a few converted ACW figures and SYW artillery miniatures. I was hoping to add to the collection with a recent eBay auction of a few cavalry and old guard, but lost out in the last hour of bidding unfortunately.

Austrian and Russian Units 
French units
All landed out on my 6x4 tabletop
A final few figures completed today added commanders and some converted standard bearers (as there are none in the range).

I started these armies back in early August and have over the last five months been able for the most part focus on painting them. Although there was one small diversion to paint WW2 Burma units for some Crossfire games.

It is pleasing to complete this project and be able to play a few games over the Christmas holidays.

Commander
Standard bearers drying on the painting table before adding some more colour to the tabletop. Depending upon the rules they may represent brigade commanders.
Next year I may add to the collection with some new metal figures from the range. I really like the Hussars and another couple of units would be good.

Friday, 22 December 2017

French Indian War Campaign - Game 6

Approximately halfway through the French Indian War campaign has the British retiring after their attempt to isolate the fort failed. Following this victory the French decide to take the opportunity and  launched an attack on the northern most British force.


Game 6 used the recently modified rules. One of the things I like about campaigns is they keep me  focussed and playing a series of game as I work out the kinks in my house rules. In most cases I end up with a workable set of rules I enjoy playing.

French forces take up position.
British forces move forward.
In the centre French forces push forward.
On their left flank the British light infantry advance was held up by unit of Indians.
On the other (right) flank British forces push forward, only to be countered by French units with support from nearby artillery.
The French centre attack pushes forward.
The French centre attack proved successful and British forces retire.

Another victory for the French which now presents them with the opportunity to push British forces back to their starting positions.

Tuesday, 19 December 2017

French Indian War Campaign - Game 5

The campaign has the French retiring after a defeat a game 4. This was followed by the British moving up their unit positioned on the southern river bank to attack across the river, in the hope of isolating at the French garrisoned fort.

French retirement move after their last defeat in game 4
British move to attack across the river in an attempt to isolate the French fort.
Using the campaign map as a guide tabletop terrain was setup for game 5, then forces selected for both sides.

Terrain laid out ready for a game
French forces
British forces
The nature of terrain setup meant the battlefield was split it two by woods on both sides of the river. Both sides placed their artillery on hills. While French defenders benefited from a block house placed at a location of their choice, which was used to guard their right flank.

The river could be crossed at the road and two other fordable places known to both forces.

British forces arrive on the battlefield
French blockhouse - the forces placed behind are there to remind me they are within the structure.
British move across the river on their right flank behind the woods. This protected them from French artillery fire.
The crossing is complete and the British attack is in full swing.
Casualties are starting to mount on both sides.
Somewhat quieter on the other flank
Both sides commit all their reserves to the fight as casualties increase.
In the end  French defenders manage to hold off the British assault
A victory to the French in game 5.

This game was played four times as I made changes to rules. Rather than playing out a new game to test out modifications, I just kept the terrain in place and started over again. I like quicker games (about an hours duration) so playing through a number of games over a couple of days is quite feasible. The results of the four games was split two wins on either side. I went with the first game result which was a French win.

Thursday, 14 December 2017

French Indian War games and rules

From playing the last few games of my French Indian War campaign. I have found my house rules may not differentiate sufficiently between how line infantry and skirmisher units operate. I mentioned this in my last post and a couple of helpful comments (thank you) were made. These comments got me thinking about things to change with the rules. But before making any changes. I am mindful that one rule change often leads to another rule change, and before you know it the rules have drifted from what you originally wanted or intended.

French Indian War - British attacking across the river
As I am prone to adjust and tweak rules. It was time for me get a tad more structured about the rules and avoid random acts of rule changes. After re-reading One Hour Wargaming and the chapter on horse and musket rules for inspiration. Where Neil Thomas describes the units involved before getting to the rules themselves. I thought I would try a similar approach and first describe (or in my case - list) how I want the units to operate within the game. By doing this and collecting all my thoughts before devising or changing any rule mechanisms. I will have a list of unit attributes I can use to check back on after test games to see if the rule changes meet what I intended.

British Light Infantry supported by Grenadiers

Here is my initial "what I am looking for" list...

Light infantry, Indians and skirmishers

  • Able to take advantage of cover
  • Traverse broken terrain (woods, rough ground, etc) and Indians easily so
  • Ability to operate independently

Infantry

  • Drilled to operate with other line infantry rather than independently
  • Keeping order and moving across broken terrain is difficult
  • Ability to charge with bayonet
  • Use of volley fire

Grenadiers
  • Elite troops and can operate independently
  • Can operate independently
  • Moving across broken terrain is difficult
  • Ability to charge with bayonet
  • Use of volley fire
Artillery

  • Not very effective shooting in the broken terrain
  • Moving heavy artillery off road (tracks) is problematic
  • Light artillery can move in open terrain

Leaders

  • Commanders help with directing/ordering units within their view
  • Captains act as trusted aide assigned to a unit to carry out a critical mission 

Cavalry

  • None.

Away from the tabletop I have now painted all my Napoleonic infantry units and only have remaining 4 cavalry and 6 artillery units to complete.

Last light infantry units are finished