Wednesday, 17 January 2024

Returning to using scatter dice and templates

Over the last week I finally got around to painting and basing a couple of British mortar units that had been sitting on my shelf for a year or two. The motivation behind painting them is because of my current testing of some World War II rules. The rules could be considered a bit old school, they are heavily influenced by various rules by Donald Featherstone and Charles Grant. While I have settled on the mechanism for direct fire I wanted to use a different mechanism for indirect fire by artillery and mortars using scatter dice and blast templates. There reasons for this approach are:

  • It encourages units to be dispersed, as a miss on a target may result in a hit on nearby units if they are bunched up.
  • It introduces the risk of hitting one's own troops when calling in indirect fire on enemy units close to your own.

Furthermore, artillery and mortars require observation by their Forward Observation Officer (FOO) for targeting. This approach limits the ability to switch artillery fire quickly across from one side of the tabletop to the other, and I get to use my scout cars and jeeps for a purpose in my games.


Recently painted British mortars.


Scout cars are put to use as FOO to direct indirect fire.

Once a target is observed, the template is placed, and the scatter dice are rolled. Successful hits occur a third of the time, but if fire is off target, the template is moved 6 inches as indicated by arrows on the scatter dice. The effects of hits vary depending upon the type of target:

  • A direct hit eliminates any non-armoured unit covered by the blast centre, while hits on armoured units result in immobilisation. 
  • Non-armoured units covered by the template, but not its centre, are suppressed unless in cover; while armoured units remain unaffected.

Scatter dice and templates.


When representing the weight of fire from an artillery or mortar unit. Units with one base use a 3-inch template. For each additional base, increasing the weight of fire, the template used is increased by 2 inches. For instance, a two-base artillery unit would use a 5-inch template, and a three-base unit a 7-inch template.

Wednesday, 10 January 2024

WW2 Battle Report Using an Operation Warboard Scenario

This World War II game report is inspired by the scenario Pont-de-la-Croix from Gavin Lyall's "Operation Warboard" book. There have been some modifications to the forces compared to the book's scenario. 

The rules used in this game are a set of draft rules I've been experimenting and tinkering with for the past few weeks. They are briefly covered here, but there have been recent changes to include scatter dice for artillery and armour can be immobilised, which all sounds a bit old school.

Allied infantry approaching the bridge come under artillery fire.

In this game scenario, a reduced German force defends the village Pont-de-la-Croix against the advancing Allies. The Allies' objective is to secure both the bridge and the town if feasible. While the Germans, if unable to halt the Allied progress, aim to inflict sufficient damage to the advancing Allied force to delay their march forward.

One of my favourite book covers

A photo from the book of the scenario in progress.

There are a few wooded areas on the tabletop and have used green wool to show the wood boundaries, a method I am trying instead of using green felt to mark the area (see post here). 

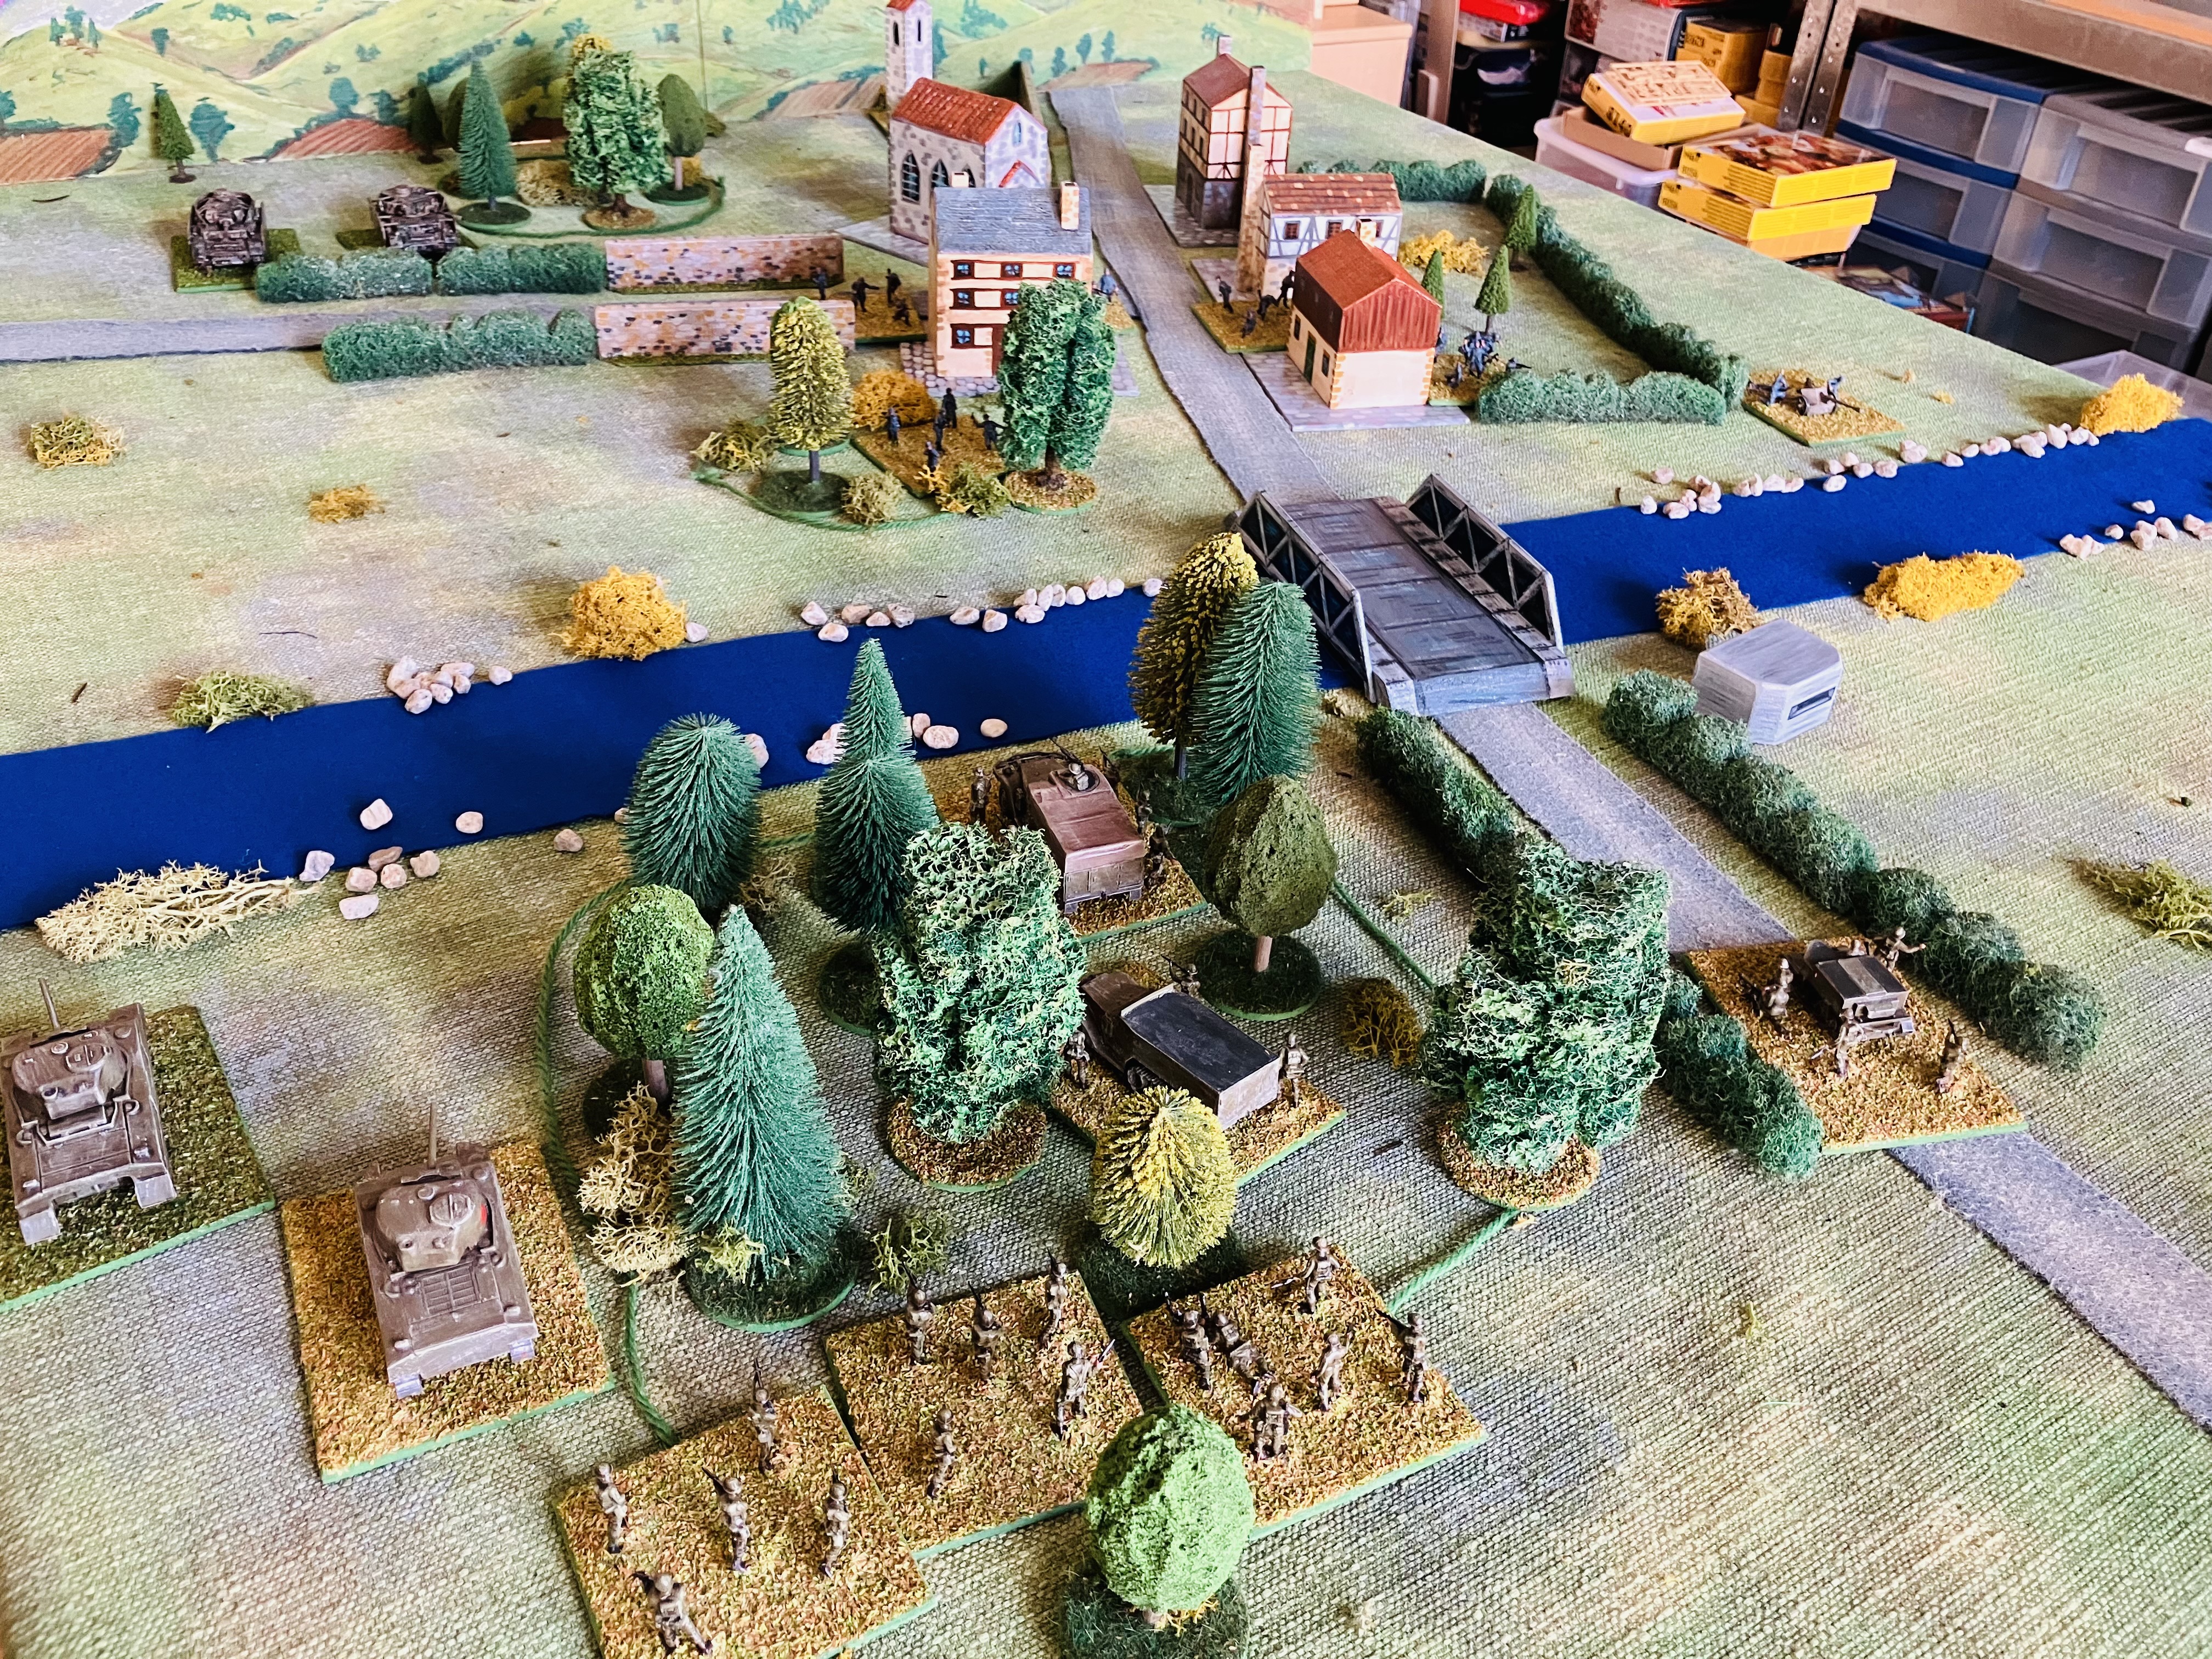
A view of the tabletop.

The German setup on the tabletop features artillery support placed behind the town’s church. They've deployed two companies: one company defends the southern town area and nearby hedges, supported by an assigned AT gun, the second infantry company holds the right side of the town and a small wooded area. West of the river, a pillbox stands as the sole German presence. Positioned on the north road from the town are a platoon of Panzer IVs.

The German positions.

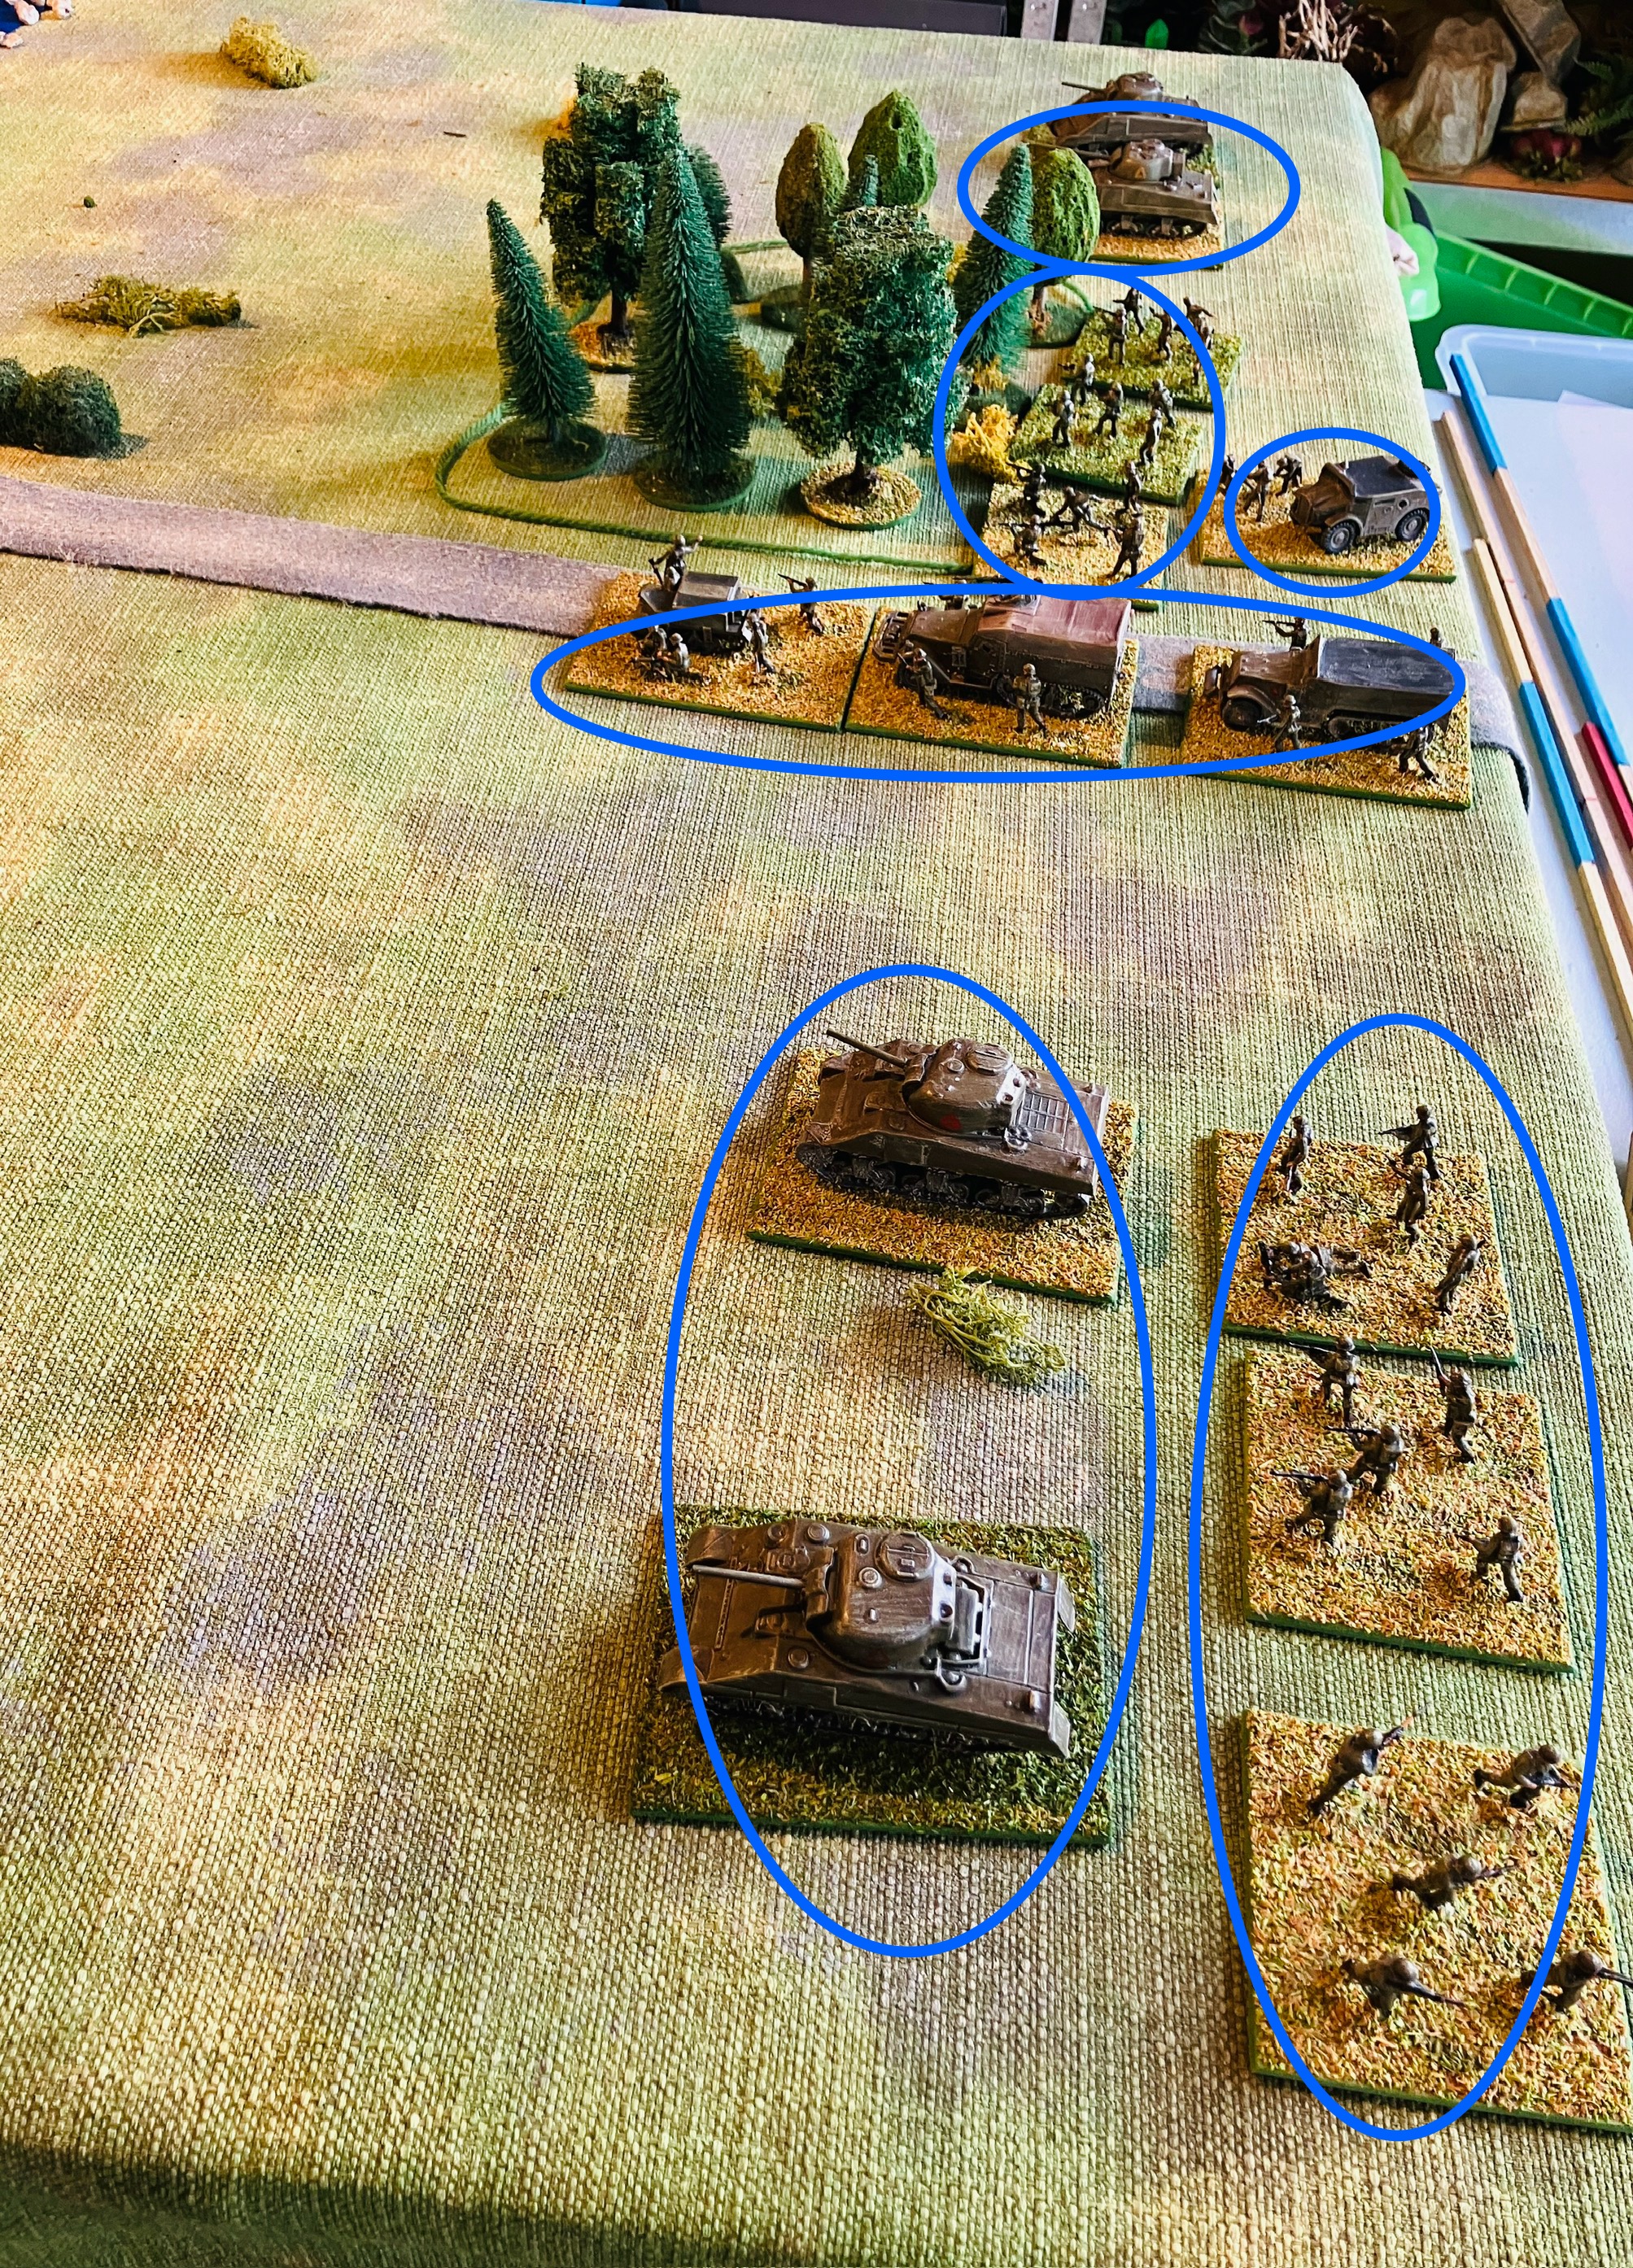
The Allied force is on the move from the western side of the river, advancing towards the town. The river, which is fordable, requires a full move to cross from one bank to the other. Flanking the advance are two tank platoons, each accompanied by infantry companies. Simultaneously, a mechanised infantry company progresses along the road, while mortars are positioned behind the woods as support.

Allies preparing to advance.

The battle begins slowly as the Allies push forward, their tank platoons flanking each side accompanied by infantry support. The mechanised infantry in carriers cautiously move down the road towards the bridge, when they get a rude welcome from a defending pillbox. Swiftly dismounting, they look for cover amidst hedges and nearby woods. 

With the pillbox's position exposed, the southern tank platoon swiftly swing to their left and targeted it. Momentum is halted as the mechanised company and tanks focus their fire on the pillbox. Things quickly heat up with the arrival of a German anti-tank gun which immobilises one of the Sherman tanks. The tanks divert their fire, dealing with the new threat. After some intense exchanges, the German gun falls silent, but both Shermans are immobilised from the damage they sustained. Despite this setback, they continue their bombarding the pillbox to aid the infantry.

The Allied left flank moves into positions in the woods.

The pillbox is engaged while a German AT gun prepares to open fire.

As the assault on the pillbox rages, on the opposite side of the road, the Allies have advanced into the woods and their tanks have reached the river's edge. As they move cautiously out of the woods to cross the river, gunfire erupts from the small woods, this is quickly followed by artillery barrages. Realising the urgency, the tanks forge across the river while infantry return German fire, successfully suppressing and then eliminating the German infantry in the woods.

With the tanks now on the far side of the river, two Panzer IVs emerge and engaged the Shermans. The tank duel commences on equal footing, initially favouring the Germans as one Sherman sustained severe damage but persists in returning fire.

The Allies advance to ford the river.

German tanks appear.

Amidst the ongoing tank battle where both sides have knocked out tanks. A crucial turning point emerges as the pillbox was finally knocked out, enabling the infantry to push forward toward the bridge and village. As the momentum of the battle shifts unfavourably, and with two advancing Allied infantry companies closing in on the town, the Germans choose to retreat.

An evenly matched battle.

Finally the pillbox is knocked out.

Infantry advance to secure the bridge.

Both forces met their victory conditions: the Germans successfully causing significant damage to the attack while the Allies secured both the bridge and the village. The pillbox posed a considerable challenge for a while, yet once knocked out, the Germans found their options restricted. They chose to withdraw, understanding that the Allies would halt their advance, awaiting the arrival of fresh tanks before resuming it.

Saturday, 6 January 2024

Wargaming Plans for 2024

Usually, I don't plan too much ahead for my wargaming hobby. I just start to look around for the next project when the current one is getting to the wrapping up stage. But this year, there's a few of events happening that will affect my wargaming. So, I'm thinking it will be useful to make a plan to keep my wargaming going.


Another couple of Dixon samurai miniatures get painted.


In 2024, the following events are happening: I am retiring, we are moving to New Zealand, we are preparing our house in Australia for sale, and will be painting our new house in New Zealand which will be extended to include a studio for our hobbies - my wargaming and my wife's quilting. All these events have been a long time coming, and it'll put us closer to our adult kids who live in and around Wellington. We'll be shifting countries in the latter part of 2024.


A few more samurai made it off the painting table this weekend.


At various times, I won't have space for my wargaming stuff, so I'll need to downsize to smaller areas and fewer models that I can easily pack away and if necessary travel with. Also, as the year rolls on, there'll be less time for painting. 


Anyway, here's my plan for 2024…


Reduce the number of unpainted miniatures. Keep painting models for my existing armies whenever I can. An example of that is my Samurai, Ancients, and WW2 armies where there are still a few figures and model to paint up.


6mm WW2. Rework my 6mm WW2 Western Desert armies to fit into a small box for playing on smaller 2x2 foot or 3x3 foot area.


Sci-Fi Terrain for travelling. Make some flat-packed 28mm Sci-Fi terrain for skirmishes using my Necromunda figures.


Example of flat packed terrain from the original Necromunda game.

Battling Robots. Try out a BattleTech-style game using wooden blocks for buildings on a 2x2 playing area. Only a handful of models would be required.


Example Battletech models. They come 4-5 to a box. They stand about 30-40mm tall.


Block Armies. Create some generic block armies and terrain for gaming on a compact 2x2 foot area. 2mm scale blocks of figures may be useful.


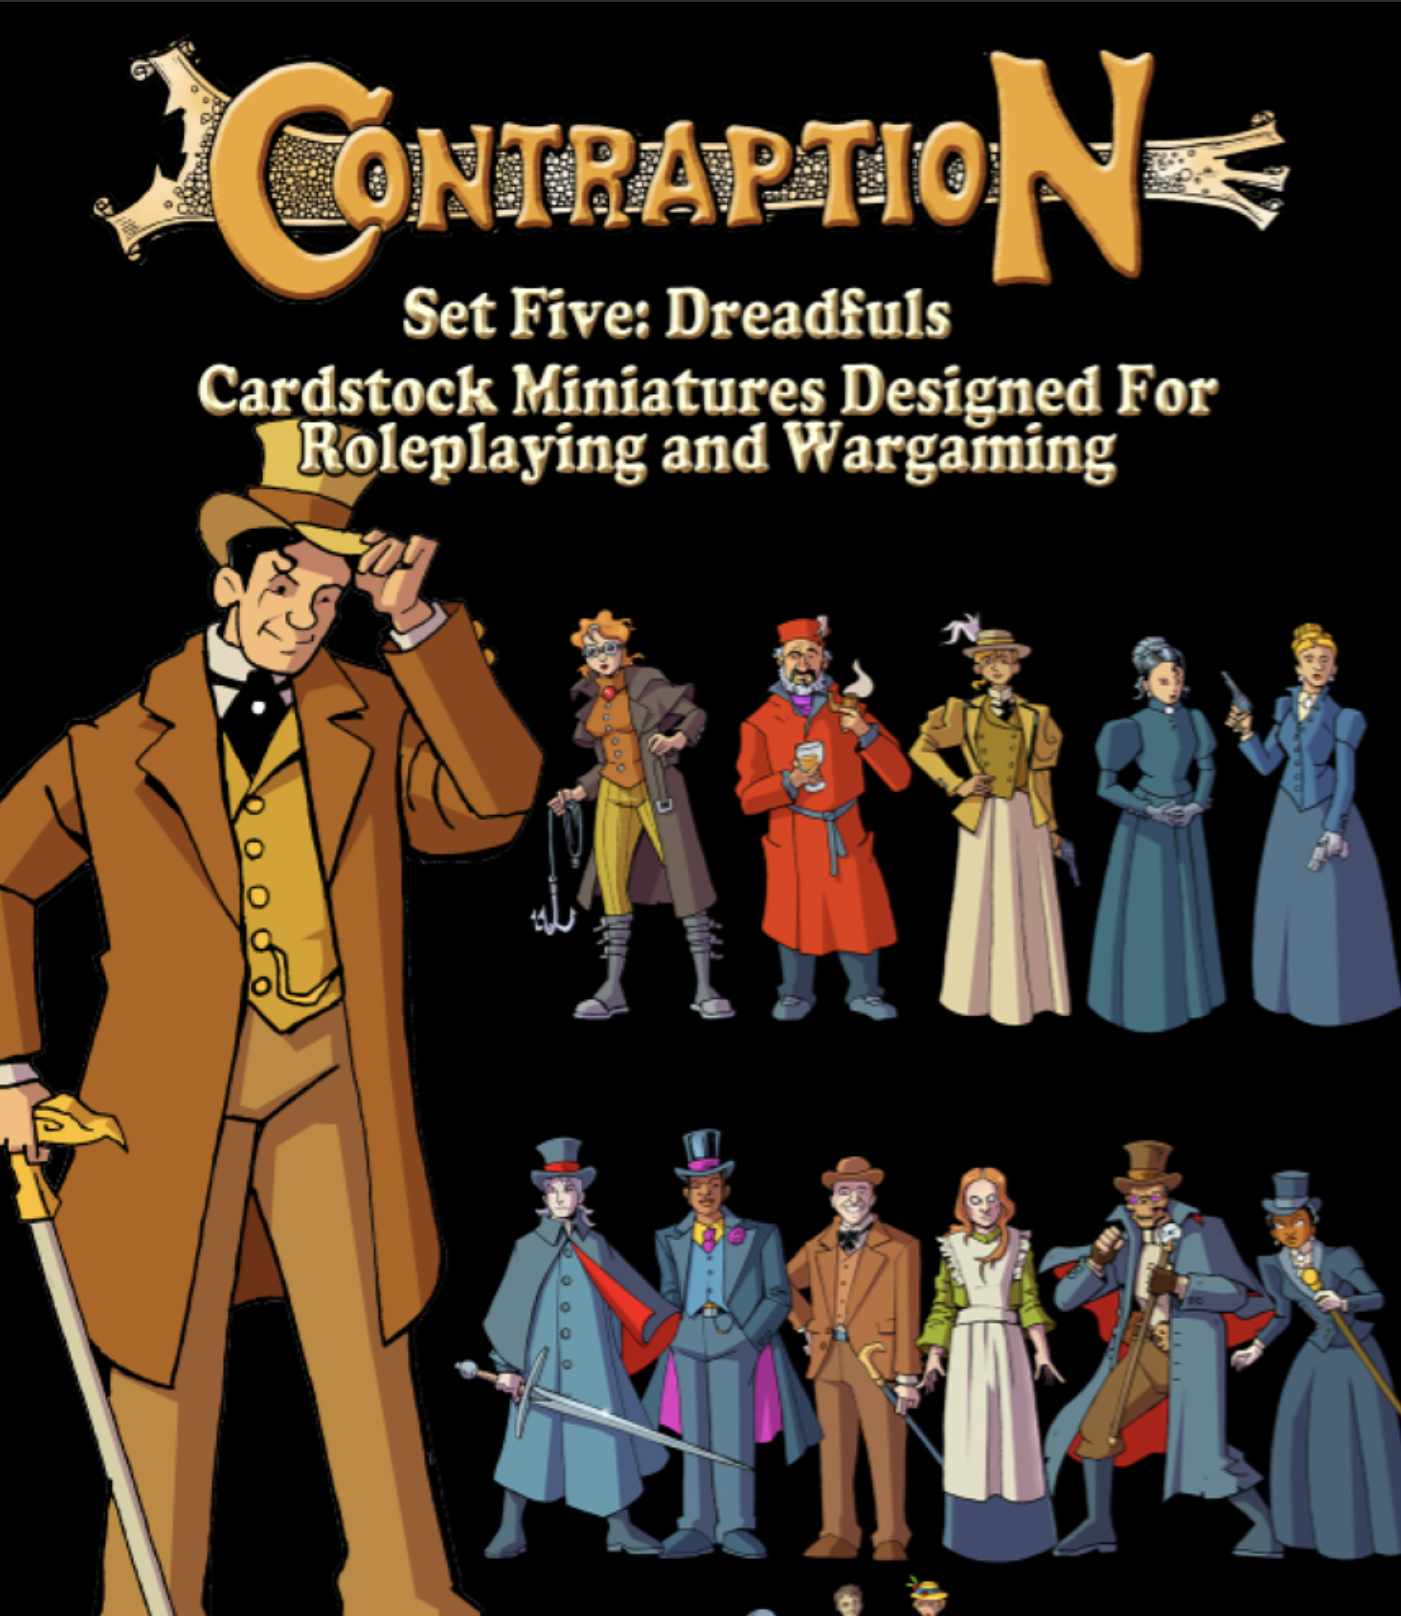
Steampunk. Create a steampunk game using card-stock 2D miniatures from Okum Arts Games. This will be for when I have no access to my painting table and paints and want to do something creative.


Example of card-stock 2D miniatures.


Hopefully, these plans should keep my wargaming going while we're packing, moving, and settling in, which will take a few months, but I'm hoping these setups will make it work.

Tuesday, 2 January 2024

First painted miniatures of the New Year

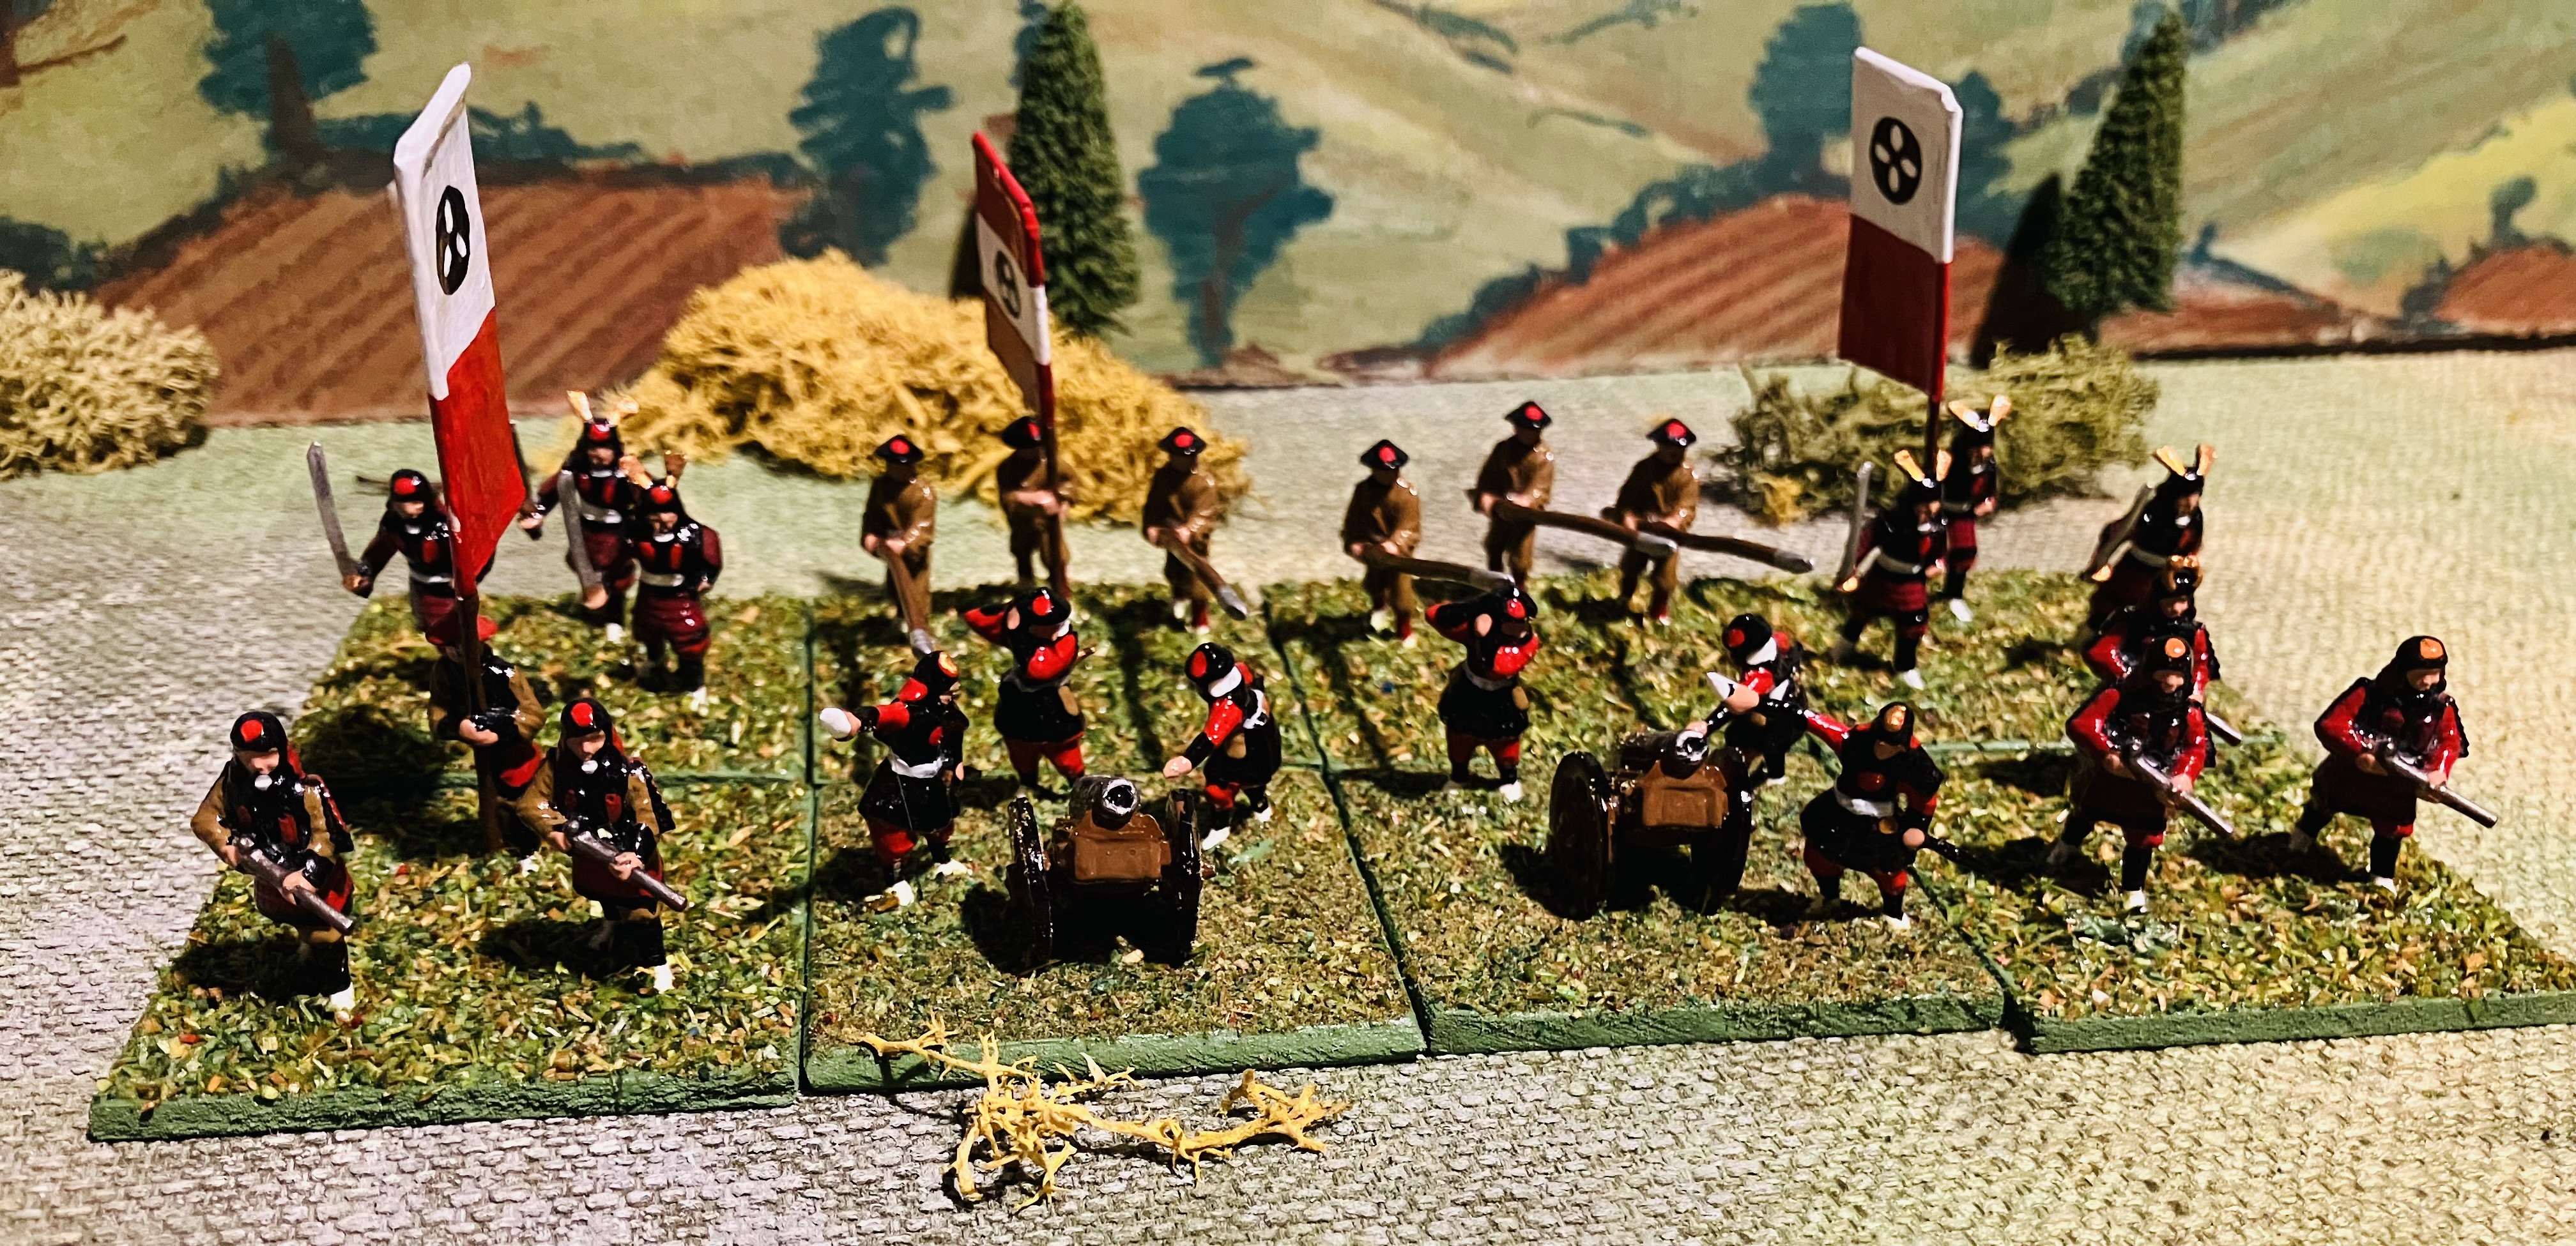
Following a brief break from painting over the Christmas and New Year holiday period. I finally got the chance to sit down and spend some time painting a set of Red Box Samurai Artillery. They were on sale so I bought the box on a whim, hoping it would fit in well with my existing armies. They arrived shortly before Christmas, so were in a way a Christmas present to myself.

Recently painted 20mm (1/72 scale) Samurai artillery

A box of artillery bought on a whim

A closer view which shows my simple block painting approach.

I will have to think about how to integrate these artillery units into the Samurai rules and play a few games. This weekend the samurai armies will be displacing the American Civil War armies that are currently on the tabletop. Initial ideas are to have them as a static unit supported by Ashigaru arquebuses and spears, but we will see what transpires.

The artillery work well with the Minifig S range figures.

Another view of the artillery incorporated into a unit

Happy New Year!

Friday, 29 December 2023

Large wooded areas require a different approach

Typically, I represent woods on the tabletop by using painted felt along with a few trees positioned on the felt. This method usually works well, and for bigger wooded sections, additional pieces of felt are used. However, in a recent American Civil War (ACW) game I have played over the Christmas holidays there was a need for some quite large areas of woodland. Having insufficient green felt to represent these larger areas prompted me to look for alternative options.

My typical approach to representing wooded areas on the tabletop.

Painted felt is used to show the extent of the wood.

For larger woods additional felt is added.

A larger wood on the tabletop.

Once upon a time, when my tabletop was simply painted green, my method for showing wooded areas used caulk to draw the edges of the wood with a few trees placed inside area. All very old school. Drawing with chalk on my gaming mat would not work out well and be quite messy to clean up. However, thinking about this caulk approach lead me to the idea of using green wool tied in a loop to represent the edge of a wooded area.

Green wood tied into a loop represents the edge of the wood.

Trees are added.

Trees are moved to accommodate units.

A unit emerges from the woods.

Once I have knotted the ends of the wool to create the various sized loops, I added a drop of glue to all the knots as wool has a tendency to undo, even when tied with a Reef Knot.

Monday, 25 December 2023

A bag for activation markers

I recently made some numbered activation buttons, replacing my usual playing cards to determine the shooting order in my WW2 games (see here). I have been using a dice bag made by my wife from which I draw them. She surprised me yet again with a specially themed draw bag for my activation buttons as an extra Christmas gift!

New bag for my activation buttons.

The draw bag keeps the buttons safe when not in use.


Friday, 22 December 2023

Immobilised tank markers (update)

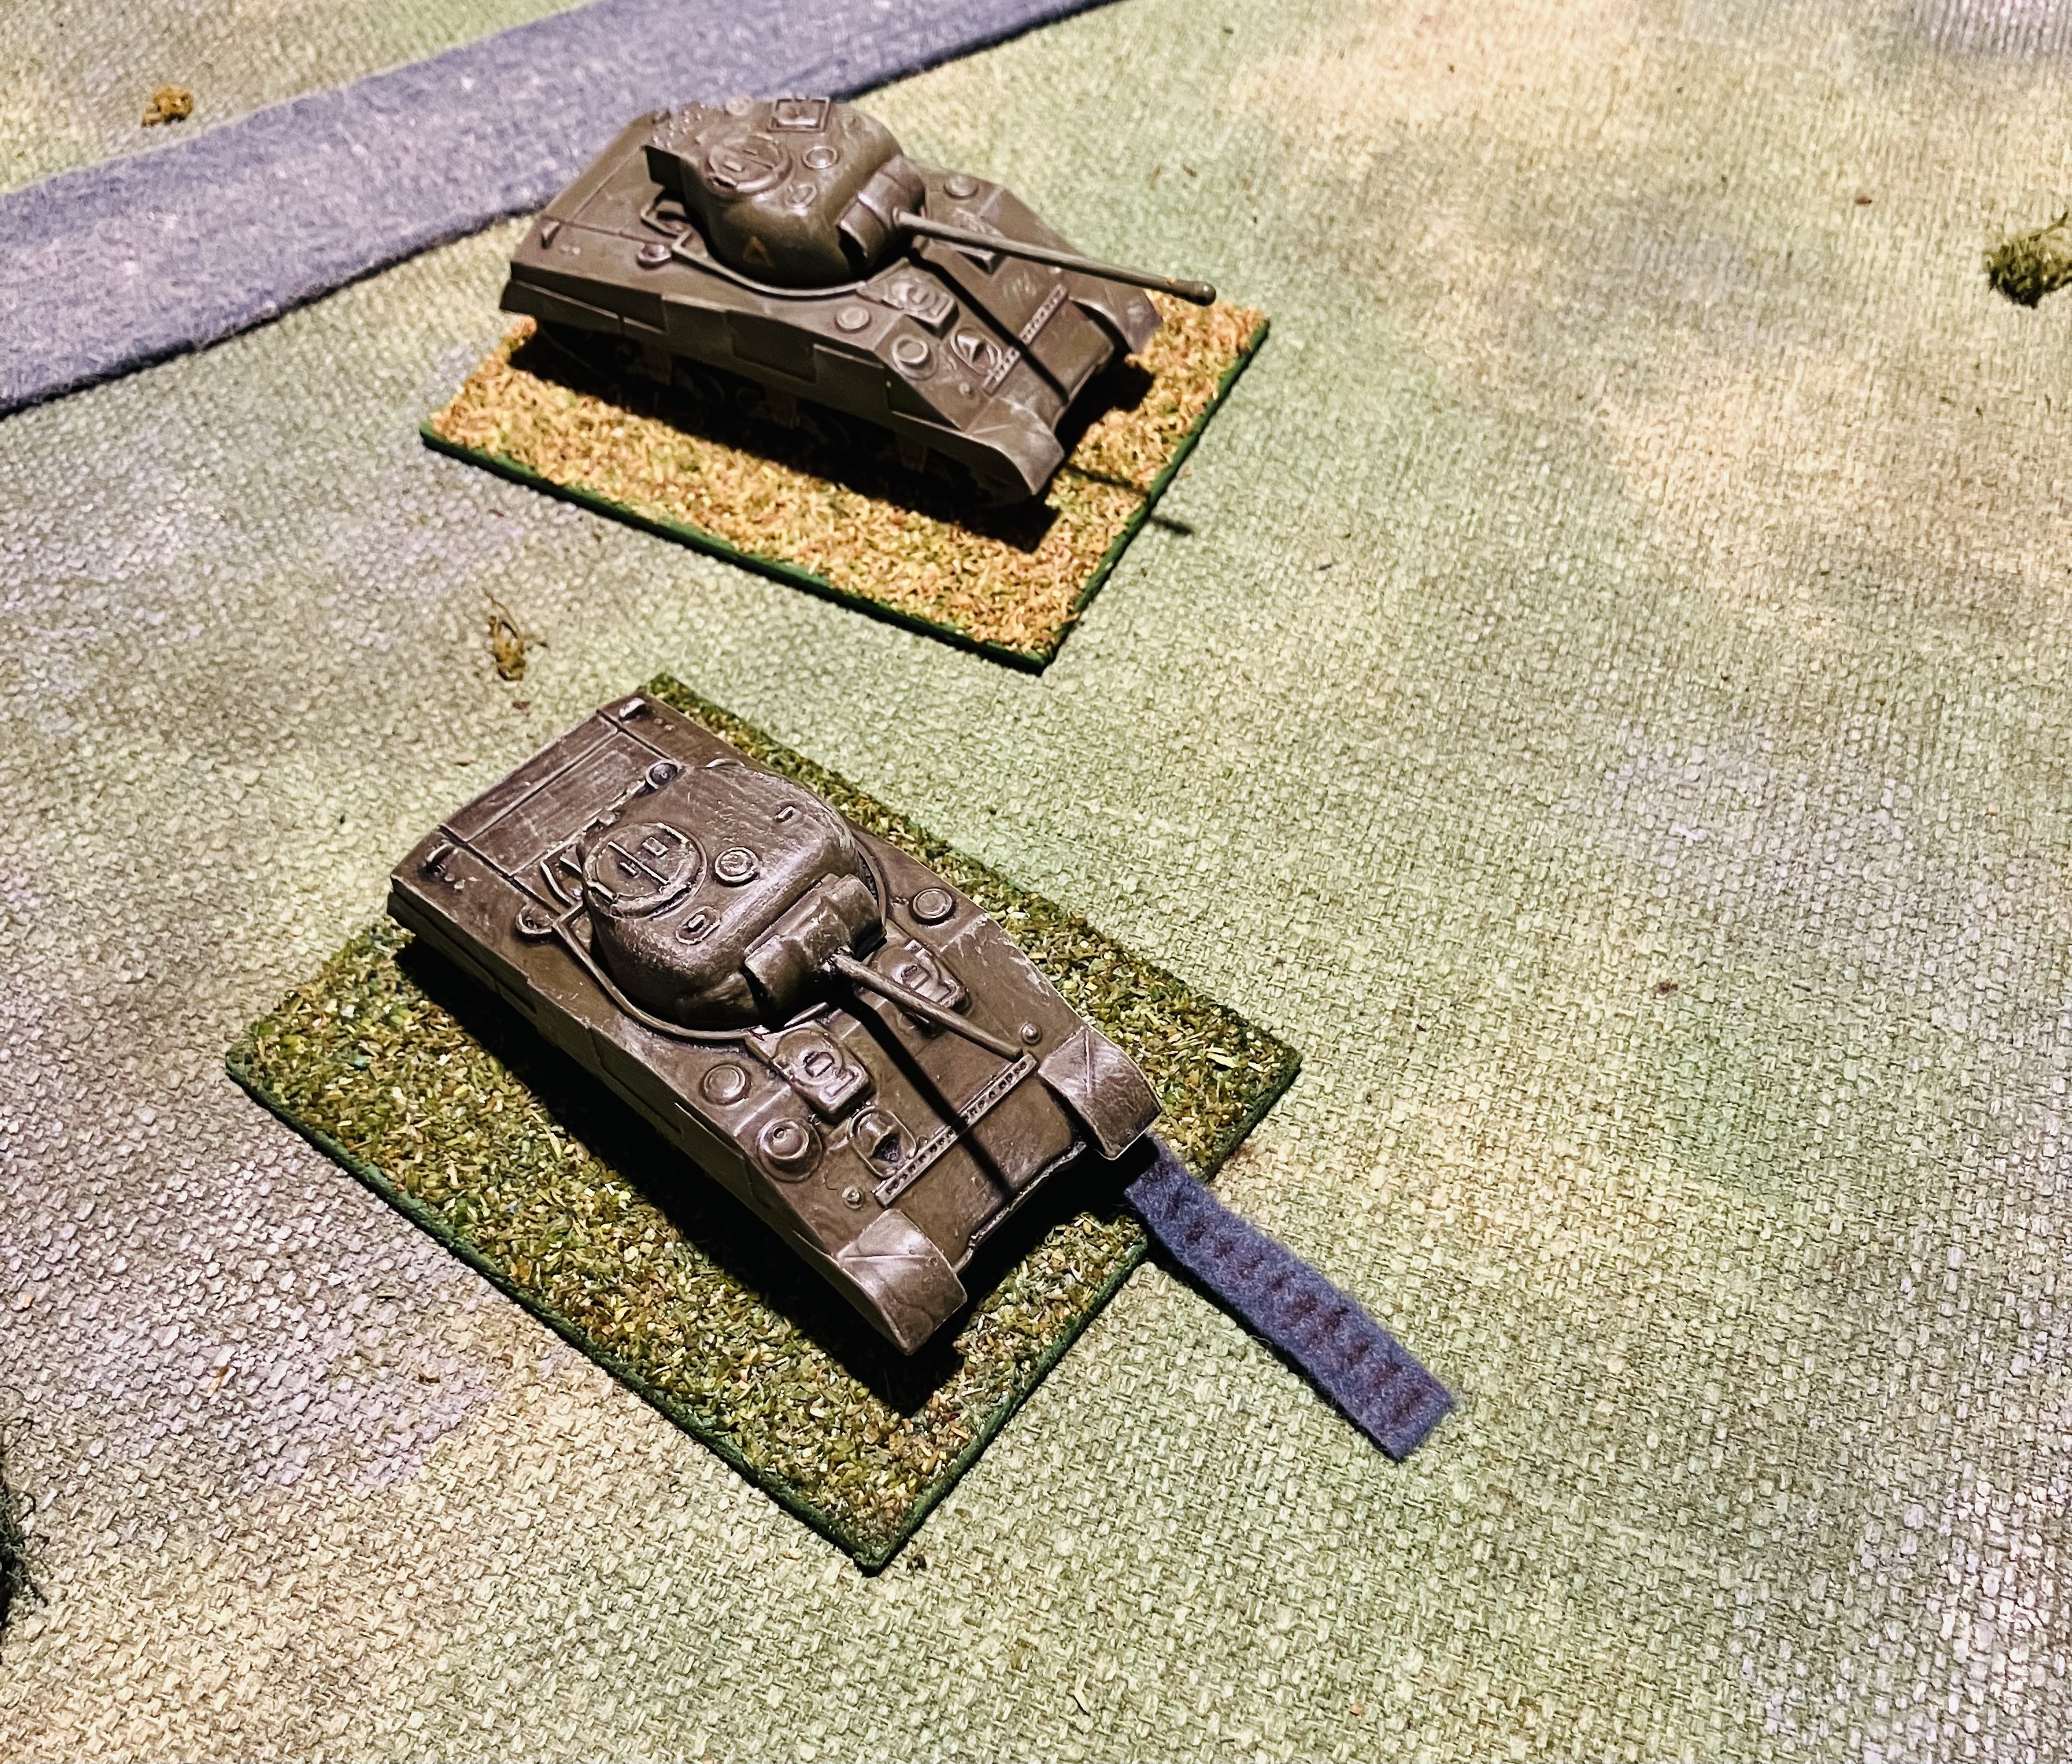
While writing and testing some simple WW2 rules inspired by Featherstone, Grant, and other sources over the past few weeks (see recent posts). I have decided to include immobilised tanks in the rules. To indicate a tank is in an immobilised state, I opted for a visual marker using a thrown track as a suitable representation. 

The tank in the foreground is immobilised - marked by a thrown tank.

I found the easiest and fastest way to create a thrown track marker was using felt and add some drawn lines with a permanent marker. I might look at some other materials for this purpose in the future.

The plain cut felt on the left and marked up on the right with a permanent marker.

UPDATE

I have tried some brown corduroy material which seems to work better for the tracks.

Brown corduroy material seems to work better.

I will probably dry brush some sand colour paint onto the corduroy.