Having lost control of the East Midlands in August 1643. A Royalist army is organised to move into the West Midlands and march upon Banbury and its surrounds. An important location with saltpetre diggings used for the production of gunpowder. A D3 dice was rolled to see when the mobilised army marched. A score of 2 moved the campaign year clock to October (August plus 2 months).
 |
| Campaign Move |
Campaign cards were drawn for the battle. The Royalists will be getting an additional cavalry units as Prince Rupert joins the fray. Parliament did well with an additional infantry unit recruited as their army is funded by Excise taxes. They also carry over the New Model Army card, gained previously, which gives them the option of using their cavalry as gallopers.
 |
| Campaign cards |
The recruitment of units began with rolling of dice (see post
here for process) which combined with the campaign cards gave the following order of battle:
Parliament
- 4 x Infantry
- 5 x Cavalry
- 1 x Dragoons
- 1 x Artillery
- 1 x Lobster Cavalry
Royalists
- 3 x Infantry
- 5 x Cavalry
- 2 x Dragoons
- 1 x Artillery
- 1 x Elite Pike
Terrain cards are drawn and the tabletop was setup with a river running North-South through the centre of the board, and soft ground on the East side with the nearby King's Sutton parish.
 |
| Terrain cards decide the tabletop |
 |
| The tabletop - my salt-marsh felt terrain from the last post were reused. |
The weather was decided by the dice and was deemed to be overcast which combined the lateness in the year (October) gave the game a maximum of 12 turns. The battle would not commence until early evening and would consist of 7 turns.
Normally the army with the smallest force starts the deployment. In this game both sides had 12 units and the dice were used to decide which army began. Luck went the way of the Royalists.
 |
| The Royalists deploy half their units first. Their infantry lined up East of the river |
 |
| Parliament deployed all units. Matching to a certain extent the Royalists with all infantry and artillery positioned east of the river. |
 |
| All Royalist cavalry were deployed west of the river. |
 |
| Map of the battle starting positions |
On to the game...
 |
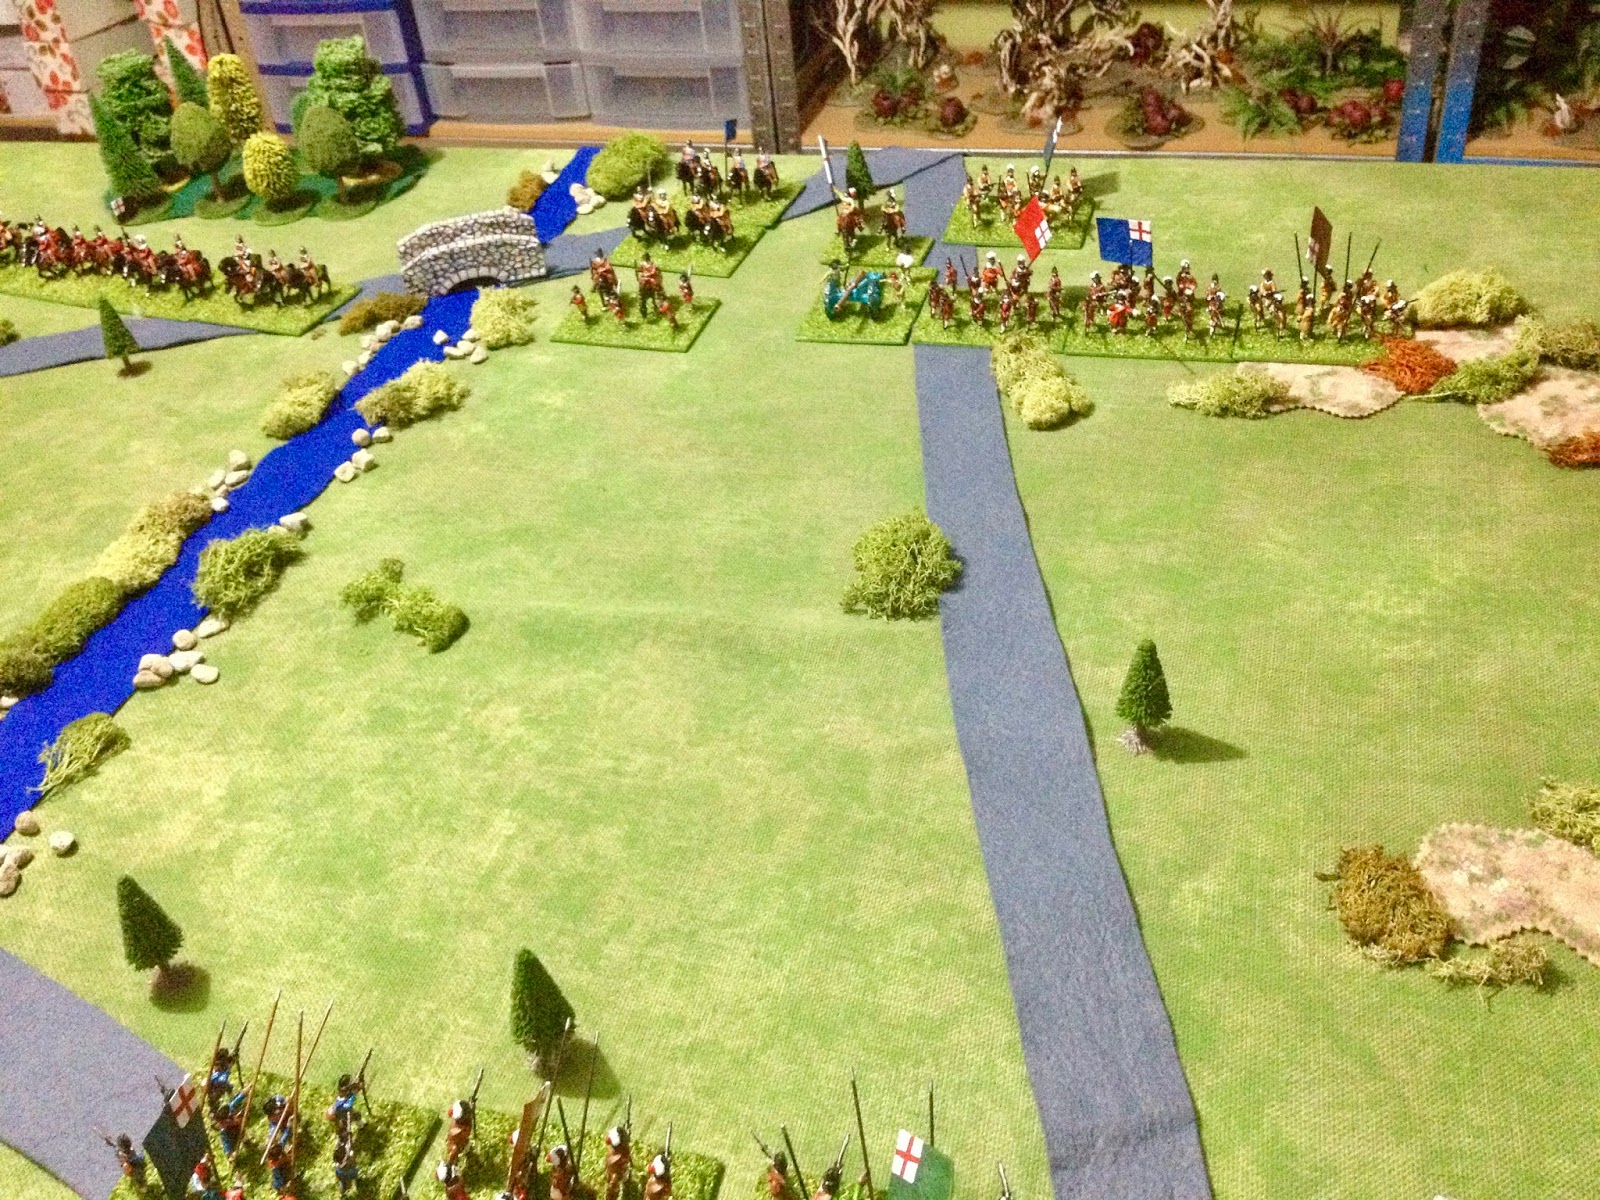
| Royalist cavalry bolstered by the presence of Prince Rupert charge and Dragoons from both sides advance along the river banks |
 |
| All is pretty even between the sides in the ensuing cavalry engagement |
 |
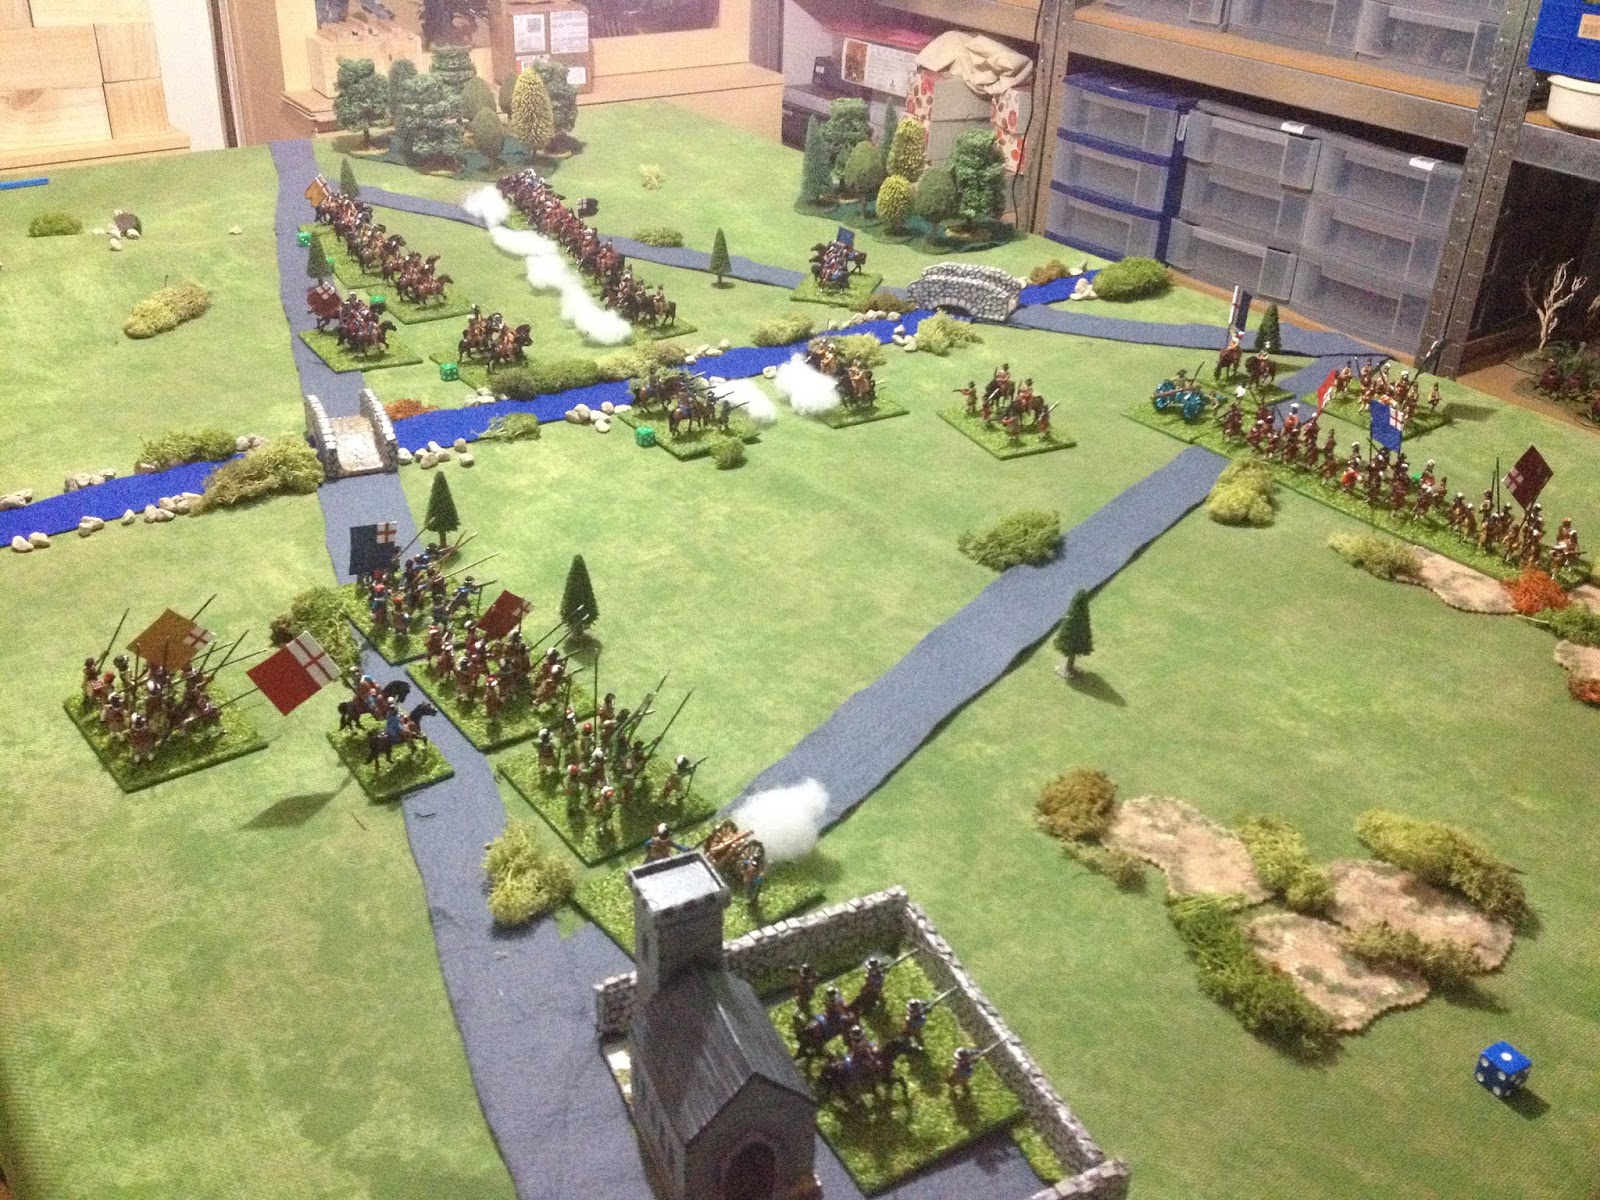
| The engagement becomes fragmented and the Parliamentarian reserve cavalry move across the bridge to provide vital support just as Royalist cavalry appear to be getting an upper hand |
 |
| The additional reserve cavalry tipped the balance in Parliaments favour as darkness fell. On the other flank a sort by Royalist dragoons and infantry cleared the river bank. |
At game's end both sides had lost 5 units and neither side wanted to continue into the next day as the river made for a strong defensive position. A draw is declared!
 |
| Battle movements |
From a campaign rule perspective there is the question - what to do with a draw? The Royalist army is still in the field and not beaten. One of the benefits of a solo campaign is not all rules need to be in place and can be constructed as situations occur. As is the case here.
With two armies in the field there will need to be another game which will most likely see out the 1643 year. Both sides will have regrouped and will field the same units as they started with and new campaign cards will be drawn by each side for the next game.


Great battle matey, and yes when your playing solo it does give you the option to come up with solutions to unforeseen circumstances. I do miss a live opponent from time to time though. Really liked your salt marsh terrain by the way.
ReplyDeleteThanks. It turned out to be a most entertaining, if short, game. I liked that it ended in a draw. I am sure in the pamphlets both sides will be claiming a mighty victory.
DeleteNice to see the mix of maps and set ups, a beautiful looking game in an interesting campaign...To follow!
ReplyDeleteI am certainly liking the way the campaign is turning out. The maps are fun to do and help to make sense of the posted photos. Thanks.
DeleteFine looking game! We’re losees confined to cavalry or did infantry suffer losses too? Awaiting the rematch.
ReplyDeleteA unit of dragoons was lost by Parliament, but all infantry were unscathed. Both sides will regroup and clash again, rather than continue the battle the next day.
DeleteI've been finding your campaign very interesting to follow, and it has given me lots of ideas about how to run a simple but very effective solo campaign.
ReplyDeleteAll the best,
Bob
Thanks Bob. I have been fortunate that the game results have kept the campaign in the balance.
DeletePeter, you have got you campaign administration finely tuned, you have an eye for such things.
ReplyDeleteI had not really thought about the administration, but I guess it is fairly minimal, being all on the A4 map, campaign cards and terrain cards.
DeleteNicely done once again!
ReplyDeleteHi there
ReplyDeleteBrilliant maps and write ups , would like to try this some day with some paper soldiers.
This bit appears to be broke ?
The recruitment of units began with rolling of dice (see post here for process) which combined with the campaign cards gave the following order of battle:
I am unable to follow the link ?
regards Paul
Thanks, glad you like the maps. I have hopefully updated the link so it works.
DeletePeter
ReplyDeleteThanks works now.
regards Paul