Sunday, 19 June 2016

More gaming with Swatters ruleset

Having tried out some different combat and shooting mechanisms earlier in the week which worked in a fashion, but at the same time seemed to go against the grain of the Swatters ruleset. I decided to go back to the original rule mechanism and have another look. It was probably laziness on my part that took me down my first path of using multiple dice.  I also spent some time glancing through Mutants and Death Ray Guns, Flying Lead and Of Gods and Mortals looking for ideas (over the years I have collected a few rules based on the Song of Blades and Heroes rules).
Orks press forward as the space marines try an out flanking move
Anyway, after a couple of tryout games sticking as much as possible with the rule mechanisms and using adjusted special rules. I found I settled on an approach which for me seems to work for me and the W40K models I use.

For shooting:
  • I don't graduate the range. It's either in range of not.
  • Flamethrowers +2 against troops at range 6" and in combat.
  • Support Weapons (e.g. Heavy Bolter, Assault Cannon) +2 against troops range 24". Cannot be used in combat.
  • AT support weapons (e.g. Plasma Gun, Lascannon, etc) +2 against vehicles and monstrous creatures range 24". Cannot be used in combat.
  • Pistols (Boltpistols, Stormbolters, etc) range 12".
  • Automatic Guns (Bolters, Lasgun, etc) range 24".
  • Missile Launcher +2 against all units at range 12". Cannot be used in combat.
  • Grenades range 6" against vehicles and monstrous creatures.
  • Veteran leader (e.g. space marine sergeant) +1 to units shooting and combat.
  • Hero +2 (e.g. space marine commander) +2 to units shooting and combat.

To calculate the effects of shooting both sides (shooter and target) roll 1D6 and add the above. The defender cannot add any weapon benefits. If the defender scores more or ties, then they can return fire if they are suitably armed. Otherwise, remove target unit casualties up to the winning margin:

1 point for a lightly armoured figure (2 if in cover)
2 points for a power armoured figure (3 if in cover)
3 points for a terminator armoured figure (4 if in cover)
4 points for a light vehicle or creature (e.g. land speeder)
5 points for a medium vehicle or creature (e.g. Dreadnought, Rhino)
6 points for a heavy vehicle or creature (e.g. land raider)

For combat:

  • Talons and claws +2 against troops
  • Large claws/power fists +2 against troops and vehicles/creatures
  • +1 if outnumber opposition
  • Some weapons (see above) can be used.
  • Cover is ignored

Combat calculation is the same as shooting, but with no cover allowed. If no casualties are inflicted roll again until a side suffers casualties, except against vehicles/creatures where only one attack is allowed.
A Killa-Kan bites the dust
Next week I will be getting back to my WW2 campaign and hopefully completing a couple of games.


Thursday, 16 June 2016

Playing around with Swatters rules

A few weeks back I had a game of Swatters, a set of rules from Ganesha Games, which provides an enjoyable game between Tyranids and Space Marines. The rules are geared towards bugs vs. marines, but there are suggestions for using the rules in other settings. So this week I have been playing around with Orks vs Space Marines and introducing vehicles.


The area of the rules I am playing around with are combat and shooting. Here is a quick list of ideas I'm trying out...

All units get to roll 2D6 when shooting regardless of unit size. Any 3+ removes a partially armoured figure, 4+ an armoured figure, and 5+ a heavily armoured figure. Any 6 that is rolled allows the shooting unit to select the figure removed.

  • Maximum shooting is range 24"
  • Intensive Fire activation add 1D6.
  • Minus 1D6 for cover or if attacking a vehicle.

If the unit has other weapons, then only one of them can be used.

  • Support weapons add 2D6 against non-vehicles (heavy bolters, assault cannons, etc)
  • Missile Launchers add 1D6 regardless of troops or vehicles
  • High Power (AT) weapons add 2D6 against vehicles

Vehicles and monstrous creatures are hit on a 5+ and lose a hit point. Their size determines the number of hit points.

Reactive fire at the shooting unit is allowed after casualties are removed and a successful activation.

Combat (assaults) occur when units are within 6" and have successfully activated. Both sides roll  2D6 simultaneously and the side with the most number of casualties retires one move and the attacker moves into the vacated space. Any ties, then repeat the process.

  • If the unit is armed with close combat weapons add 1D6 (unless assaulting a vehicle)
  • If the unit makes a powerful attack activation add 1D6 (unless assaulting a vehicle)
  • If the unit has a flamethrower add 1D6
  • If the units has power weapons add 1D6

I am keeping the same unit size and rules for when a unit only has two models, but whether you have 3,4 or 5 models does not influence the D6 rolled.

Whether or not I do much more with these rule modifications I'm not sure, but I will be using the rules again for Tyranids vs Imperial Guard or Space Marines. A worth while investment for the PDF rules (about the cost of two coffees).


Sunday, 12 June 2016

WW2 mini-campaign starts

This week I managed to get a couple of campaign games in. The first of the games was an all out attack by commonwealth forces which they successfully won. Quite a safe option to begin the campaign. The German forces had the option of the next battle and they chose a limited attack.
A Commonwealth attack successful and push forward the frontline. 
I was expecting a much a close battle in the second game. Commonwealth forces fielding 15 units having rolling 9 on two average dice to add to the 6 units given to the defending player. While the German total was 20 units with a score of 8 added to 12 units for a limited attack.

Commonwealth units
German units including a Aircraft
However, the terrain setup was to prove problematic for the defining side, two building squares had ended up next to each other. Successfully contesting these or capturing one of these would win the game for the attacker.
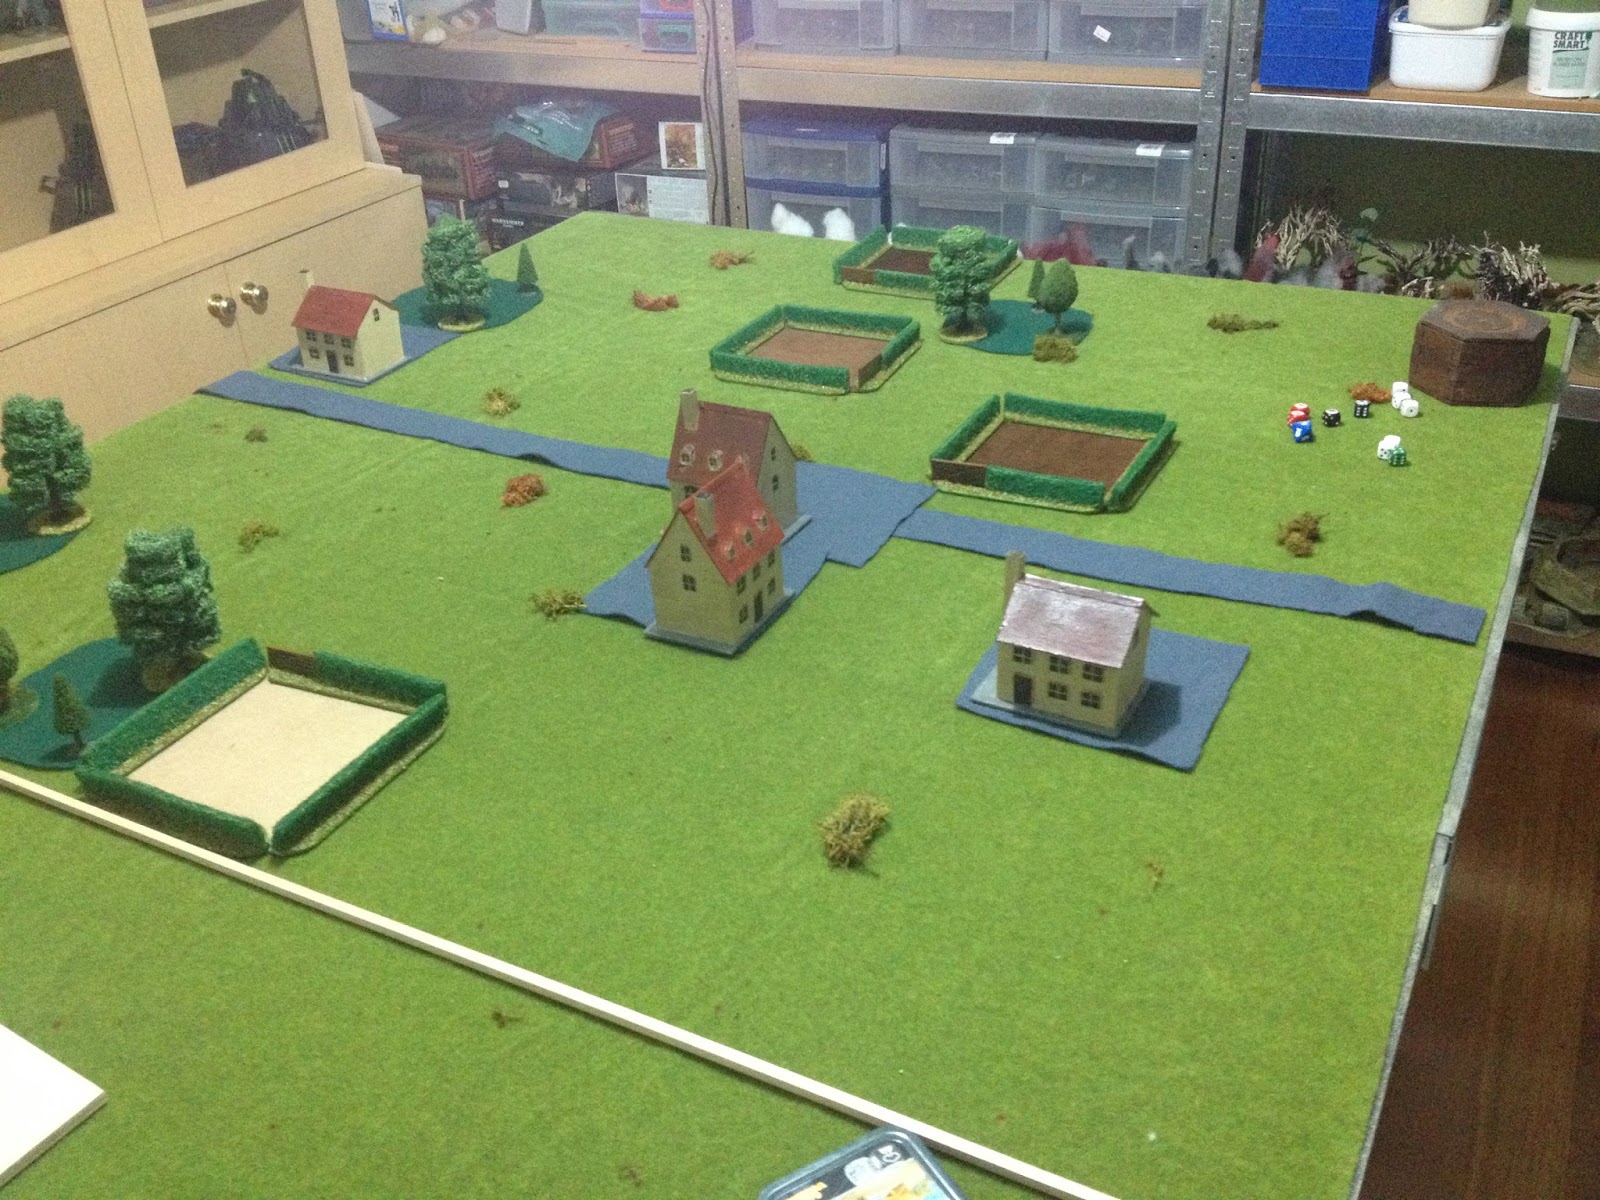
Tabletop layout randomly generated
The game turned out to be one sided. The Commonwealth units were gradually pushed back to defending the village as they waited for their reserves to show up. They were eventually whittled down and the village was occupied by German units. The late arriving Commonwealth reserves attempted to retake the village, but the excellent dice rolling by the German side continued and the counterattack failed.

Germans advance across the fields and towards the village 
A lack of reserves and poor dice rolls has the Commonwealth forces in retreat
Attempts by the late arriving reserves fail to retake the village
From the last couple of games I have updated a couple of areas in the rules for: 1) unit reorganisation and 2) aircraft sorties. The change to reorganisation is aimed at forcing disrupted units to retire when there is no supporting units nearby.  The aircraft sortie rule is me just continuing to play around with the rule until I am happy with it and to make it sufficiently different from being just another form of artillery. To this end aircraft can only attack vehicle based units with quite devastating effect unless they are supported by AA guns.

Thursday, 9 June 2016

WW2 mini-campaign part 5

With the tabletop set up completed, the next and final stage is to decide the size and types of units for each player, and get them on to the table.  The first step for both players is to calculate the number of units they command. They do this by rolling two average dice each and add to the combined dice score to:

  • 6 when defending
  • 12 when making a limited attack
  • 18 when making an all out attack

Now that the number of units known, each player rolls one D6 for each unit they are allowed and selects a unit based on the score. The higher the D6 score the more choice they have, players can if they wish select a unit which is lower than their dice score.

  • 6 = heavy tank, unit aircraft (attacker only) and defences (defender only)
  • 5 = tank unit, armoured infantry and armoured reconnaissance
  • 4 = self-propelled guns (AT or artillery) units 
  • 3 = guns (AT or Artillery), motorised infantry and light reconnaissance (forward observers)
  • 1 or 2 = infantry and mortars
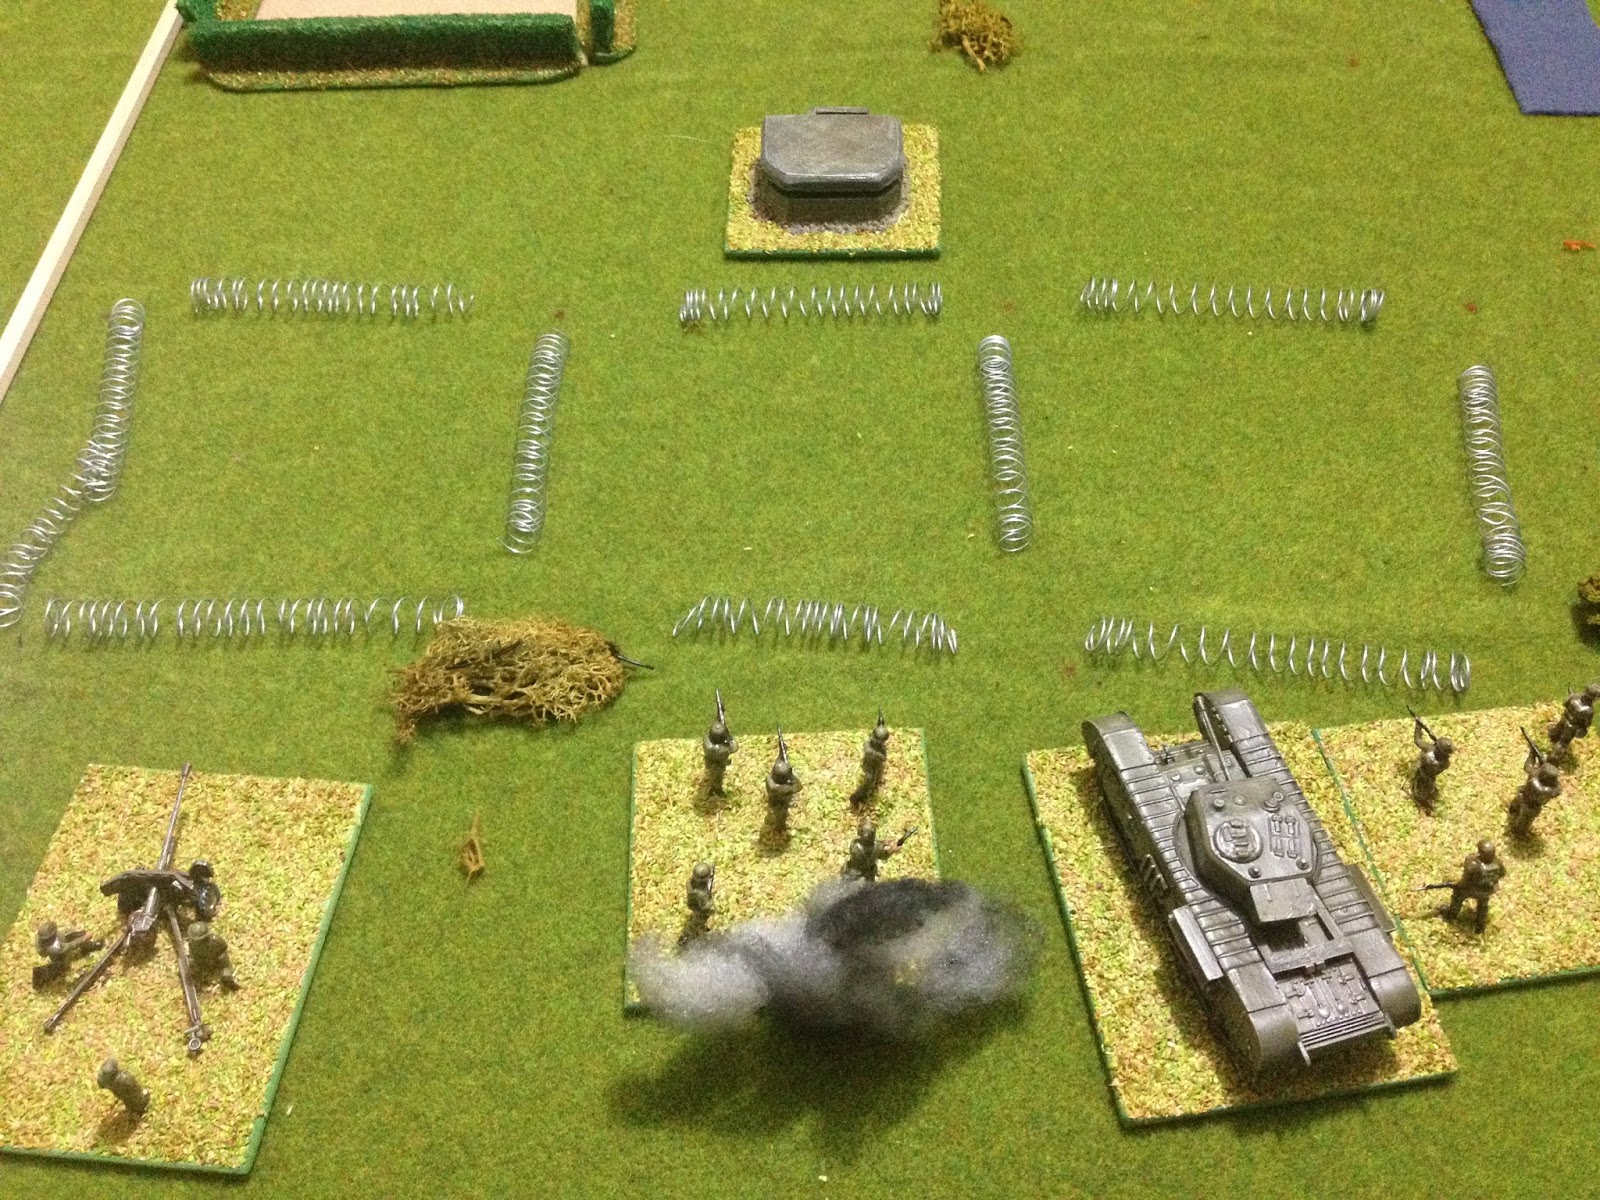
Only one aircraft can be selected by the attacker and the defender can only select one defence unit. A defensive unit consists of a pillbox and 3 minefield squares.
A defensive unit with 3 minefield squares
Not all units will start on the table. For both the defending and attacking players half their units begin in reserves. If there are odd numbers the additional unit is placed on the table. Both players are allowed to choose which units begin in reserve and which go on the table.

The units in reserve are lined up in the order a player wants them to arrive. These units can start arriving from turn 2 onwards on a roll of 5+. If a 5+ is rolled then one unit arrives, if a lower score is rolled then the unit is parked and will arrive on the next if a 5+ is rolled along with the next unit being rolled for. This way units often arrive in batches. 

For example, if a player rolls 4 on turn 2, 3 on turn 3, and a 6 on turn 4, then on turn 4 three units will arrive from reserves.
Reserves are lined up waiting to move on to the table
The other half of units are placed on the table

Tuesday, 7 June 2016

WW2 mini-campaign rules part 4

Once the terrain is setup the defending player chooses which side of the table they will defend and place their units anywhere on their half of the board. Then the attacking player places their units in the first two rows from the opposite table edge.

A town is positioned in the inner zone based on dice rolls (see previous post for approach for terrain placement)

Remaining town is added

Road rolled for North to South position

Fields are placed

All terrain features are placed and ready for a game

The game is then fought with the available units and those coming on from reserves (the next post will cover this). The game ends after 15 turns. I am ignoring the game clock in my rules for this campaign.

After 15 turns the control of terrain features is used to determine the winning player. To control a terrain feature a player's unit must either: occupy the square or be adjacent to a vacant terrain feature with no adjacent enemy units.

Terrain features are worth different points:

  • Building square = 4 points
  • River crossing bridge/ford = 6 points
  • Wood square = 2 point
  • Hill square = 1 point
  • Field square = 1 point
The player with the highest number of points is the game winner. If points are equal the defending player wins.

Saturday, 4 June 2016

WW2 Mini-campaign part 3

Once a side declares an attack on a square the next step is the placement of terrain on the wargaming table. All battles in the campaign are played on a 4' by 4' tabletop with a 6" square grid. Each table will have a standard set of features for North Western Europe to which additional features are added based upon the features on the campaign map. There are four campaign map features, which are woods, rivers, clear and towns. Clear terrain is to be treated as farmland.


The standard features for the tabletop setup are:
  • 4 fields
  • 4 woods
  • 2 buildings
  • roads are placed to run through villages
These are placed anywhere on the table after other terrain features determined by the campaign map are placed on the table.  These features are:
  • For a town 2 buildings placed on adjacent squares
  • a river across 8 squares and 2 bridges (or fords).
  • 4 woods
  • 2 fields
These features are first placed in the inner zone a set of 16 squares in the centre of the tabletop. Rivers must travel through this zone. The terrain is placed in the order of river, town, woods and fields.

With all terrain placement, if there is a feature already in the square, then re-roll.

Terrain is placed in this inner zone squares by a dice rolls. I use a D4 dice (but you can use a D6 re-rolling any 5 or 6 scores) rolling once to determine the number of squares across and a second time to for the number of squares down.

When placing towns the first building is placed and the second building is placed in one of the 4 adjacent squares, this is determined by rolling a D4 (don't place diagonally). There may be a situation where the second building is placed outside of the inner zone when the fist is on the edge. This is allowed. Once the first building is placed place a straight road though the building, roll 1, 2, 3 for north to south and 4, 5, 6 for east to west.

Above the first buildings are placed after rolling a 1 and 3 (1 square across and 3 down). Then a second 3 is rolled on a D4 for the placement of the second square of buildings. The road is placed through the first layer building square north to south after a 2 was rolled on a D6.

When setting up rivers rolls 2 D4 to identify a square in the inner zone where the bridge will be, then roll to see if the river flows north-south or east-west.

In the above layout the first bridge square identified was 1 across and 2. Then on a D6 a 5 was rolled for an east-west flowing river. The second bridge is always placed 4 squares away from the first bridge.

The approach with trees and fields is much simpler, roll 2 D4 to determine where they are placed in the inner zone.

When there is a situation of a town and river to be placed on the tabletop, then the town will be placed on either side of the first bridge in the inner zone.

For the remaining standard terrain features the same approach is used except for the whole table grid. So use a couple of D8 to determine the squares across and down for placement of the items. Whenever a building is placed lay a road connection between it and the nearest road, if one has not yet been laid, then roll to determine if the road runs north-south or east-west.

A Stuart Tank (Armoured Reconnaissance Unit) and new 20mm balsa wood buildings

Once all terrain is placed, the defender gets to choose the side they wish to defend and place units anywhere on their side of the tabletop.

The next post will cover deciding force make up and how battles are won or lost.


Wednesday, 1 June 2016

WW2 mini-campaign rules part 2

Preparing for my WW2 mini-campaign continues with the campaign map setup ready to begin. The Red arrows show the starting line for the Commonwealth troops and the Blue arrows the German defensive line. The campaign objective is to gain territory while denying territory to the opposing forces. Once both sides have used up all their supplies the side with the most squares wins. Supplies for each side are based on how many squares they are not controlling. For each square not controlled the side gets 200 tonnes of supplies to use for attacks. So Red gets 3600 tonnes (18 x 200) and Blue 1400 (7 x 200).


To make an attack on an adjacent square occupied square costs 200 for a limited attack or 400 tonnes for an all out assault. A defending force does not expend supplies defending. On the tabletop supply consumption translates to units available:

  • A defending side always has units equal to the score of 2 average dice plus 6.
  • A limited attack has available units equal to the score of 3 average dice plus 8.
  • An all out assault has available units equal to the score of 4 average dice plus 8.

The capture of terrain features on the tabletop determine whether an attack is successful. Where an attack is successful the attacking force can occupy the square. The front lines do not change where an attack is repulsed.

Both sides take turns to make attacks. A side may choose to pass and not make an attack. If both sides pass then the game ends. This encourages the side with the fewer controlled squares to push on with the attacks, while the defending side bides its time before launching a counter offensive.

For the next post will cover off generating and setting up the terrain which are influenced by the campaign map terrain features, and how a battle is won by the capture and holding of these features.